
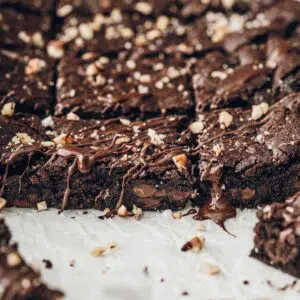
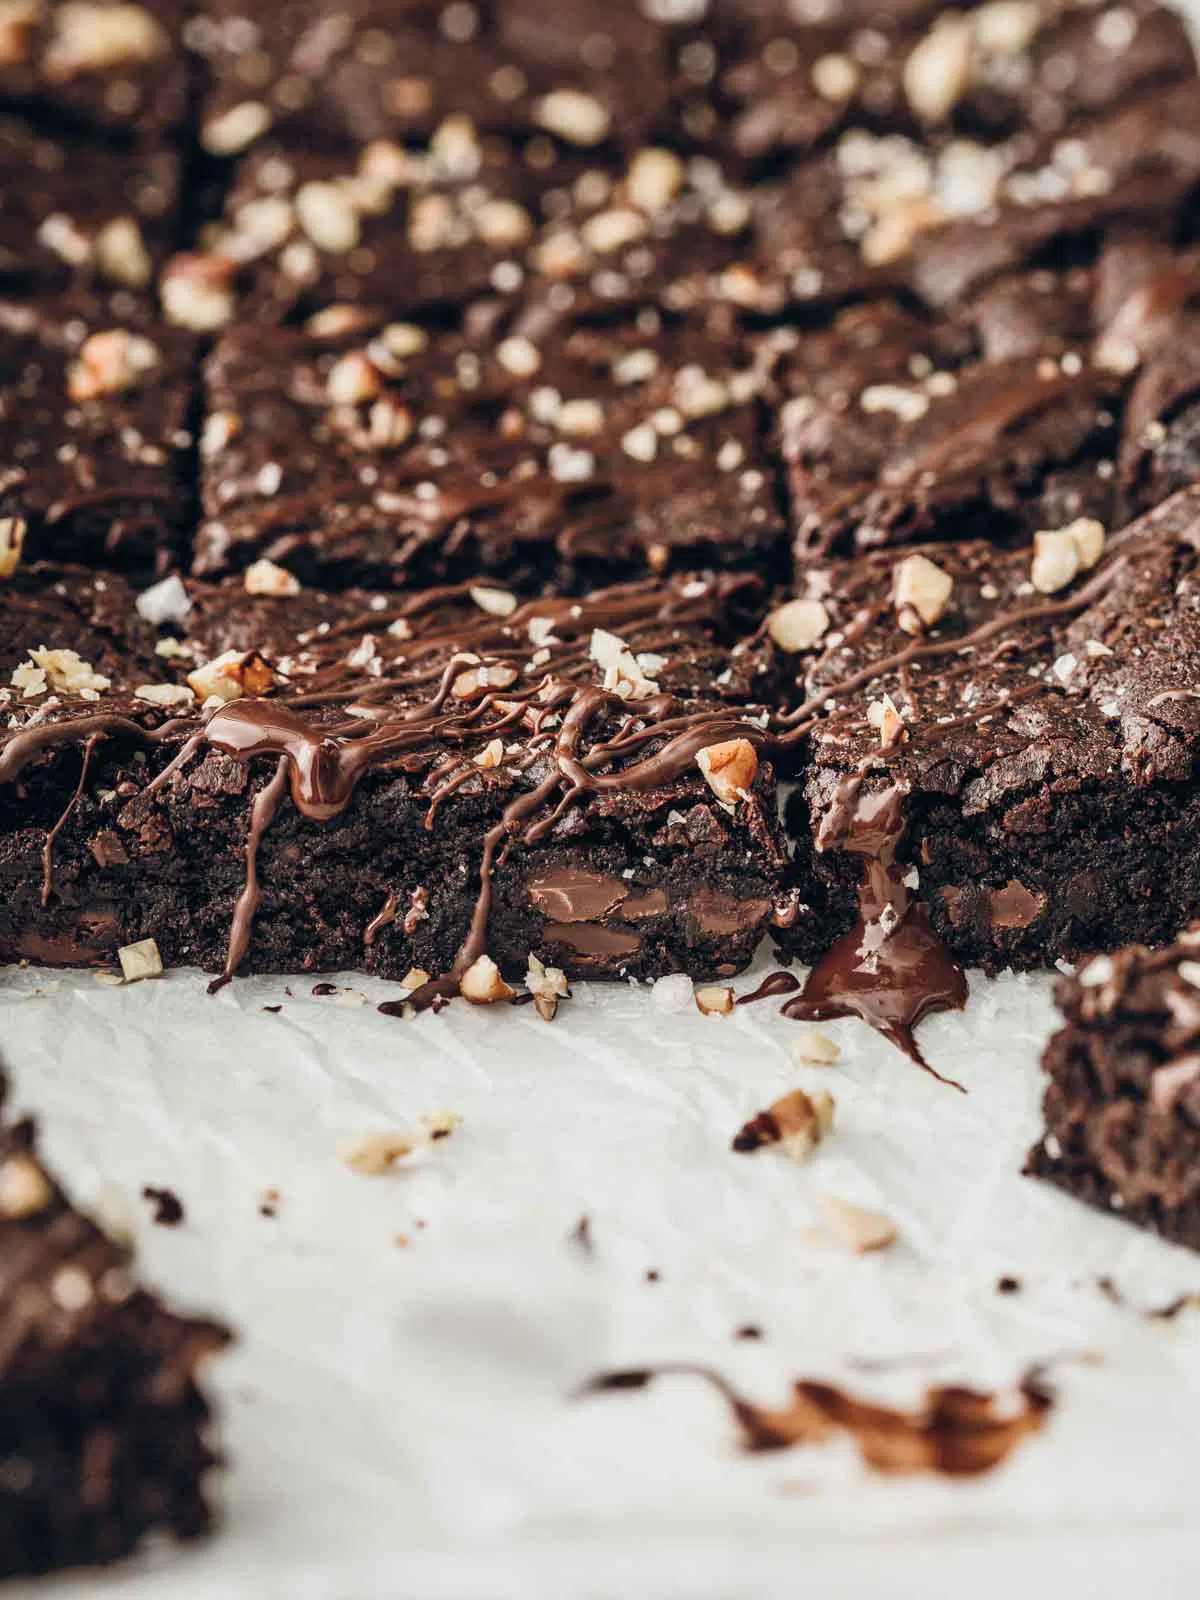
Full disclosure - these chocolate brownies are not strictly nutritionist approved but they are gooey and muddy with a melt-in-your-mouth centre and crisp, shiny top. These fudgy vegan brownies, made without dairy or eggs, require no melting or creaming. Just stir, pour, lick the bowl and bake.
I'm a nutritionist, not a saint.
This recipe was originally posted on August 4, 2020 and updated with instructions, ingredient notes and process images on February 5, 2022.
Jump to:
If you like your chocolate fix pure and uncomplicated - made from pantry ingredients - this is the recipe for you.
Why You'll Love These Vegan Brownies
Oh, where do I begin?!
But, let me be clear; these are not healthy. I repeat, not healthy.
If you are after a healthier treat, check out my Nut-free black bean brownies or even my chocolate beetroot cakes. They are both delicious and almost good for you.
But these brownies are pure decadence.
OK, are you ready to make drool-worthy vegan brownies? Spoons at the ready.
What are Vegan Chocolate Brownies Made of?
This vegan brownie recipe is made from simple, pantry ingredients to create a fudgy, decadent vegan brownie. You're going to need all-purpose flour, cocoa powder, raw sugar, cornstarch, chocolate pieces, oil and vanilla.
OK, let's talk substitutes.
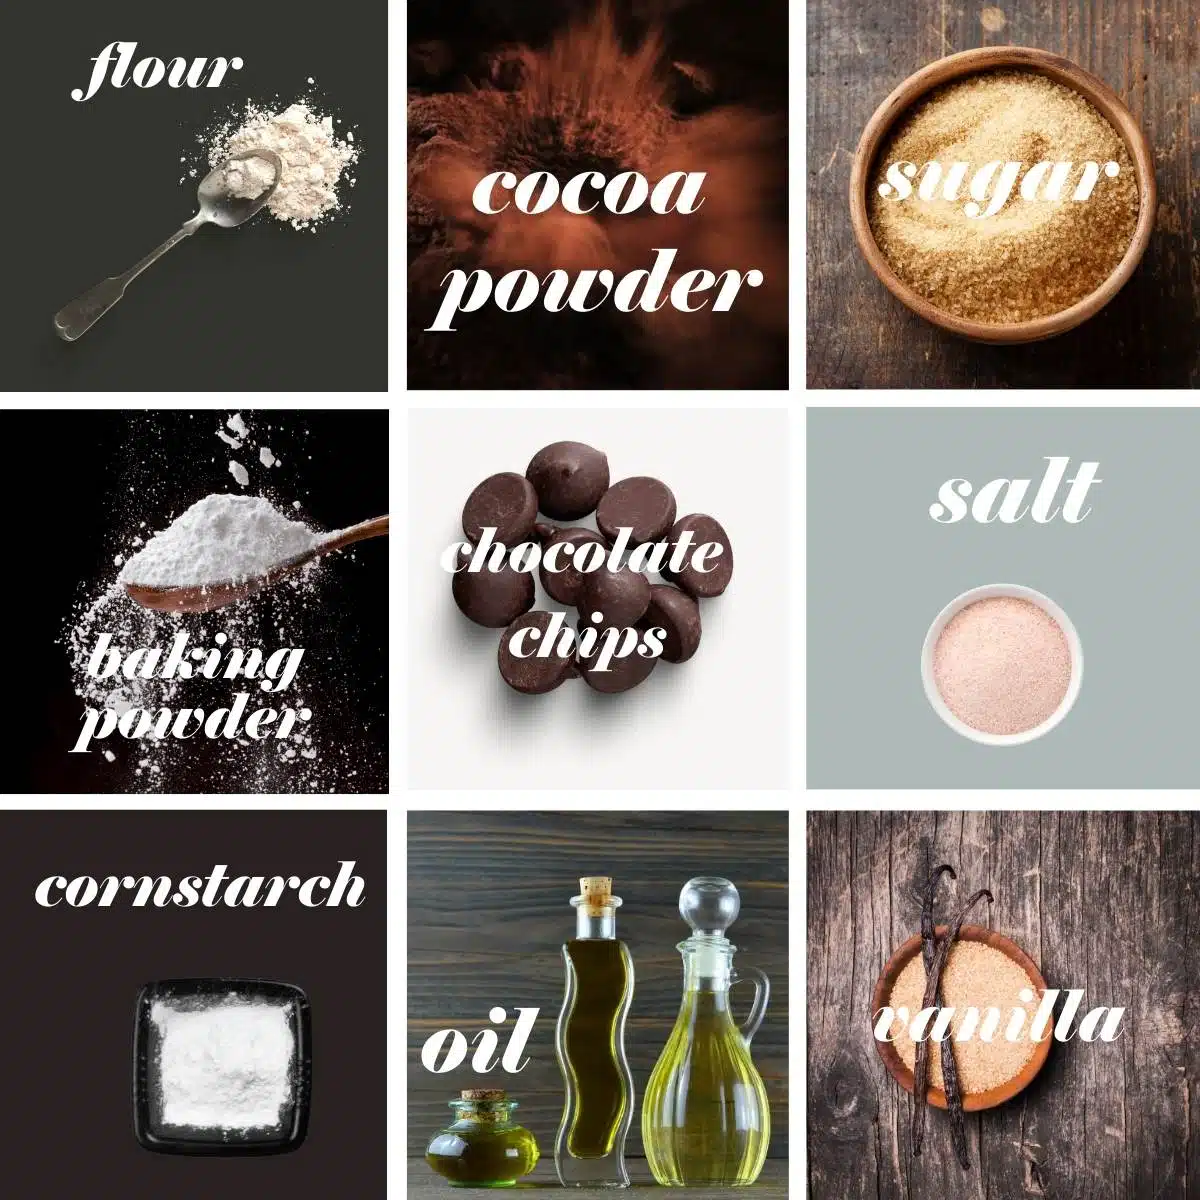
Cocoa powder. I use natural cocoa powder in these brownies to create a deep chocolate flavour. But, because we are using baking powder not baking soda, you can also use Dutch process (or alkalised) cocoa. Just make sure you are buying a vegan cocoa powder.
Sugar. Granulated sugar works best in this vegan brownie recipe to create that tell-tale chewy bite. Brownies contain a fair amount of sugar, but sugar (with fat) is what creates that familiar texture - without a good dose of sugar you've made yourself a cake. I use raw caster sugar but raw granulated sugar will work great.
Oil. Sunflower oil is my preferred cooking oil but any neutral flavoured oil will work.
Chocolate chips. The sky is the limit! As long as they are vegan, you can use any chocolate you like. Chocolate chips not only provide more chocolate-y flavour, but they also help to bind the brownies. I use a good quality dark chocolate, but use what you have.
Vanilla extract. Vanilla gives these vegan brownies added depth - use a good quality extract, not essence.
Cornstarch. Cornstarch (corn flour) is a little secret weapon to creating fudgy vegan brownies with a crisp outer. It also helps to bind the batter.
Know Your Cocoa, You Know?
Cocoa powder is finely ground, partially defatted cocoa solids. It is available in two forms, alkalised or non-alkalised.
Alkalised, aka Dutch Process: Dutch process cocoa is treated with an alkali to neutralise its acids. Because it has been neutralised, it does not provide the acidity needed to react with baking soda on its own. It works well in recipes that use baking powder.
The exception is when there are enough acidic ingredients in the recipe to react with the baking soda.
Dutch process cocoa is darker than natural cocoa, has a smoother, mellower flavour and dissolves more easily in liquids.
Non-Alkalized, aka Natural Cocoa: Natural cocoa is untreated cocoa powder that has a more acidic taste. This is generally the type you'll find in your supermarket.
How to Make Fudgy Vegan Brownies
You'll find full instructions and measurements in the recipe card at the bottom of the post.
Step 1. Combine the ingredients separately
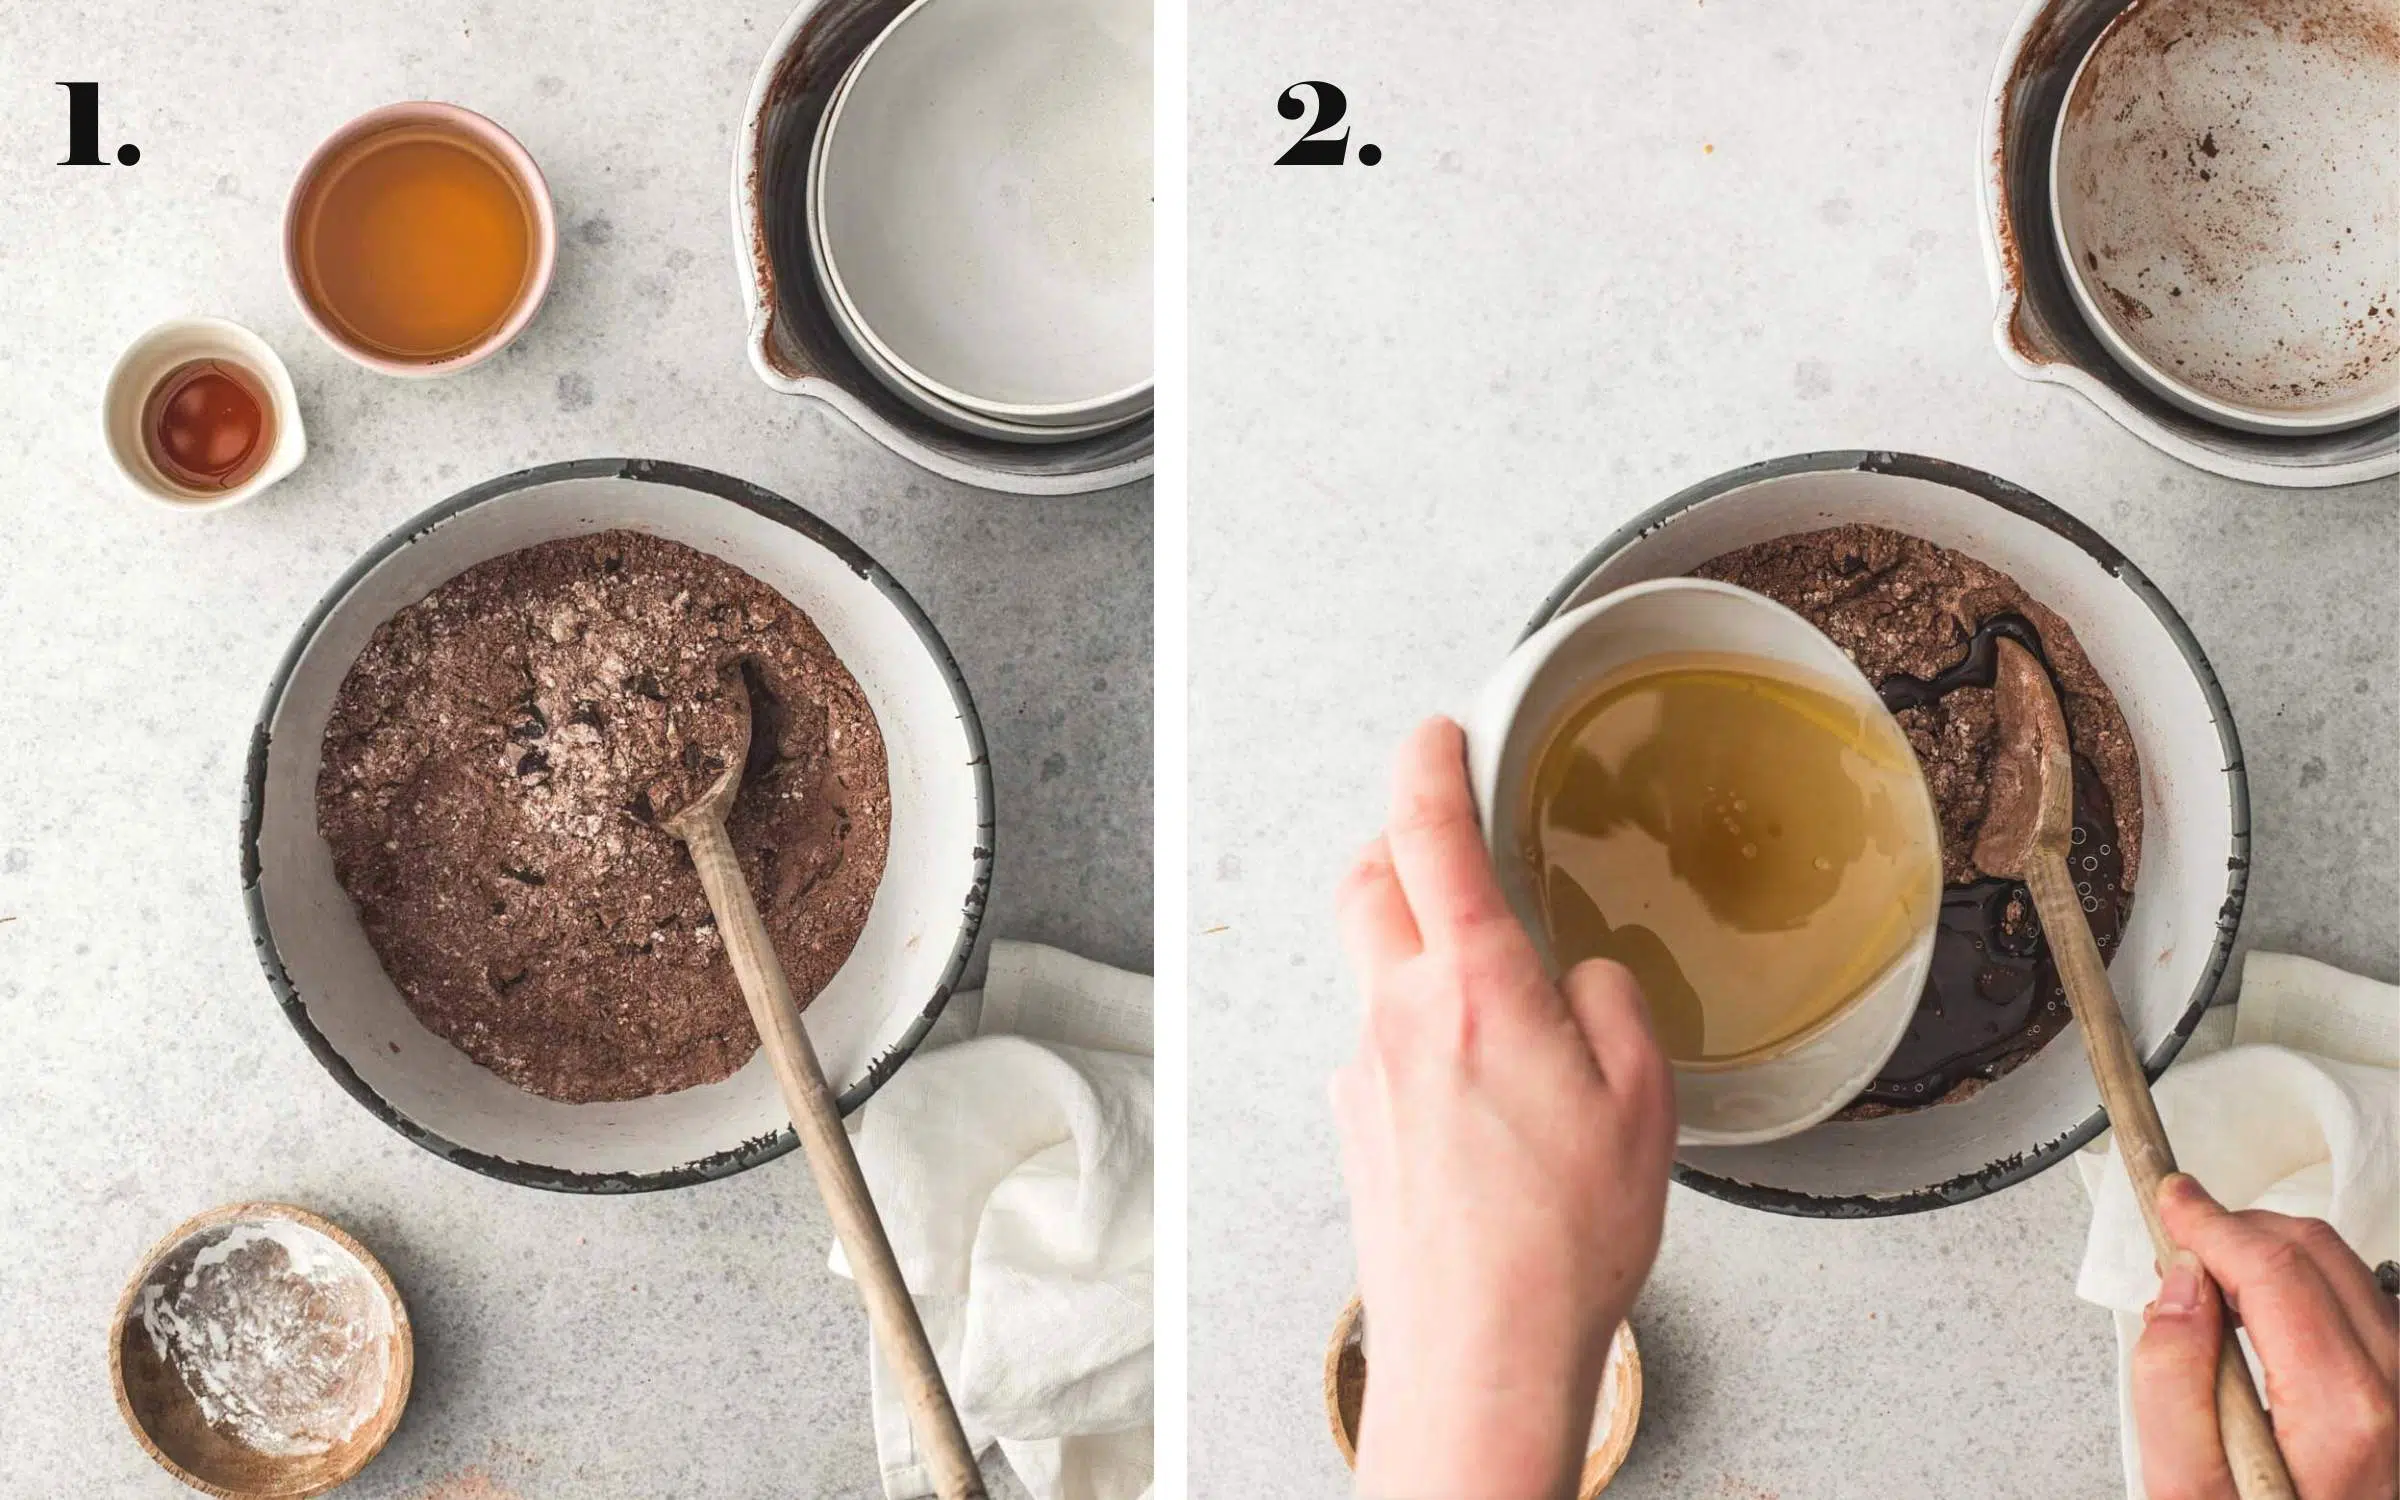
Combine the dry ingredients in a mixing bowl. Also combine the wet ingredients in a separate bowl.
Steps 2 and 3. Combine ingredients
Add the wet mixture to the dry and stir until just combined.
What does "just combined" mean?
"Just combined" means mixing the batter only until the flour disappears. Stop as soon as there are no visible dry streaks and step away.
Why? Because over-mixing develops the gluten network in flour, which can make cakes and brownies firmer, tougher and more rubbery. You want plenty of gluten development in bread, but very little in cakes and brownies.
A few small lumps are perfectly fine. Stopping as soon as the batter is just combined helps create vegan brownies that are tender and fudgy rather than dense and cakey.
Step 4. Transfer to the pan for baking
Transfer the batter to a prepared baking pan. Smooth the batter out as best you can and pop the brownie in the oven to bake until just cooked.
How do I know when the brownie is cooked?
Brownies don't bake like a cake - if a skewer comes away clean, they're probably overdone. Instead, look for these signs:
- The edges of the brownie look set and will have pulled away from the pan a little
- The centre should look set (not wet) but will be slightly soft under your finger when pressed
- A skewer inserted into the centre of the brownie should come away with moist crumbs attached - not wet batter, but not entirely clean either.
Brownies continue cooking after they're removed from the oven because the heat retained in the pan and batter keeps raising the centre temperature for several minutes. This carryover cooking helps set the crumb without drying it out, which is why brownies that look slightly underdone when they first come out often have the best fudgy texture once cooled.
Now that you've baked the perfect brownie. Back away slowly. We are going to let those brownies cool - it will be worth the wait, I promise.
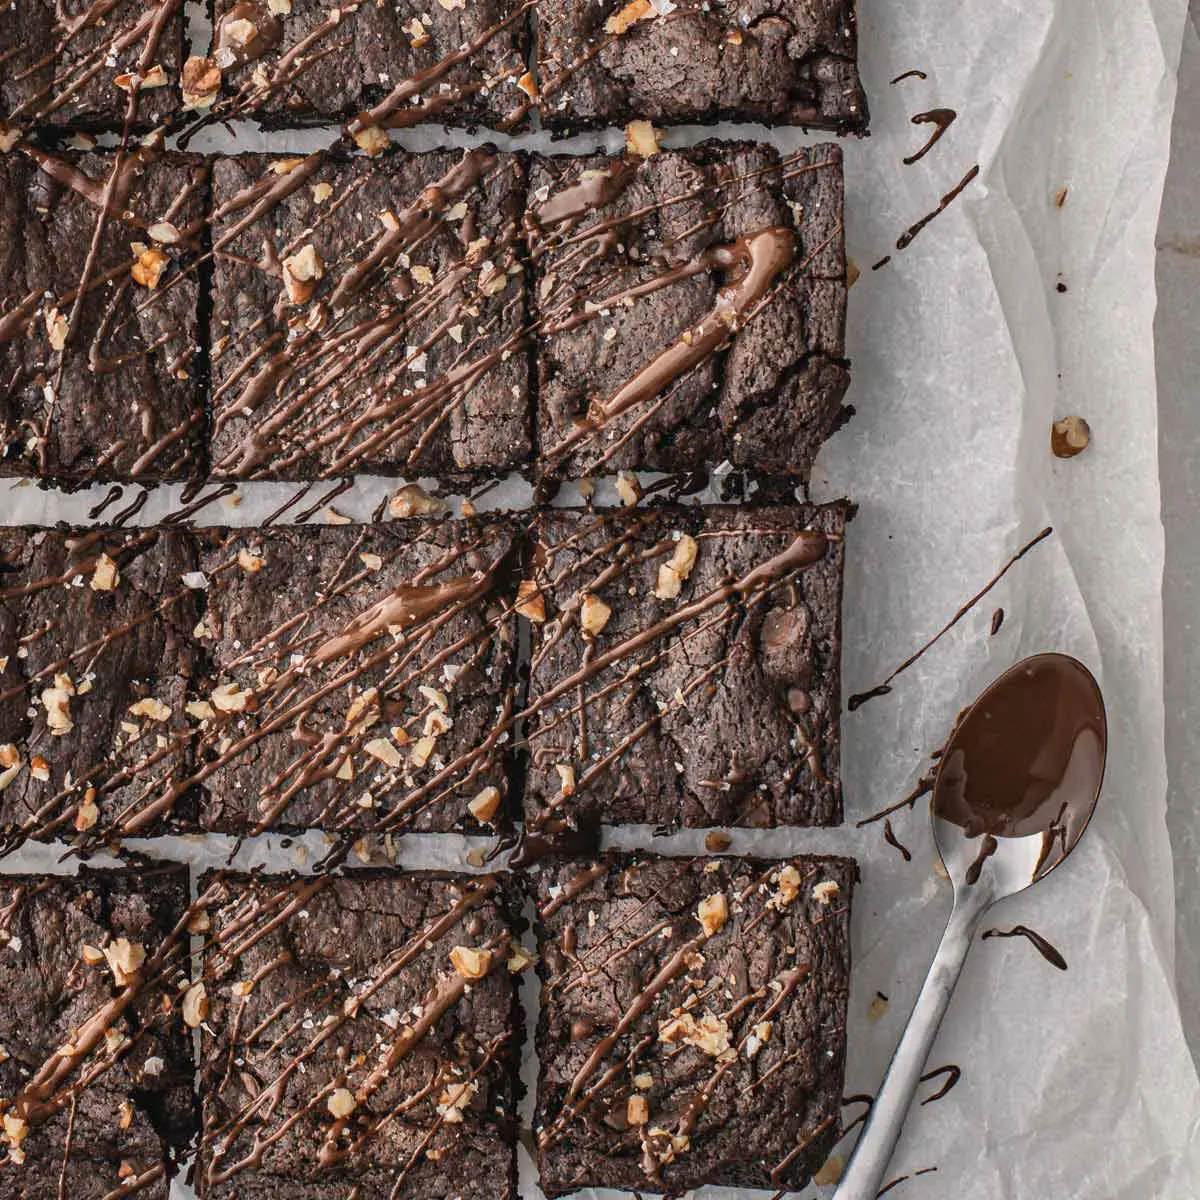
Why do brownies need to cool before slicing?
I know, waiting is the hardest part. But cooling isn't just about patience - it's part of the baking process. As brownies cool, the fats firm up and the crumb continues to set, creating the dense, fudgy texture we're looking for. Cutting them while they're still warm - although delicious - can make them seem underbaked and leave you with messy slices instead of rich, fudgy squares.
Trust me on this one. The wait is worth it.
Tips to Making The Perfect Fudgy Vegan Brownie
Brownies are simple perfection but there are a few tricks you can use to make yours work every time.
How to Cut A Brownie Like a Pro
You are probably wondering why I'm telling you how to use a knife. You've been doing it since you were 6, right?
Brownies are a different beast, that's why. All that gooeyness makes cutting a little trickier. So to get those lovely brownie squares, we've got a few tricks up our sleeve.
I am all for eating brownies straight out of the pan with a spoon but if you want the squares, follow these steps.
Recipe Notes
FAQs
You can! I've had feedback from readers that Bob's Red Mill 1 to 1 baking flour works great in this recipe.
If you after a "tested" gluten-free brownies recipe, try this one from Angela at Oh She Glows. I made this so many times when I first went vegan so I can whole-heartedly attest to its awesomeness.
Begin checking your brownie at least 5-minutes before the recommended cook time.
Check by inserting a skewer in the centre of the brownie - you are looking for a few crumbs or the tiniest touch of moist batter. If the brownie is still "wet", give it a few more minutes and try again.
Remember, the brownie will continue to cook once it is removed from the oven. Undercooked brownies are always better than overcooked.
Store your brownies in the refrigerator in a sealed container for up to a week. Simply warm them a little in the microwave for 20 seconds if you want to serve them warm. Or leave them on the counter to come to room temperature.
Yes, these brownies freeze beautifully. After they are completely cooled and ready to cut, either wrap them individually in parchment paper and foil (or a zip-lock bag) or wrap the entire slab before cutting.
Pop the brownies in the freezer for up to six months.
To thaw the entire slab, take it from the freezer and thaw at room temperature for an afternoon. Do the same for brownie squares but the thawing process will take less time.
More Chocolate
Sign up to my newsletter and follow along on Facebook, Pinterest and Insta for all the latest news. If you like this recipe, please check out my cookbook "Great Vegan Meals for the Carnivorous Family" It's full of simple, carnivore-approved family recipes.
Make This Recipe
Fudgy Vegan Brownies Recipe
Ingredients
Dry Ingredients
- 1 cup (150g) all-purpose flour
- 1 and ½ teaspoon baking powder
- 1 and ¼ cups (285g) raw caster sugar
- ¾ cup (75g) cocoa powder
- 1 teaspoon fine salt
- ¼ cup (37g) corn starch
- 1 cup (20g) small chocolate buttons chunks
Wet Ingredients
- ½ cup + 1 tbsp sunflower oil or a neutral flavoured oil
- 1 teaspoon vanilla
- ⅔ cup water
Instructions
- Preheat oven to 180°C (350°F) or 160° (320°F) fan-forced and line a brownie tray with baking paper.
- Stir together the flour, baking powder, sugar, cocoa powder, salt, corn starch (cornflour) and chocolate buds in a large bowl to combine.
- In a separate bowl mix together the water, oil and vanilla.
- Add the wet ingredients to the dry and mix until just combined.
- Transfer the batter to the prepared brownie tray and smooth it out as best you can.
- Pop the tray in the oven and bake the brownie for 35-43 minutes (see notes below) or until just set. It is best to undercook a brownie than overcook. See the recipe notes for different cooking times.
- Remove the brownie from the oven and allow it to cool completely before cutting in to squares. Store in an airtight container at room temperature for up to 3 days or in the fridge for a week.
Notes
- Line your brownie pan with enough baking paper to hang over the edges. This will make removing the cooked brownie so much easier.
- Don't over-mix your brownie batter. Mix to combine and stop.
- It is better to under-bake brownies than over-bake, always.
- Leave the brownies to cool completely before you cut in to them.
- To make brownies to die for, stir through a heap of chocolate chips or chunks. Besides giving you little pockets of melted chocolate, the additional chocolate makes the brownie extra fudgy. The chocolate melts in to the batter as it bakes!
Nutritional Disclaimer
The nutritional information is an estimate only and is automatically calculated using online tools. For accurate results, we recommend calculating the nutritional information based on the ingredients and brands you use.


Comments
No Comments