
If you love kimchi as much as I do, learning to make it at home is a total game-changer. Besides saving you a ton of money, it is incredibly good for your gut health. Full disclosure—I've completed my Post Grad in Nutrition so we are absolutely going to geek out over the science of fermentation here! Your gut is actually your body's largest immune organ, and packing it full of live, happy probiotics is one of the best things you can do for your wellness. To take all the intimidation out of the process, I’ve broken everything down with easy, step-by-step instructions and foolproof tips so you can ferment with absolute confidence.
This recipe was originally posted July 23, 2017 and updated July 12, 2021 with updated instructions, technical information, process images and recipe tips.
Jump to:
- Why This Vegan Kimchi Recipe Works
- What is Kimchi and Can it be Plant-based?
- Kimchi, Nutrition and Gut Health
- How Fermentation Works (Science Stuff)
- Ingredients & Substitutions
- How to Make Vegan Kimchi (Step-by-Step Guide)
- How do I Know if my Kimchi is Fermenting?
- Storage
- Recipe Tips
- How to Serve Vegan Kimchi
- FAQs
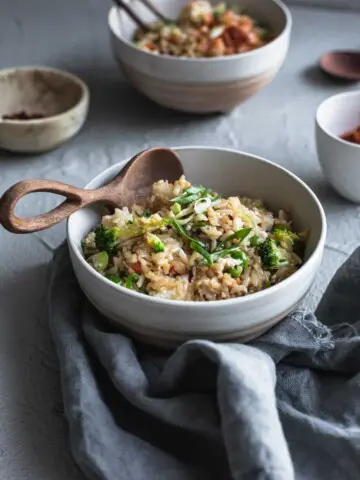
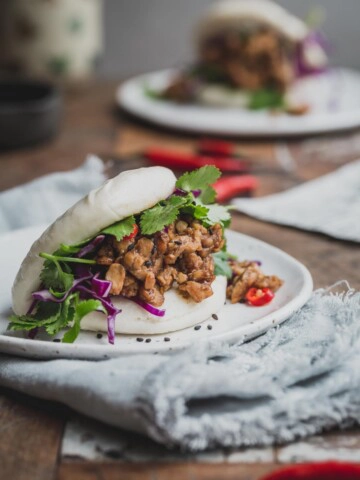
- Try Your Kimchi in These Recipes
- Make This Recipe
- Leave a Comment
Before we begin, you will need some time to make your homemade kimchi. Most of it is hands-off, but to give you an idea:
Prep time: 30 minutes | Brine time: 4 hours | Fermentation time: 24-36 hours (depending on the environment).
Why This Vegan Kimchi Recipe Works
Reader Review. Amazing. Delicious. Nutritious. Thank you for the recipe Amanda. I am sharing it with everyone! (Jasmine) ★★★★★
Making kimchi is a great way to start your fermenting journey and this recipe is super simple.
What is Kimchi and Can it be Plant-based?
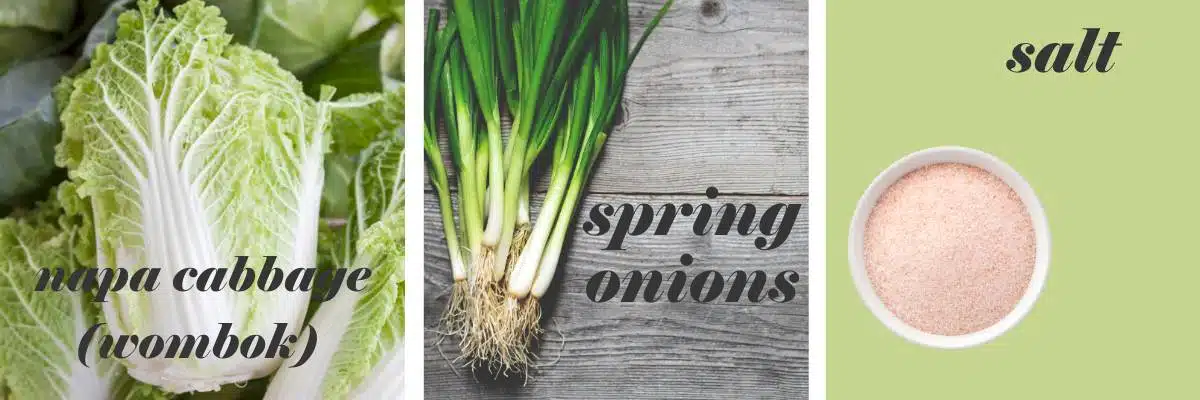
Kimchi is a traditional fermented Korean condiment made with vegetables, most commonly Napa cabbage, or Wombok if you are in Australia.
Traditional Korean kimchi uses seafood products to introduce depth and a little "funk". This vegan kimchi replaces these elements with a plant-based umami alternative Doenjang (Korean soybean paste), but I've also seen standard white miso, or soy sauce in other recipes.
The core process remains rooted in lacto-fermentation, where Lactobacillus bacteria naturally present on the vegetables convert sugars into lactic acid. This acid acts as a natural preservative, lowering the pH and creating an environment that inhibits harmful pathogens (including Clostridium botulinum). During fermentation, the bacteria also produce carbon dioxide (CO₂), contributing to the characteristic bubbling, and the signature sour tang develops as lactic acid accumulates.
Records indicate this vegetable side has been around for some 3000 years with the first references being to salted cucumber.
Don't be intimated by lacto-fermentation - fermentation will occur whether you care to read this section or not.
Source: News H
Kimchi, Nutrition and Gut Health
Did you know, your gastro intestinal tract (GIT) acts as the largest immune organ in the body hosting 60–80% of your general immune cells?
Consuming raw, fermented foods introduces beneficial microbes that support digestion, enhance gut barrier function, and modulate systemic inflammation. As a nutritionist, I am a big believer in feeding your gut to support your immune system which helps fight against infection while protecting your body's cells.
How Fermentation Works (Science Stuff)
OK, let's make some delicious, funky, vegan kimchi.
Ingredients & Substitutions
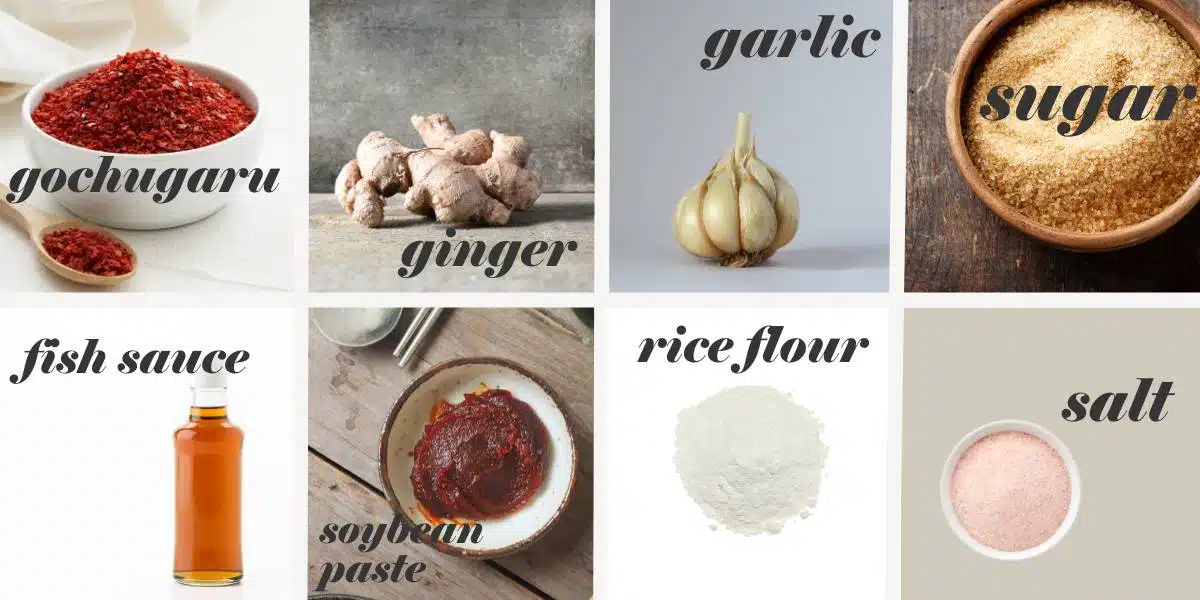
For the paste.
For the kimchi.
Gochugaru. A smoky, sweet Korean chilli used to make kimchi found at any Asian grocery store - you'll want the dried ground variety, not the paste. Regular chilli flakes don't provide the depth required.
Soy bean paste. Soy bean paste provides that hit of umami needed to create a full-bodied kimchi. Traditionally, kimchi is made with shrimp paste but soy bean paste is a great substitute. It is available in some grocery stores and all Asian grocers. Red miso may substitute.
Vegan fish sauce. You can find vegan fish sauce in some grocery stores, Asian grocers and whole food markets. It provides another unique layer of depth to the recipe.
Glutinous rice flour. Asian grocers always carry glutinous rice flour. It can't be substituted for rice flour; it must be the glutinous variety. You can skip this but I use it for a thicker kimchi.
Iodine-free salt. Iodine inhibits the fermentation process so you'll need a fine salt without iodine.
How to Make Vegan Kimchi (Step-by-Step Guide)
Before you begin making kimchi, give your hands and cooking space a clean. Hot water and soap will do.
Preparing the Cabbage
You'll find full instructions and measurements in the recipe card at the bottom of the post.
Salting or brining the cabbage inhibits bacterial growth and tenderises the vegetable.
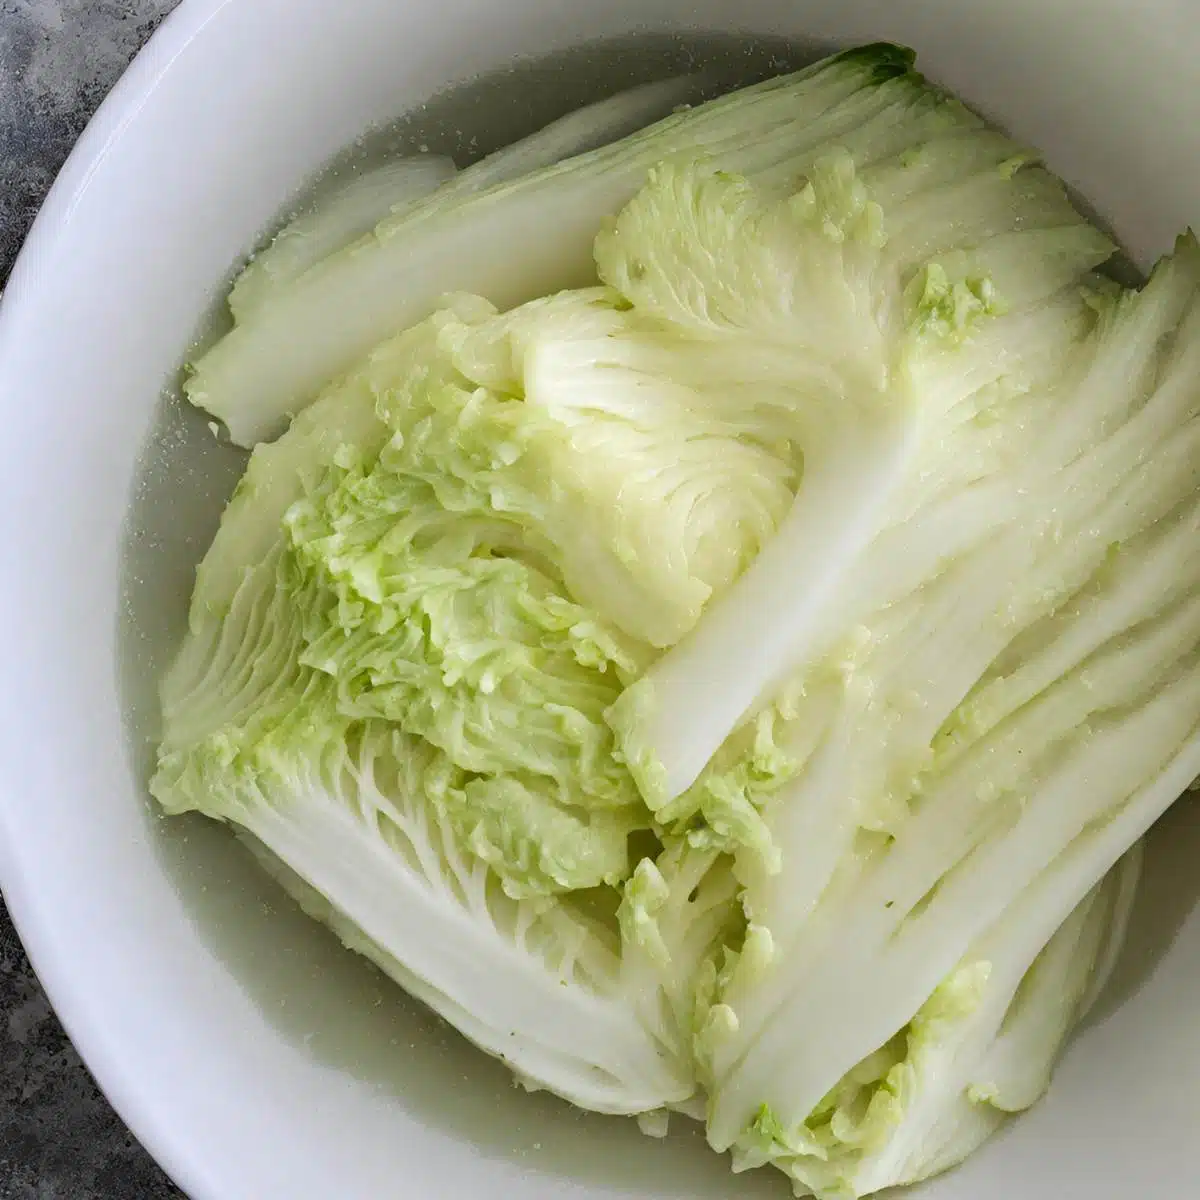
There are two ways to salt the cabbage; the first is to sprinkle dry salt on each leaf and sit it for 6 to 8 hours. The second way is to use a salt bath - that's the method we're using today. I find it simpler and less fussy.
I use around 10% salt solution to make my vegan kimchi. Meaning for every 10 cups of water, I use one cup of non-iodonised salt.
First, remove the cabbage's outer leaves (set them aside for later use), cut the remaining cabbage in to quarters lengthways and then chop into 1-inch pieces and pop them in large bowl or container. You can add the spring onions too.
Cover everything with water - 10 cups is usually enough to cover a single cabbage- and add the salt. Smoosh and mix the cabbage and salt water until the salt is combined and the cabbage is submerged.
Leave to sit and tenderise for 3 to 4 hours or until the cabbage is soft and floppy.
Tip. Cutting the cabbage into 1-inch pieces also makes it easier to eat. Whichever you prefer.
Drain the salt water from the cabbage and taste a leaf. If the leaf is too salty for you, give the batch a super quick rinse and taste again. You want it salty but not so much that you can't eat it. Give the cabbage a squeeze to remove any excess water.
Alrighty, let's finish the recipe.
Prepare Your Vegan Kimchi Paste
This recipe uses glutinous rice flour (not plain rice flour) to thicken the kimchi. It is optional.
To use it, combine half a tablespoon of the flour with a third of a cup of water. Stirring constantly, heat them together in a saucepan over medium heat until the mixture thickens. It will look like smooth glue. Remove from the heat to cool a little while you gather the other paste ingredients.
Process all the paste ingredients, including the rice flour "glue", together to a paste.
Combine the Cabbage and Paste
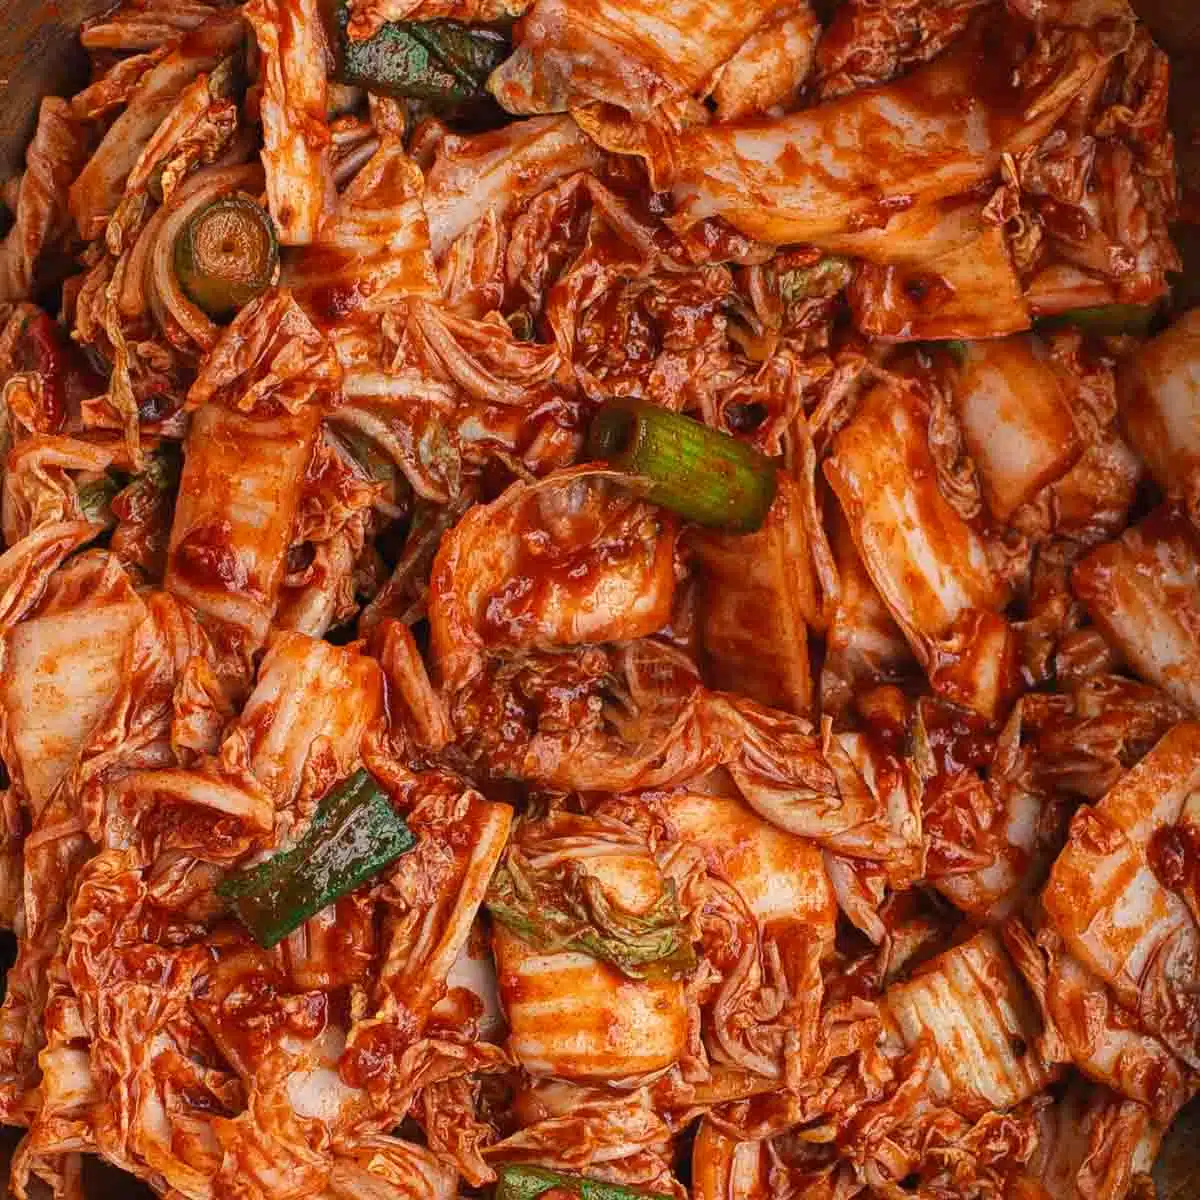
Wearing disposable gloves, massage the paste in to the cabbage making sure every piece is coated.
Keep your hands away from your nose and eyes - the paste is pungent and spicy.
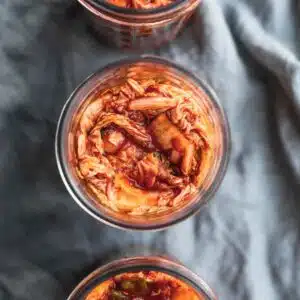
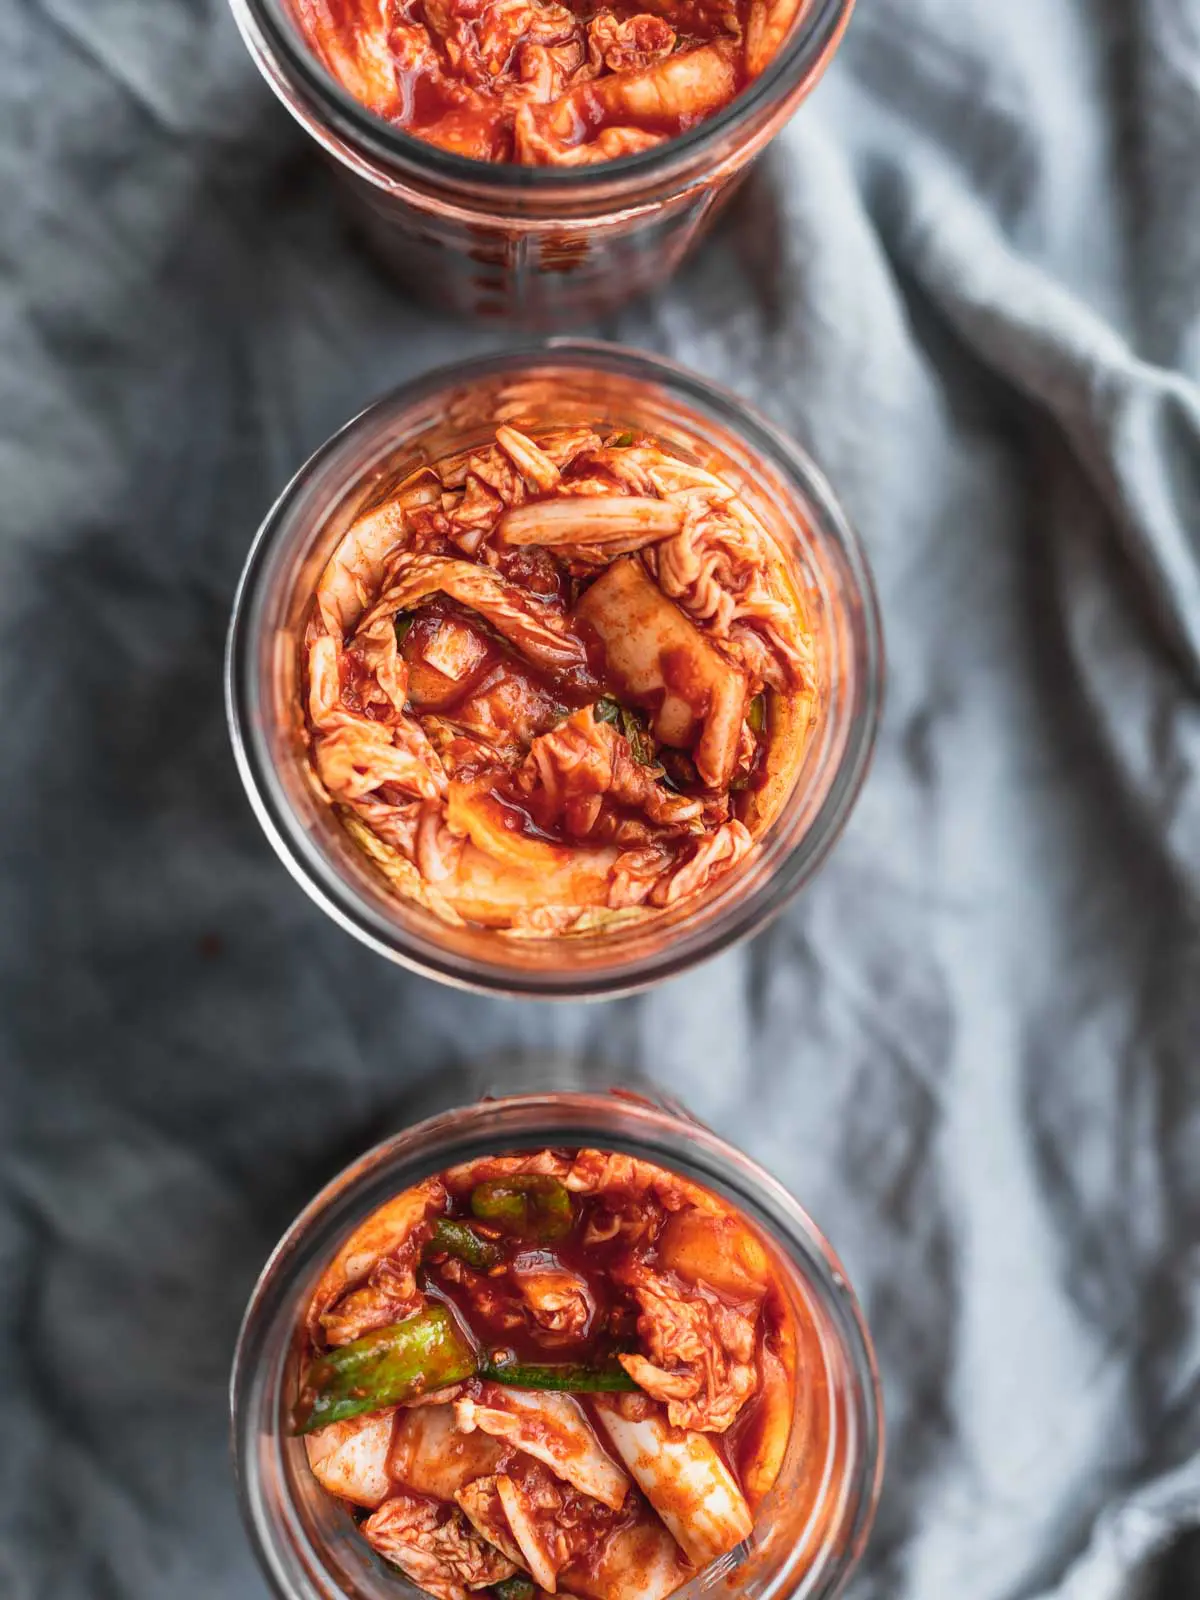
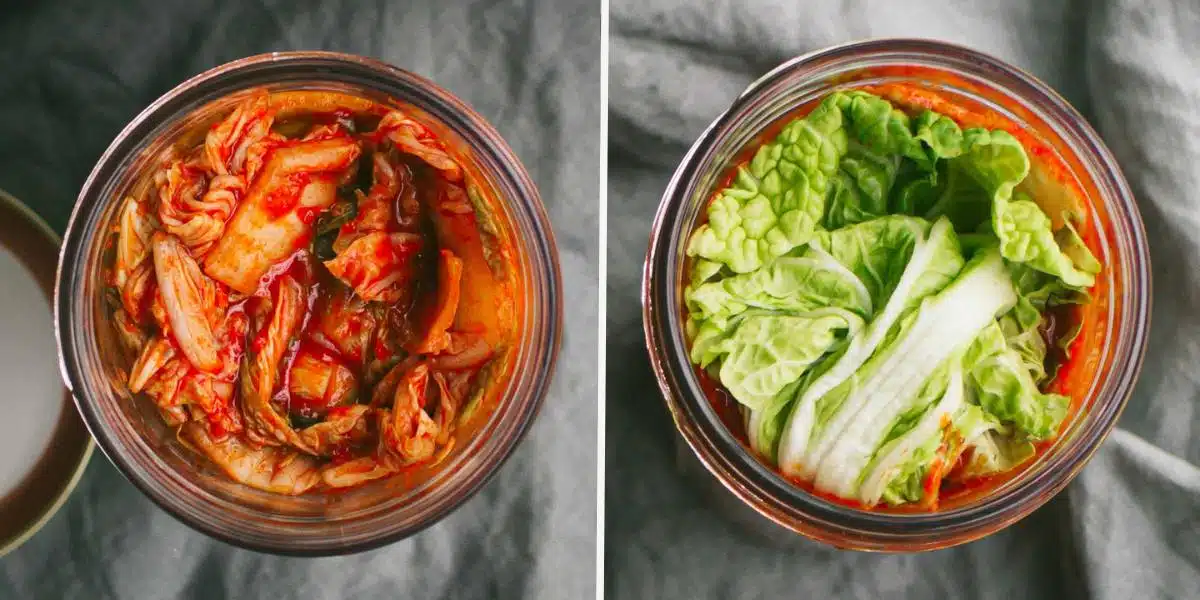
Pack The Jars
Fill sterilised jars* with your kimchi making sure to fill in any air holes and pressing down (compacting) as you go. I poke a chopstick in to my jar popping any air holes as I go.
Air is a breading ground for bad bacteria, so take the time to pop those holes!
Fill the jars, leaving a full inch between the kimchi and the jar's opening. Fold one of the outer leaves you set aside over the top of the mixture to hold it down (to be honest I don't always do this) and seal with a lid.
*My homemade strawberry jam with chilli post has complete instructions to help you sterilise jars properly.
Let the Fermenting Begin
To create its iconic funky tanginess, kimchi relies on fermentation. The longer you leave your kimchi, the more lactic acid will develop and the more sour it will taste. When you see bubbles developing, you know the fermentation process is working. You can taste the kimchi each day (be careful not to contaminate the inside of the jar) until it reaches your preferred sourness.
I find leaving the jars on the kitchen counter for 24-36 hours (in warm weather), or up to 5 days in the cooler months, the sweet spot.
Alternatively, you can ferment your vegan kimchi entirely in the fridge - it will take 2 to 3 weeks. Kimchi will keep in the refrigerator for 3 to 4months.
How do I Know if my Kimchi is Fermenting?
Look for the bubbles! After a few days, look for bubbles in your jar (you can tap your jar if you need to). Bubbles are a clear sign of fermentation. Overflow is another sign of fermentation and a great indication you need to burp your kimchi baby. Loosen the lid to release gas and tighten it again.
Storage
Store your kimchi in the fridge. This kimchi is un-pasterised meaning the beneficial bacteria is still alive and the kimchi will continue to ferment. If you leave it at room temperature too long, gas will start to build up in the jar. When you open the jar, it may explode.
Popping your kimchi jars in the fridge won't stop the fermentation process but it will slow it down. It will happily live in the fridge for more than a year.
Recipe Tips
Once you've made your own vegan kimchi, you'll never go back - it is so easy and tastes crazy good. Also, it adaptable! You can tweak it to suit your taste, After you've mixed the paste in to the vegetables have a little taste. Need more sugar? Add a little? More salt? Have at it!
How to Serve Vegan Kimchi
FAQs
Not always. Traditional kimchi is made with fish sauce and shrimp paste. If you prefer to buy your kimchi, check the ingredients.
While any type of table salt will work, idodised salt inhibits the fermentation process so try and buy unrefined, un-iodised fine salt.
15C (60F) - 20C (68F) degrees is the best range to ferment. 18C (65F) degrees is the sweet spot. If the room is too cool, fermentation will take a lot longer, too warm and the kimchi may spoil. Find a nice cool place out of direct sunlight and watch the science begin.
Temperature plays a part in the fermentation process. If you are concerned and don't want to leave your kimchi out at room temperature, you can ferment in the fridge - it will take 2 to 3 weeks.
If you kimchi smells normal, it probably is. If you see any signs of mould, it has gone bad and should be disposed of.
Fermenting is an ancient form of preserving food - it was around long before refrigerators. Making sure your preparation area, equipment and hands are clean will go a long way to creating a healthy and safe fermenting environment.
Having said that, fermented foods have a limited shelf life. Spoiled fermented foods are not good for you. Like any food, if a fermented food smells unmistakenly rancid or putrid, don't eat it.
I'm not going to lie, we eat a ridiculous amount of kimchi and there is never any left to freeze so I cannot speak to this with much authority.
But, I did a little digging and found this article at Pantry Tips. It's a super helpful post and well worth a look.
"Yes, you can freeze kimchi. By freezing kimchi, you can extend their shelf life for up to 7 years. Kimchi will need to be stored in an airtight container or freezer bag and sealed tight to prevent air from leaking in. Any air that gets in the container or bag can cause freezer burn to the kimchi."
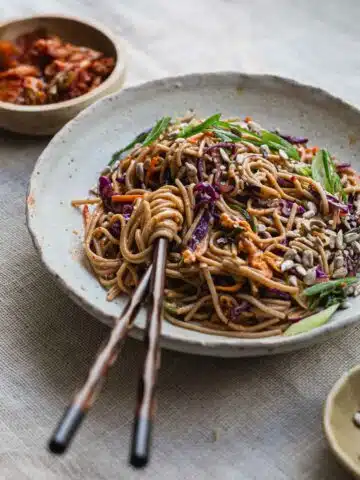
Try Your Kimchi in These Recipes


Sign up to my newsletter and follow along on Facebook, Pinterest and Insta for all the latest news. If you like this recipe, please check out my cookbook "Great Vegan Meals for the Carnivorous Family" It's full of simple, carnivore-approved family recipes.
Make This Recipe
Make Your Own Vegan Kimchi
Equipment
- a large bowl or container to hold the cabbage
- food processor
Ingredients
- 1 Wombok (Napa) cabbage outer leaves removed (and set aside) and remaining cabbage cut in to inch-size pieces
- 6 spring onions cut in to 1-inch batons
- 1 cup non-iodonised salt
- 10 cups cold water
Kimchi Paste
- ½ tablespoon glutinous rice flour (optional)
- ⅓ cup cold water (optional)
- 1 tablespoon soybean paste
- ¼ cup vegan fish sauce
- ½ cup Korean chilli powder gochugaru
- ¼ onion peeled and roughly chopped
- 6 garlic cloves peeled and roughly chopped
- 1 tablespoon ginger around a 1-inch piece, peeled and sliced
- ¼ cup raw caster sugar or plain sugar
Instructions
- Remove the outer leaves of the cabbage and set aside. Chop the remaining cabbage in to 1-inch pieces.
- Transfer the cabbage to a large bowl or container (large enough to hold the cabbage) and add enough water to just cover. I find 10 cups is usually enough. Add 1 cup (10 per cent) of fine salt and stir the mixture well with your hands until the water is salty and the leaves are covered. Add the spring onions to the mixture. Set aside, covered, for 3 to 4 hours or until the cabbage is tender.
- Meanwhile make the kimchi paste. Combine the glutinous rice flour and the ⅓ of a cup of water in a saucepan and heat it over low to medium heat, stirring constantly. Heat until the mixture thickens to a smooth paste. It will look like thick glue. Remove from the heat to cool.
- Add the rice flour paste and the remaining kimchi paste ingredients to a processor and blend to a smooth paste. Set aside.
- After the cabbage has been salted and is tender, drain it. Taste a cabbage leaf and if it is too salty give the cabbage a super quick rinse (don't wash away all the salt!) and drain well.
- Put on a pair of disposable kitchen gloves.
- Transfer the cabbage and spring onions back to the bowl and add the kimchi paste. Massage the paste in to the vegetables really well making sure they are all well coated.
- Still wearing gloves transfer the kimchi in to clean jars making sure to fill in any gaps or air bubbles. Press down as you go. Leave a 1-inch headspace between the kimchi and the jar's opening. Fold one of the outer cabbage leaves we set aside earlier over the top of the kimchi to hold it down and seal with a lid.
- Place the sealed jars on your kitchen counter away from direct light for 3 to 5 days to ferment. If the weather is hot only ferment for 1 to 2 days. Store in the refrigerator for 4 to 6 months. You can ferment your kimchi in the fridge rather than on the counter. Simply pop the prepared jars in the fridge to ferment for 2 to 3 weeks.
Notes
Nutritional Disclaimer
The nutritional information is an estimate only and is automatically calculated using online tools. For accurate results, we recommend calculating the nutritional information based on the ingredients and brands you use.
Sandra Kay Doebert says
Looks like a great recipe! How much is a serving size, please?
Amanda says
Hi Sandra. I have estimated the serving sizes to be a little over a quarter cup. It's a little tricky because Napa cabbage (Wombok) doesn't come in a standard size. I usually (but not always) get around 4 x 500ml jars of kimchi from this recipe. I am in Australia so I get 8 x a quarter cup per jar which is 32 serves overall. However, the Womboks I use are quite large so I've set the servings to 25.
I hope this is helpful. Sorry, I couldn't be more precise. 🙂
Jasmine says
Amazing. Delicious. Nutritious.
Thank you for the recipe Amanda. I am sharing it with everyone!
X jasmine
Amanda says
You're awesome. Thanks so much Jasmine! xx
Kim says
Reading this recipe made me remember that I found your blog while searching for kimchi recipes a few years ago. It’s an excellent recipe and not intimidating. I still make kimchi years later but sometimes I cheat and buy a huge jar at the Asian market by my house. I do save their large jar to put my own in though ! Thanks again!
Amanda says
Oh, I love hearing that Kim! Thank you. I cheat too sometimes. My local Asian grocer carries a vegan kimchi and sometimes it's just easier.I gotta have kimchi in my kitchen - no matter who makes it. Have a great day. A, x.
Debby Michalowski says
How do I make it MILD?
Amanda says
Hi Debby,
You could cut way back on the Korean chilli pepper - maybe only add a 2-3 tablespoons. It is pretty spicy stuff. I did a little look around and found this recipe for a mild kimchi. Baek Kimchi has no chilli in it - https://mykoreankitchen.com/baek-kimchi-non-spicy-white-kimchi/#wprm-recipe-container-9645
I hope this helps!
A.
kim chi ngon says
A strange & good way to make kimchi korea. I will try this approach! Thanks for sharing <3
Amanda says
Thank you for visiting. i feel a little under pressure - your kimchi looks so beautiful.