
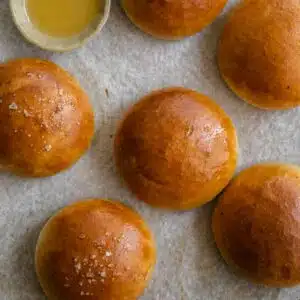
Are you ready to make your own fluffy yet buttery vegan brioche buns? If your answer is a resounding "Yup," read on, my friend.
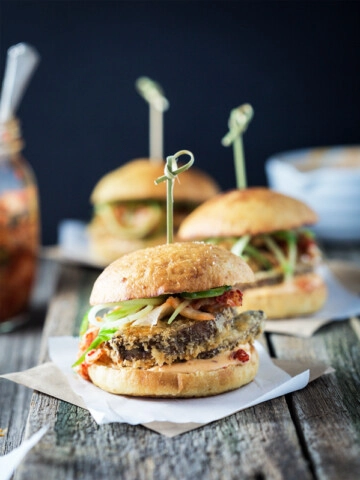
These buns are the ones I use for my kimchi burgers and my portobello burgers and they are so good. They're buttery, slightly chewy, sweet but savoury too.
Jump to:
Is Brioche Vegan?
Traditionally no.
Brioche is an enriched bread traditionally made with a lot of butter and a lot of eggs. The eggs and butter give the crumb a light and fluffy texture.
What is Brioche?
Brioche is considered a Viennoiserie – a sweeter, more indulgent form of bread. Besides being completely decadent and delicious, it can be used for both sweet and savoury.
You might ask “is brioche bread or cake?” I ask "how much brioche can I stuff in my face?" but that's a discussion for another time. (the answer is, "a lot").
Brioche is not your average bread and these brioche vegan brioche buns are not your average buns. Are you ready to elevate your next burger to epic status?
Awesome.
Ingredients
As special as they are, these vegan brioche buns comes together with very basic ingredients.
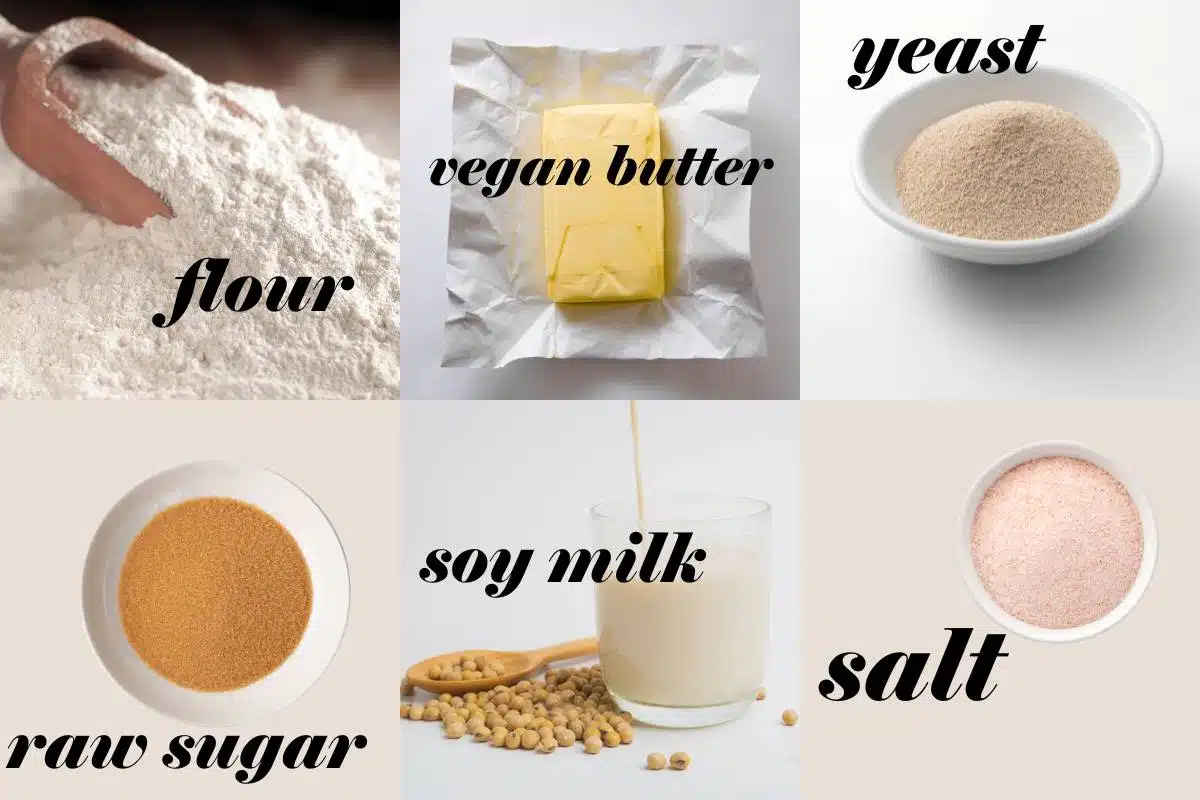
Flour. I use plain flour but you can also mix half plain and half bread flour. Bread flour contains more gluten resulting in slightly chewier buns, while all purpose flour keeps them softer.
Butter. My preferred baking butter is Naturli (not a sponsored link, I just love their product). Choose a good quality vegan butter if you can.
Sugar. I always use raw sugar but white sugar is OK too.
Active dry yeast. We are going to bloom the yeast in warmish milk so just use active dry yeast. You don't need instant yeast here.
Dairy-free milk. I usually use soy milk but oat or nut milk will work too.
Salt. Always.
Step-by-Step Guide
You'll find full instructions and measurements in the recipe card at the bottom of the post.
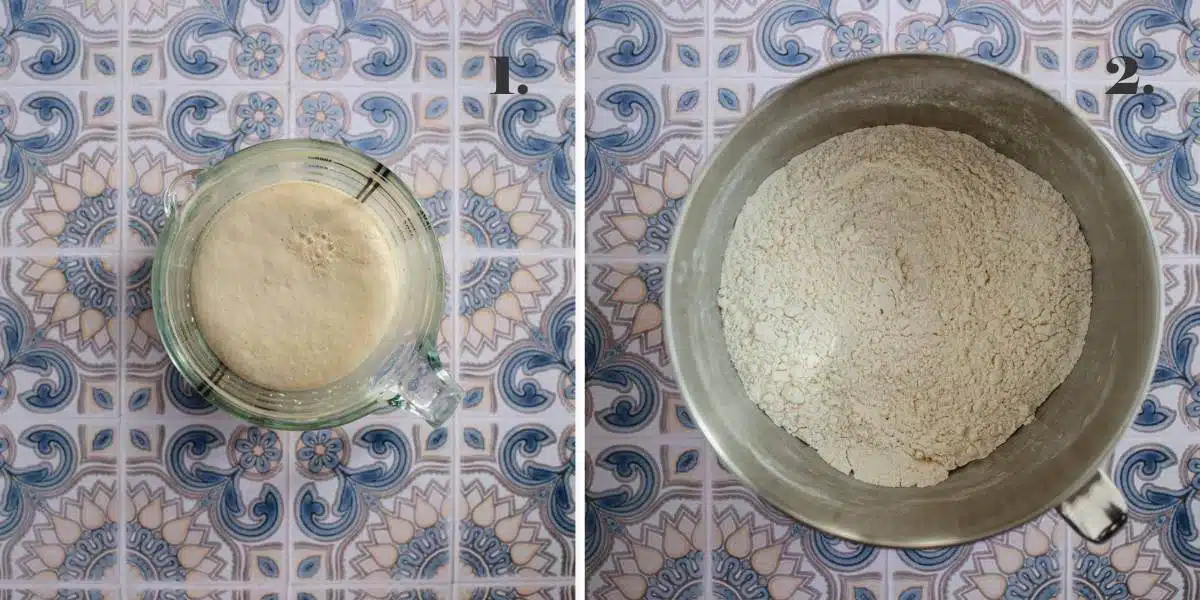
Step 1.
OK, grab a small saucepan, add your milk and heat it over low heat until lukewarm but not hot - about 40°C (105°F). You can also just heat your milk in the microwave for 10 seconds. Remove from the heat and transfer to a jug or bowl and add the yeast, water, and 1 tablespoon of sugar. Give it a quick stir and leave for 5 to 10 minutes, until foamy.
Step 2.
While you wait for the yeast to bloom (foam), set up an electric mixer with the dough hook and mix together the flour, sugar, and salt, just to combine.
Direct contact with salt inhibits yeast activity. Always make sure to mix the salt into the flour before adding any yeast.
Step 3.
Add the milk/yeast mixture and knead mix until the dough comes together in a shaggy mass.

Step 4.
Add half the butter and knead until the dough is smooth and elastic about 3 -4 minutes scraping down the sides of the bowl with a spatula as needed.
Beat in the remaining butter and continue to knead/mix until the dough is smooth and stretchy, around 5 to 7 minutes.
The dough is close to ready when you can hear it slapping against the sides of the mixing bowl. Another indicator is the window test.
The Window Test
Take a smallish piece of dough and stretch it into a square Keep on stretching until it becomes a thin film in the middle, thin enough to pass light through. If it doesn't tear, the dough is ready.
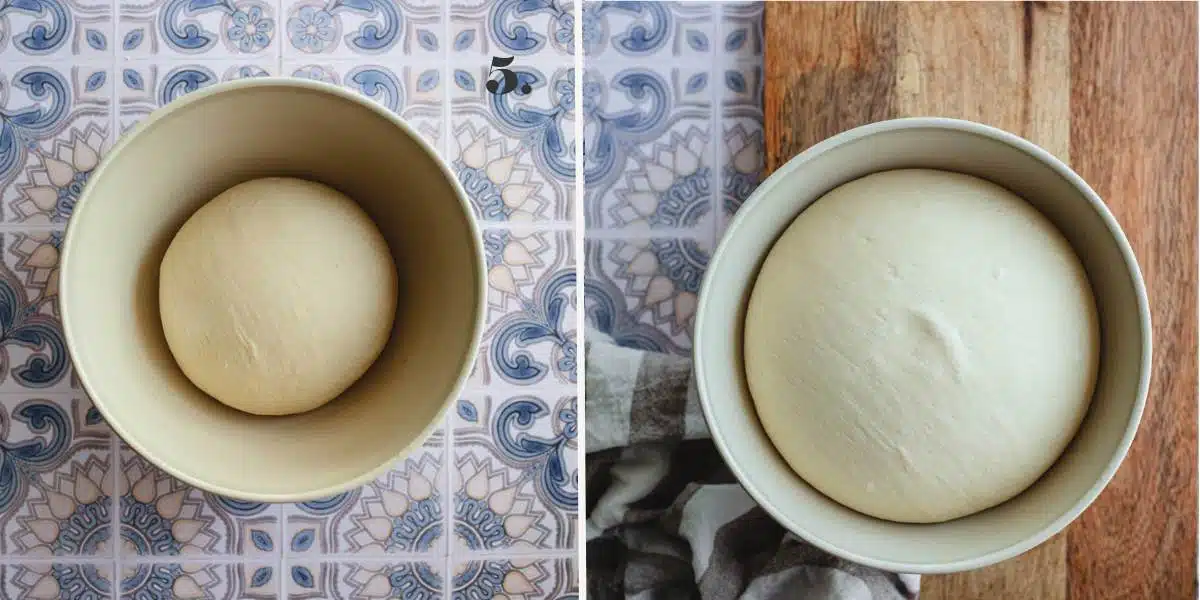
Step 5. First proof.
Lightly grease a large clean bowl, shape the dough into a ball and place it inside. Cover the bowl with cling film and place it in a warm, draft-free place to sit for 1-2 hours to rise (proof) until is doubled in size.
Step 6.
Once the dough has doubled in size, transfer it onto your bench and lightly punch out the air. For equal sized buns, weigh the dough and divide into 8-10 pieces( I made a batch of 8 here). Or you can just eyeball it.
Shape the dough in to balls by flattening each piece and then pinching the sides and pulling them into the centre

Step 7.
Gently flip the dough over and roll into balls under the palm of your hand on your kitchen counter.
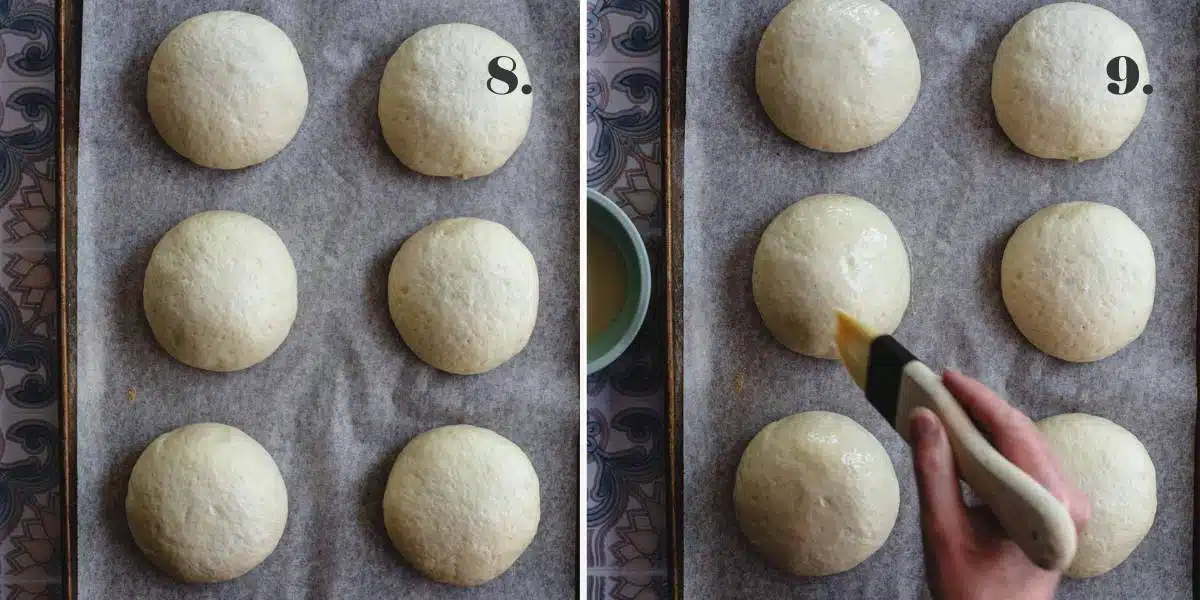
Step 8.
Second Proof. Transfer your vegan brioche buns to a lined baking tray, cover with a clean, damp tea towel and leave them to rise for another hour.
Step 9.
Meanwhile, pop an oven rack in the middle of the oven and one in the bottom as well. Pre-heat your oven to 200℃ (390℉). Once the buns have increased in size by at least 20%, combine the plant milk and maple syrup in a small bowl. Brush each bun with the glaze.
Step 10.
Carefully place a baking dish filled with about a cup of water on the bottom rack of the oven and transfer the buns to the middle rack. Bake the buns for 17-20 minutes or until dark golden on top. Tent the tray with foil if they appear to be browning too quickly. The buns are ready when you tap one on the bottom and it sounds hollow.
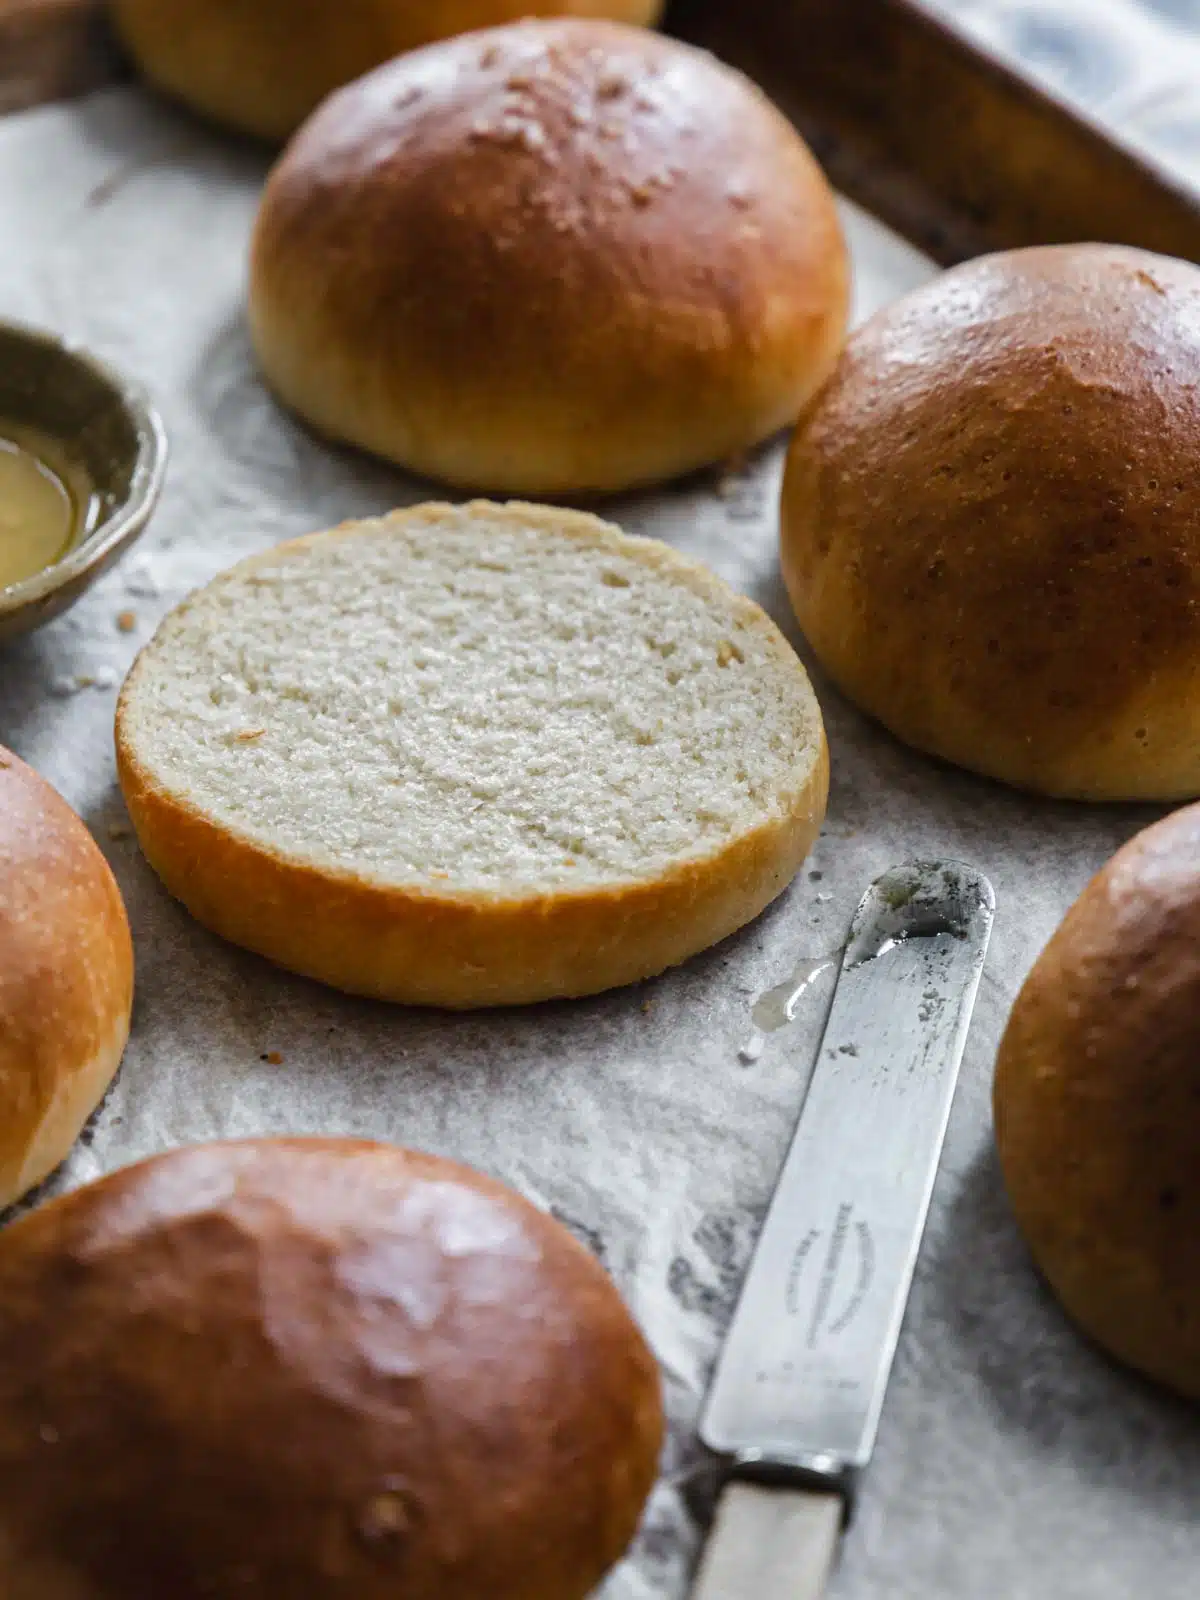
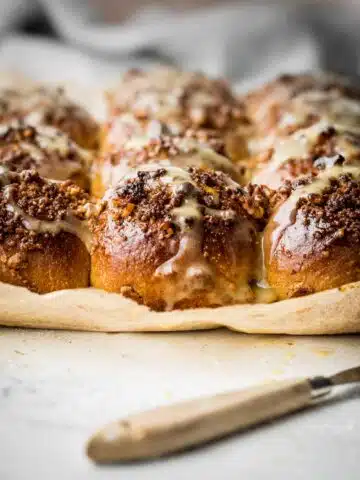
You can serve them as is, or melt a knob butter and gently brush over the freshly baked buns.

Tips for Perfect Vegan Brioche Buns
Use the poke test to make sure your dough has proofed properly.
The Poke Test
The poke test is an easy way to tell whether a yeasted dough is ready for baking.
Lightly flour a finger or knuckle and give the dough an assertive poke, as though you are trying to wake it up. If the dough springs back right away (it’s saying, “Hey, what the heck!”), let it rise for another 5-10 minutes.
If the dough springs back slowly, like a cat waking from a long nap, and your poke leaves a small indentation, it’s ready to go.
How to Serve Vegan Brioche Buns
Can I Make Brioche By Hand?
You can. Ania at Lazy Cat Kitchen makes hers by hand. You will simply be doing the kneading and working in the butter on your kitchen counter rather than in a mixer. It takes a little longer, is messier but is a fun project and a great arm workout 😉
FAQs
Tap on the bottom of a bun and if it sounds hollow, your buns are ready.
If your yeast doesn't bloom (see Step 1 image), the yeast isn't active and you need to replace it.
A soft dough creates softer buns whereas a stiffer/firmer dough creates buns that are more like dinner rolls.
More Bread-y Things to Try
Sign up to my newsletter and follow along on Facebook, Pinterest and Insta for all the latest news. If you like this recipe, please check out my cookbook "Great Vegan Meals for the Carnivorous Family" It's full of simple, carnivore-approved family recipes.
Make This Recipe
Vegan Brioche Bun Recipe
Equipment
- Stand mixer
Ingredients
For the Bun
- 1 cup (250ml) soy milk 37 - 40 °C (98.6 - 104°F)
- ⅓ cup (80ml) water room temperature
- 2½ tsp (9g) dry active yeast
- 2 tbsp (40g) sugar divided into to 1 tablespoon measures
- 3½ cups (525g) all-purpose flour
- 1 teaspoon salt
- 5 tbsp (100g) vegan butter softened
For the Glaze
- 2 tablespoon plant milk
- 2 teaspoon maple syrup
- poppy or sesame seeds (optional) or salt flakes
- ½ tablespoon vegan butter optional for brushing finished buns
Instructions
- In a small saucepan, warm the milk until lukewarm but not hot - about 40℃ (104°F). You can also just heat your milk in the microwave for 10 seconds. Remove from the heat, transfer to a jug or bowl and add yeast, water, and stir in 1 tablespoon of sugar and sit for 5 to 10 minutes, until slightly foamy (see Step 1 image in the post)
- In an electric mixer fitted with the dough hook, mix together the flour, sugar, and salt.
- Add the milk/yeast mixture and knead mix until the dough comes together in a soft mass.
- Add half the butter and knead until the dough is smooth and elastic about 3 -4 minutes scraping down the sides of the bowl with a spatula as needed. Add the remaining butter and continue to knead/mix until the dough is smooth and stretchy, around 5 to 7 minutes.
- Lightly grease a large clean bowl, shape the dough into a ball and place it inside. Cover the bowl with cling film and place it in a warm, draft-free place to sit for 1-2 hours to rise (proof) until is doubled in size (or thereabouts). The amount of time will depend on the ambient temperature in the room. If you live in a cold climate, the dough will take longer to rise. Use the poke test in the notes section to test whether your dough is proofed properly.
- Once the dough has doubled in size, transfer it onto your bench and lightly punch out the air. For equal sized buns, weigh the dough and divide into 8-10 peices( 8 for larger buns, 10 for small dinner roll-sized buns). Or just eyeball it. Shape the dough in to balls by flattening each piece and then pinching the sides and pulling them into the centre (see Step 6 image in the post). Turn each ball over and, cupping your hand over the top, roll the dough into a ball using the bench as your base. Think of a ball trapped under an overturned cup that you are moving in quick little circles. Make sense?
- Place them on a lined tray, cover with a clean, damp tea towel and leave them to rise for another hour. Meanwhile, pop an oven rack in the middle of the oven and one in the bottom as well. Pre-heat your oven to 190℃ (375℉).
- Once the buns have increased in size by at least 20% (this will take about an hour) combine the plant milk and maple syrup in a small bowl. Brush each bun with the mixture.
- Carefully place a baking dish filled with about a cup of water on the bottom rack of the oven and transfer the buns to the middle rack. Bake the buns for 17-20 minutes or until dark golden on top. Tent the tray with foil if they appear to be browning too quickly. The buns are ready when you tap one on the bottom and it sounds hollow. You can serve them as is, or melt a knob of butter and gently brush over the freshly baked buns.
Notes
Nutritional Disclaimer
The nutritional information is an estimate only and is automatically calculated using online tools. For accurate results, we recommend calculating the nutritional information based on the ingredients and brands you use.
Comments
No Comments