
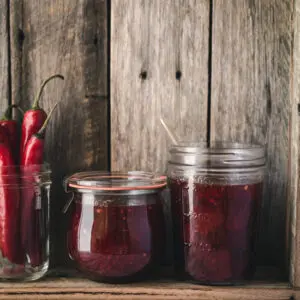
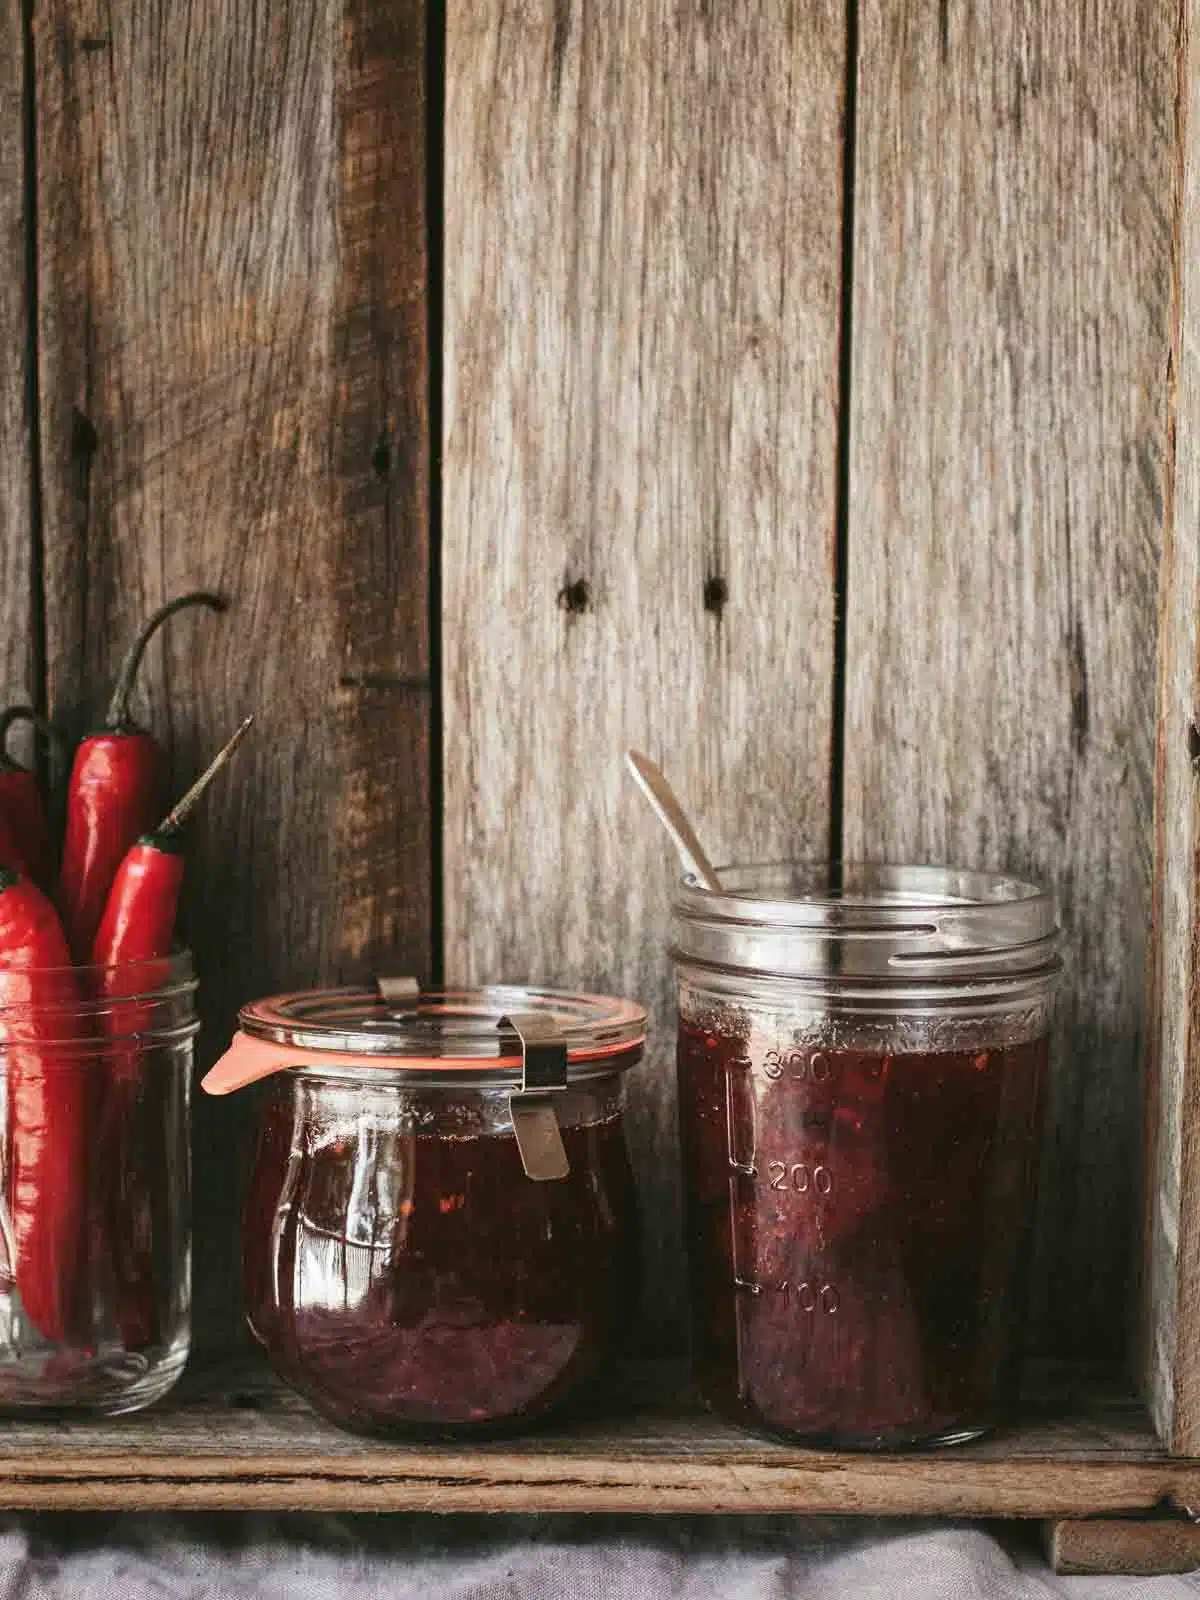
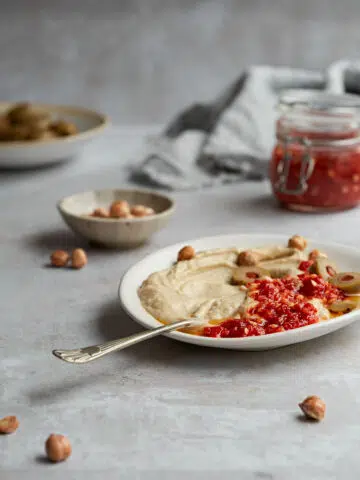
Sweetness and heat combine in this simple to make spicy strawberry jam. Whip it up in little more than an hour and have enough for gifts + plenty left for you.
Making homemade jam is simple and this recipe is pectin free so you don't even have to find special ingredients.
Jump to:
If you are looking for a lovely gift idea or simply want to try something a little different, this strawberry jam recipe with chillies might be your next kitchen project.
You are going to need around an hour (most of this is cooking time not active time) and a frozen spoon. Let's do this.
Why This Recipe Works
This strawberry jam recipe is one of my favourite things to have on hand for toast or even a burger. It's just so versatile!
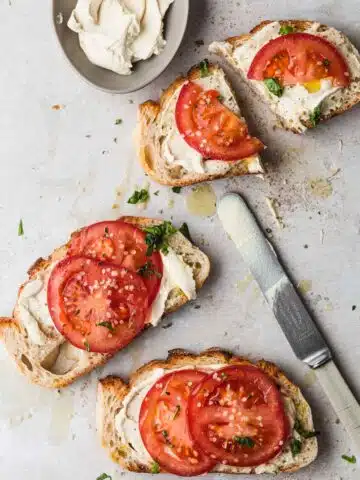
Perfect on toast, this jam also works beautifully on a mushroom or other savoury burger - try it with my mushroom burgers instead of kimchi, my BBQ black bean burgers or my vegan scones
Ingredients
With only a handful of ingredients homemade jam is at your fingertips.

Strawberries. Berries are perfect for making fruit jam without added pectin because they naturally contain it. The sweetness of the strawberries works perfectly with the chillies in this jam and you can use both fresh or frozen. If you are using frozen strawberries, thaw them completely and use them, juice and all.
Lemon. Lemon juice not only counteracts the sweetness of the jam it also brings down the PH levels of the mixture and inhibits bacteria growth. By doing this it also gets the naturally occurring pectin to come out and play - it otherwise sits in a corner and does nothing. Pectin helps thicken the jam.
Step-by-Step Guide
You will find full instructions and measurements in the recipe card at the bottom of the post. This is a summary of the process to go along with the process photos.
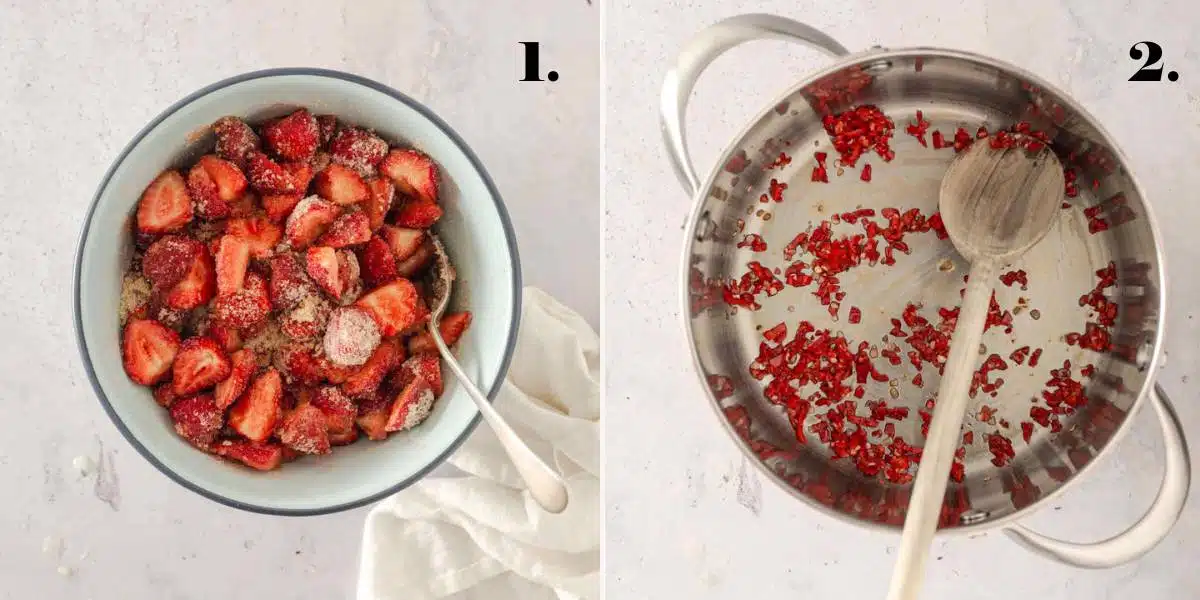
Step 1. Hull and slice your strawberries and pop them in a bowl with some sugar.
Step 2. Heat a heavy pan over medium heat and sauté the chillies until soft.
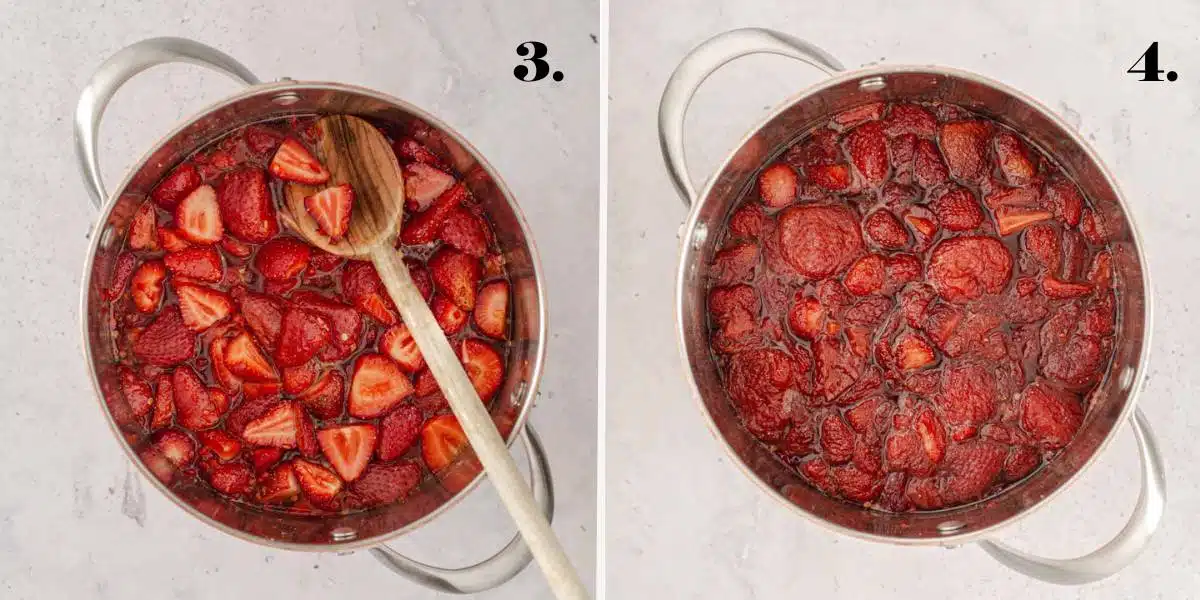
Step 3. Add the strawberries, lemon zest and juice and cook for 20-minutes.
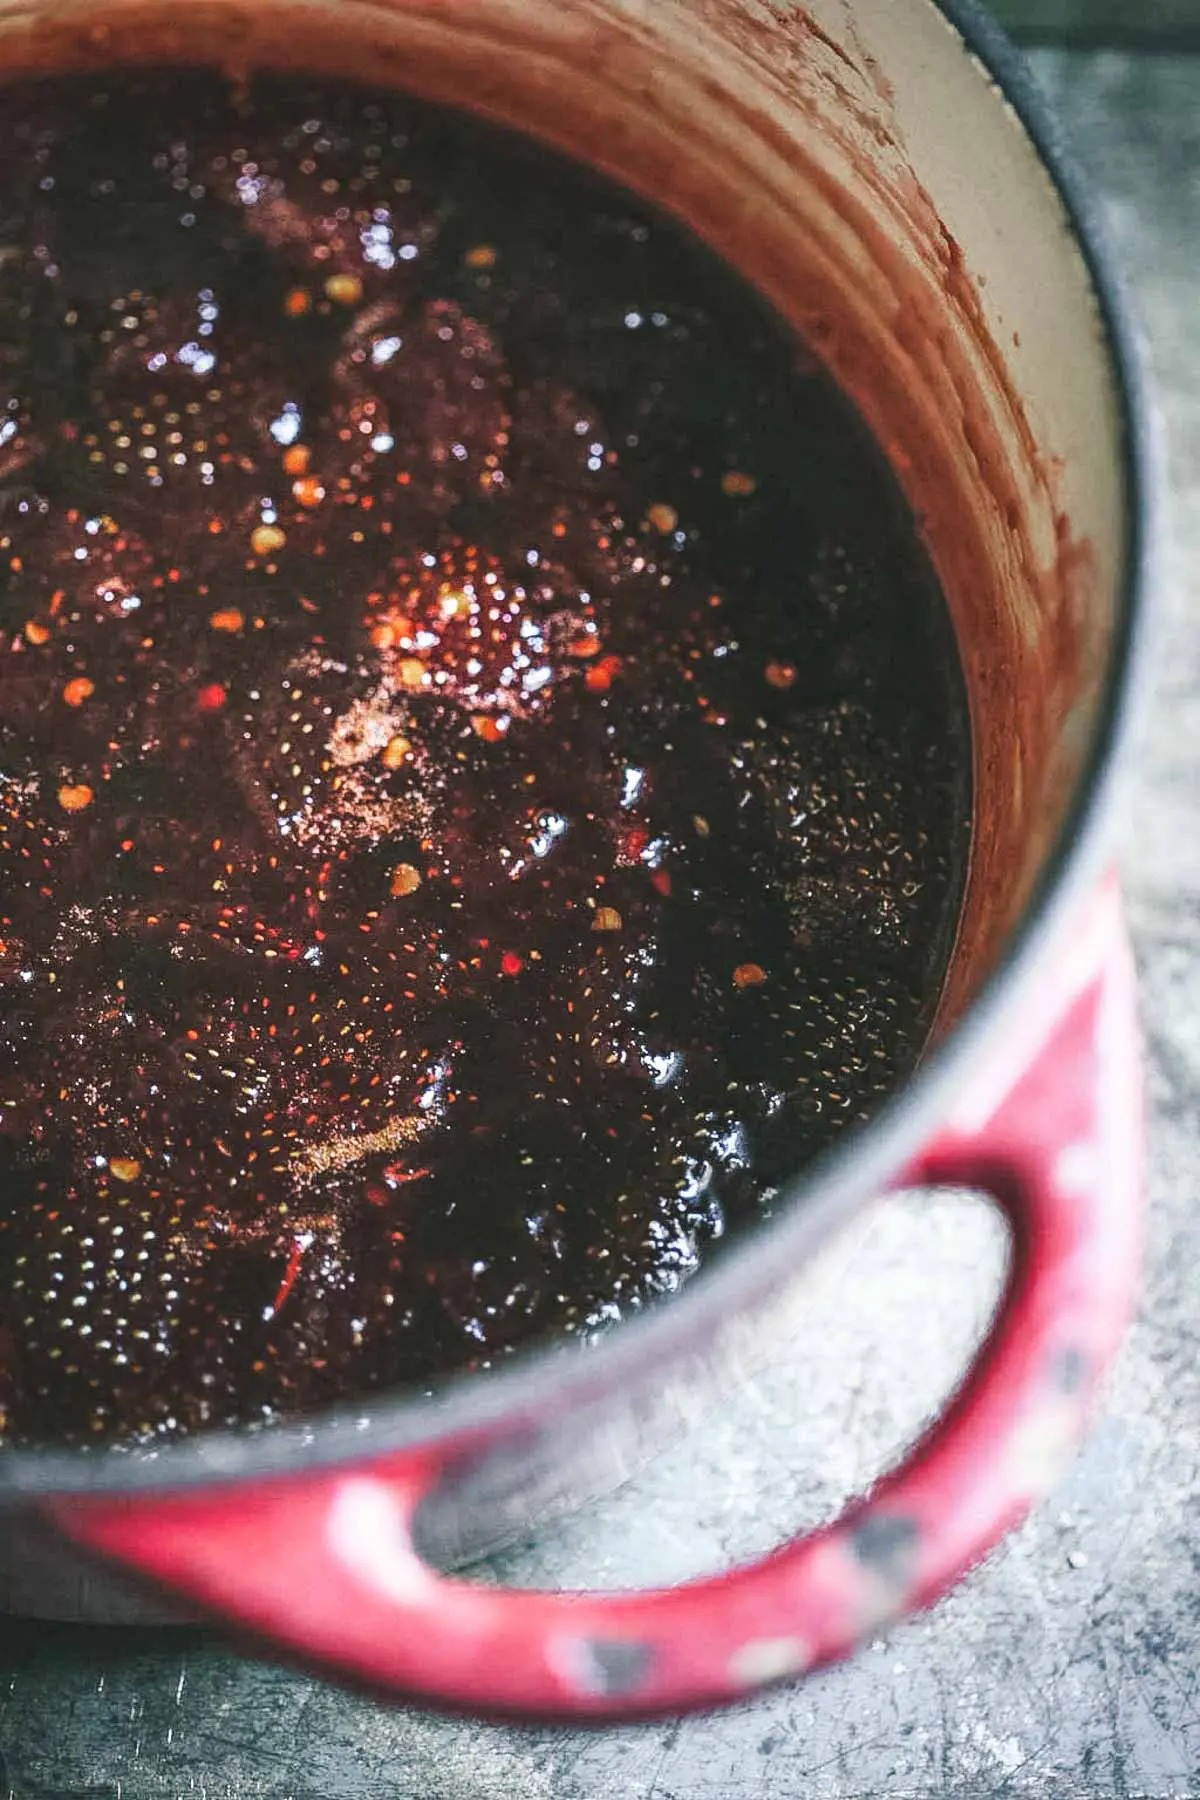
Step 4. Add the remaining sugar and salt and continue to cook for another 20-minutes or until setting-point.
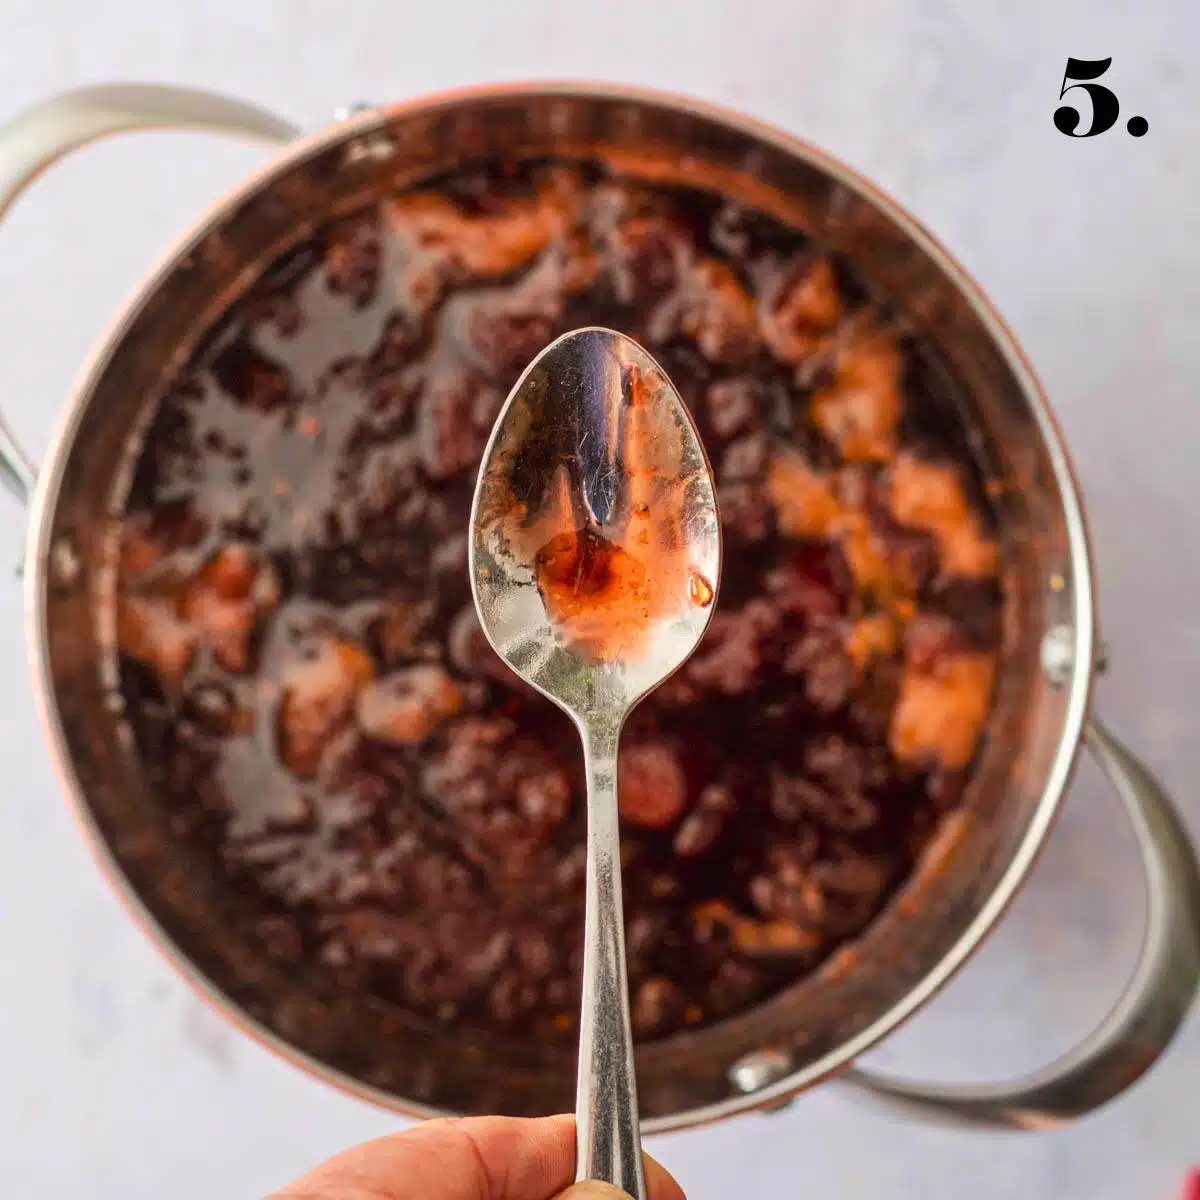
Step 5. Check your jam for setting point - the point where the jam is "set" (see below).
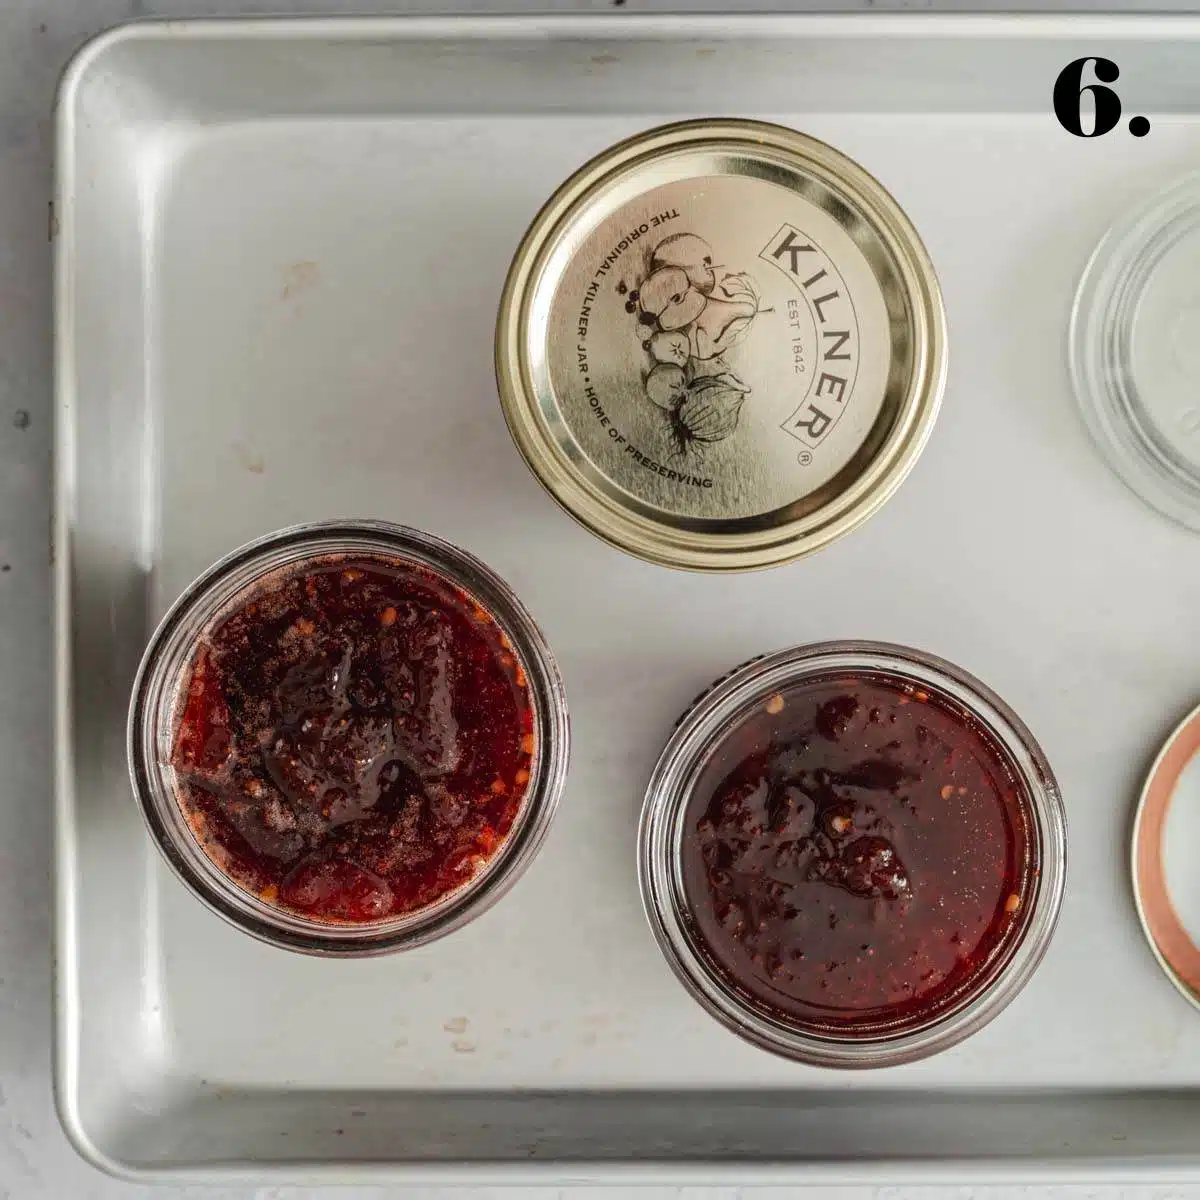
Step 6. Transfer your jam to sterilised jars for heat processing (instructions below).
How to Check the Setting Point of Jam
So, how do you know that your strawberry jam recipe is done?
You can check to make sure your jam is at the setting point a few different ways. I tend to stick with either a candy thermometer or a frozen spoon.
Thermometer: The setting point of a jam or jelly is 105°C (221°F) so we can easily and accurately test using a thermometer.
Frozen spoon. Pop a few spoons in your freezer. At around the 30-minute cooking mark, take out a spoon and carefully dip it in to your jam. Wait a few seconds for it to cool before running a finger down the centre of the spoon through the jam. If the little road you've made stays -meaning the jam doesn't move to fill the void again - your jam is at its setting point. If not, keep cooking and try again in 10 minutes.
How to Sterilise Your Jars and Lids
Keeping your equipment clean is essential. Sterilising your jars and lids ensures they are clean and free of micro-organisms that could contaminate your jam. There are two simple ways to sterilise your lids and jars:
The Oven Method (Jars)
- Wash you jars and lids in hot soapy water and give them a good rinse, or put them through a hot dishwasher cycle with no soap.
- Once washed and rinsed, place the jars on a clean baking tray facing up. Gently place them in a cool oven.
- Turn the oven on to 100°C (212°F) and set your timer for 15 minutes or until the jars are completely dry. Remove them from the oven. This is for the jars only.
Make sure you take out your jars and not leave them in the oven beyond the 15 minutes. Over time your jars will become brittle and will eventually shatter.
The Boiling Method (Jars)
- Put the jars into a large pot and cover them with cool tap water
- Bring water to the boil
- Boil the jars for 5 minutes
- Carefully remove the jars with preserving clamps or tongs and either allow to air dry on clean kitchen towels or in a warm oven (100°C).
For the Lids
- Place lids in a saucepan of water and boil for 5 minutes.
- Remove with tongs or a lid magnet.
- Let them air dry on a wire rack or clean kitchen towels
- Make sure your lids are completely dry before using. If they are still a little wet, dry them inside with a clean cloth or paper towel.
How to Fill Jam Jars
To fill your jars, carefully pour the hot jam in to sterilised jars leaving a 5mm gap at the top of the jar. Poke out any air bubbles you can see with a clean chopstick and wipe the jar rim with a clean paper towel and seal immediately with a sterilised lid.
How to Treat Your Jam For Shelf Storage
Heat Processing
You can store this strawberry jam in the fridge straight away and it will keep for a few weeks but if you want to shelf store it for up to 12 months, you'll need to heat process your jars. Otherwise known as water bathing or canning, the process uses heat to stop bacterial growth in its tracks.
Heat processing also generates pressure inside the jar forcing out oxygen and creating an un-inhabitable environment for micro-organisms.
To heat process your jars
- Put a large pot (the taller the better!) on your stovetop and pop a folded tea towel in the bottom of the pan. Try and get the towel to lie as flat as you can to avoid tipping the jars.
- Sit the jars on the towel, placing them away from the side of the pot and with space between each jar.
Important! Don’t overcrowd your pot. Your jars can sit close to each other but don’t let them touch the sides of the pot. You are better to heat process in batches than try and cram all the jars in together.
- Pour water into the pot, making sure the water temperature roughly matches the temperature of the jars. This way you'll avoid thermal shock and smashed jars. Cover the jars completely in water, or at least three-quarters of the way up. If I use different sized jars I fill the pot three-quarters of the way up the largest jar.
- Bring the water to a gentle boil over medium heat. From boiling point set your timer to 10 minutes.
- Once the heat processing time is up, remove the jars from the pot with preserving clamps or protect your hands with a thick cloth and place them on a tea towel on your bench. Don't place them directly on to your bench because the cool bench may crack your hot jars.
At this stage the lids of the jars will be puffed up, or convex. As they cool, a vacuum seal with form and the lids will become concave. This may take up to 12 hours.
To test your seal, remove the lid ring (if you are using 2-piece lids) and then try to pry the flat part of the lid from the rim of the jar. Don't try too hard, you don't actually want to open the jar. If you get good resistance, your jars are sealed. With single piece lids, just try to open the jar. Again, if you have resistance your jar is sealed.
If one jar doesn’t seal, pop it in the fridge and eat it within a few weeks. If multiple jars don’t seal, try and re-heat process them.
I found this visual step-by-step guide at Spruce Eats.
Holy moly, that was a long post! Having said that, it is worth getting the steps right if you are going to take the time to make jam.
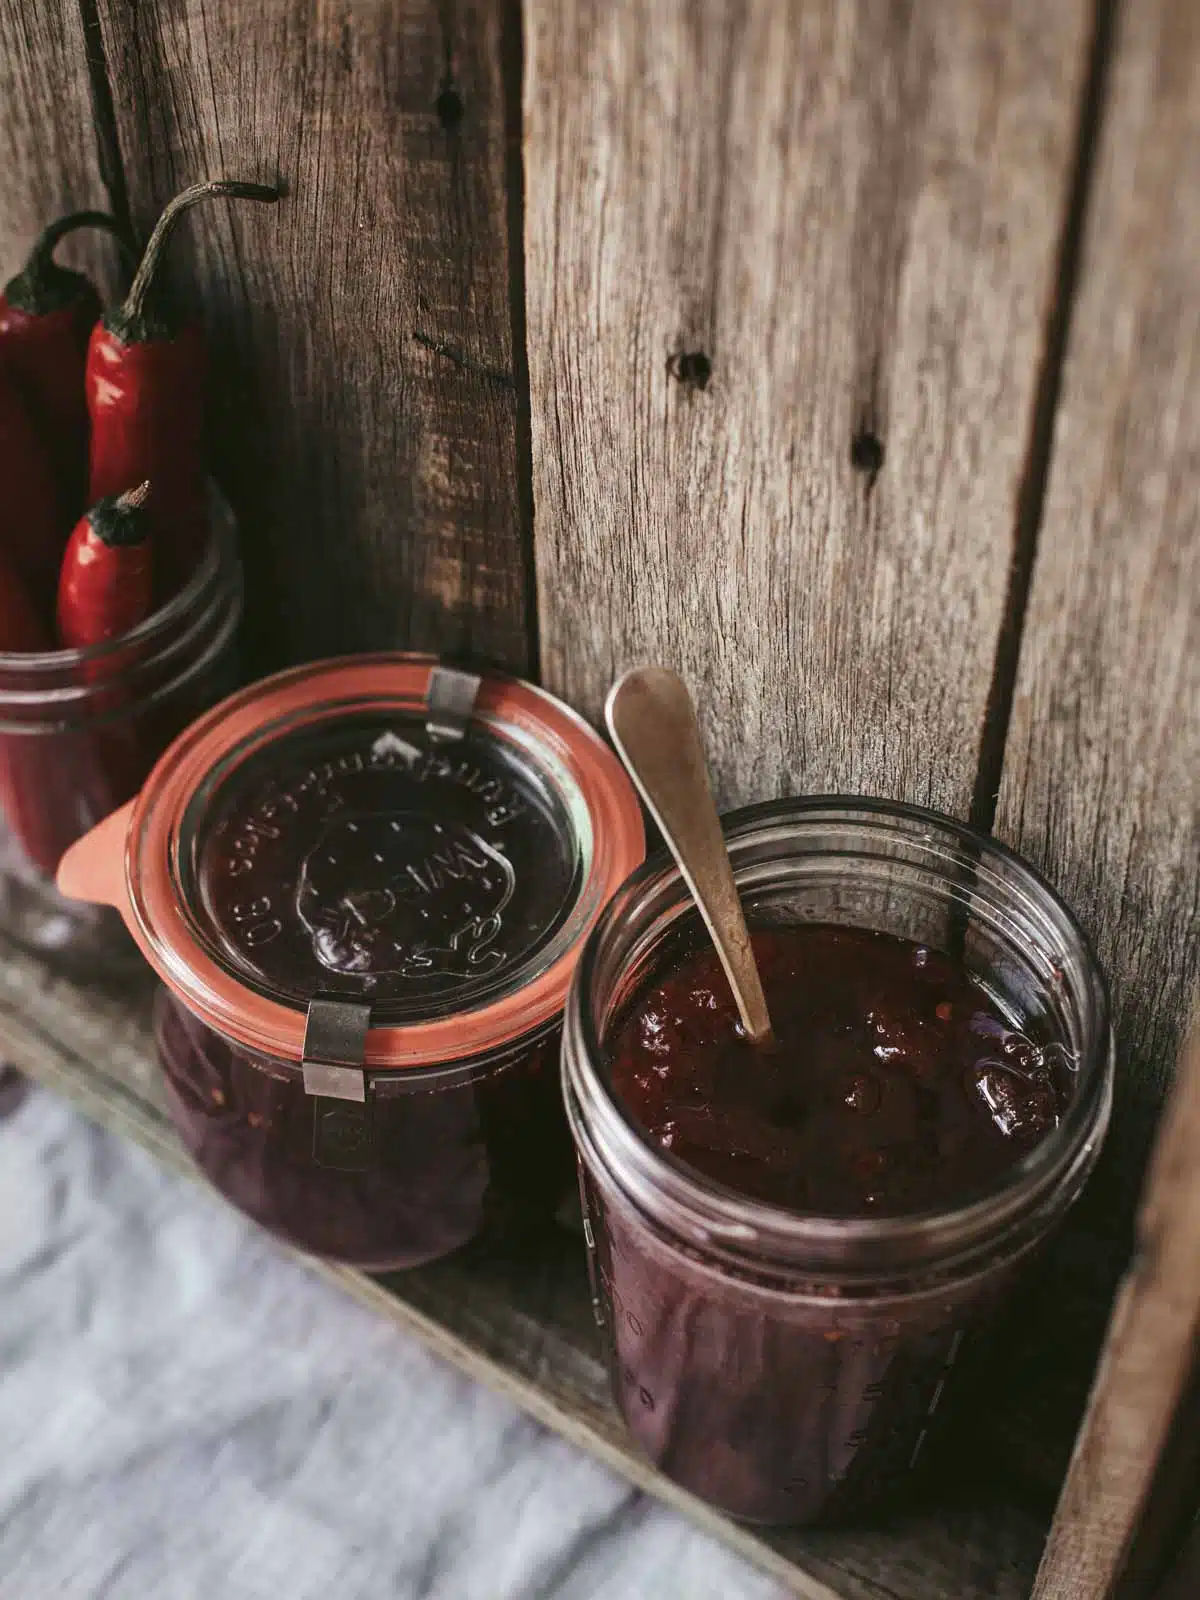
But it's so worth it. This strawberry jam recipe with chilli is a wonderful flavour combination that tickles the taste buds in waves.
First there is the sweet, familiar stickiness of summer strawberries followed by the heat from the chillies, which teases and fills your mouth briefly only to be soothed by the strawberries again. Bliss.
Enjoy, x.
FAQs
If you don't heat process your jam you'll need to store it in the fridge. It will keep there for several weeks.
If you do heat process your jars, the jam will keep for up to 12 months in your pantry. Once opened, you'll need to pop it in the refrigerator.
You can! I've done it myself a few times. Simply thaw the berries and continue with the recipe.
Jam made without added pectin is runnier than store-bought jam. Pop the jam in the fridge after opening to store and it will thicken up a little.
More Sauces and Condiments
Sign up to my newsletter and follow along on Facebook, Pinterest and Insta for all the latest news. If you like this recipe, please check out my cookbook "Great Vegan Meals for the Carnivorous Family" It's full of simple, carnivore-approved family recipes.
Make This Recipe
Make Your Own Spicy Strawberry Jam
Equipment
- heavy pot
- jar and lids
Ingredients
- 1 kg / 35.3 oz slightly unripe and ripe strawberries
- 750 grams / 26.45oz raw caster sugar
- 1 tablespoon vegetable oil
- 2 red chillies finely chopped
- The juice and zest of 3 lemons
- 1 teaspoon sea salt
Instructions
- Put three spoons in the freezer.
- Hull the strawberries and cut the larger ones in half.
- Put the berries in a bowl and add 500 grams of sugar. Stir to coat and set aside.
- Heat a heavy bottomed pot on low heat and add the oil. Add the chillies and cook for 10 minutes or until perfectly soft.
- Add the sugared berries, the lemon zest and juice to the pot and stir.
- Bring the mixture to a good boil for 20 minutes, stirring occasionally to ensure the jam doesn't stick. Watch that the pot doesn't overflow.
- Add the remaining 250 grams of sugar and the salt. Stir to combine and continue to cook for another 20 minutes or until setting point.
- While the jam is cooking, sterilise your jars. See Notes below.
- Begin testing the jam for setting point 10 minutes after adding the second batch of sugar. The setting point of a jam or jelly is 105°C (221°F) so we can easily and accurately test using a thermometer. You can also use the frozen spoon method. Put a drop of jam on to one of the frozen spoons and allow to cool. If, when you drag your fingertip through the jam the path remains clean and doesn't fill with jam again, the jam is at setting point. This may take 30 - 40 minutes.
- Carefully pour the jam in to the sterilised jars and seal with the lids. You can store this strawberry jam in the fridge straight away and it will keep for a few weeks but if you want to shelf store it for up to 12 months, you'll need to heat process your jars.
To Heat Process Your Jam
- Put a large pot (the taller the better!) on your stovetop and pop a folded tea towel in the bottom of the pan. Try and get the towel to lie as flat as you can to avoid tipping the jars.
- Sit the jars on the towel, placing them away from the side of the pot and with space between each jar. Important: don’t overcrowd your pot. Your jars can sit close to each other but don’t let them touch the sides of the pot. You are better to heat process in batches than try and cram all the jars in together.
- Pour water into the pot, making sure the water temperature roughly matches the temperature of the jars. This way you'll avoid thermal shock and smashed jars. Cover the jars completely in water, or at least three-quarters of the way up the jar. If I use different sized jars I fill the pot three-quarters of the way up the largest jar.
- Bring the water to a gentle boil over medium heat. From boiling point set your timer to 10 minutes.
- Once the heat processing time is up, remove the jars from the pot with preserving clamps or protect your hands with a really thick cloth and place them on a tea towel on your bench. Don't place them directly on to your bench because the cool bench may crack your hot jars. At this stage the lids of the jars will be puffed up, or convex. As they cool, a vacuum seal with form and the lids will become concave. This may take up to 12 hours.
- To test your seal, remove the lid ring (if you are using 2-piece lids) and then try to pry the flat part of the lid from the rim of the jar. Don't try too hard, we are just checking for resistence. If you have it, your jars are sealed.If one jar doesn’t seal, pop it in the fridge and eat it within a few weeks. If multiple jars don’t seal, try and re-heat process them.
Notes
- Wash you jars and lids in hot soapy water and give them a good rinse, or put them through a hot dishwasher cycle with no soap.
- Once washed and rinsed, place the jars on a clean baking tray facing up. Gently place them in a cool oven.
- Turn the oven on to 100°C (212°F) and set your timer for 15 minutes or until the jars are completely dry. Remove them from the oven. This is for the jars only.
- Put the jars into a large pot and cover them with cool tap water
- Bring water to the boil
- Boil the jars for 5 minutes
- Carefully remove the jars with preserving clamps or tongs and either allow to air dry on clean kitchen towels or in a warm oven (100°C).
- Place lids in a saucepan of water and boil for 5 minutes.
- Remove with tongs or a lid magnet.
- Let them air dry on a wire rack or clean kitchen towels
- Make sure your lids are completely dry before using. If they are still a little wet, dry them inside with a clean cloth or paper towel.
Nutritional Disclaimer
The nutritional information is an estimate only and is automatically calculated using online tools. For accurate results, we recommend calculating the nutritional information based on the ingredients and brands you use.
Mary says
Great recipe. I accidentally over cooked my jam, I didn’t read the instructions properly, but I ended up with a fantastic strawberry chilli paste that was great with cheese!
Amanda says
A happy mistake, Mary. I think it would be great on a charcuterie board. I might try overcooking it myself! 😉
Elisa Monagle says
I overcooked mine too but unfortuantely it turned out more like toffee 😅
Amanda says
Oh no! The sugar got to the set point for candy. Is it usable? Can we say you invented a cool flavoured candy?
Pat says
hi i would like to know what the shelf life is for this jam
Amanda says
Hi Pat,
This jam doesn't have a long shelf life, it is best refrigerated. Funnily enough though, I have my strawberries out as we speak so I can shoot the process for water bathing and preserving the jam to be stored on the shelf. Done correctly, water bathing can give you around a 12-month shelf life. Bear with me and I'll get this post updated in the next few days! A, x.
Pat says
thank you i have subscribed and anticipate your outcome
Pat says
morning
if you say it does not have a long shelf life, a few days, weeks, months can I have an indicator, want to do Christmas gifts and I would like to give the family an indication. Sorry to be a nuisance
Amanda says
You're not being a nuisance at all. It's no worries. 🙂 I am going to send you the instructions for water bathing to give the jam a shelf life of up to year. I am working on my updated post but I will send you the instructions for the process direct to your email so you can get started. Sound good? Give me until tomorrow. While the process is pretty easy it will take me a minute to write it up. This process is done after you have made the jam and transferred it to sterilised jars. I hope that helps. A, x
Sabrina says
Hello.
I want to make these for Christmas pressies and Strawberries are on special in masses at the moment and i was wondering if these are okay frozen or how long they will keep for in the fridge?
Amanda says
Hi Sabrina, I’ve used frozen strawberries for this recipe before and it turned out great. I just thawed them before I made the jam. I would freeze the berries and make the jam closer to Christmas. If your jars are sterilised properly, this jam will last in a cool dry place for weeks. Once opened, then, pop them in the fridge. I hope your friends love it! T