
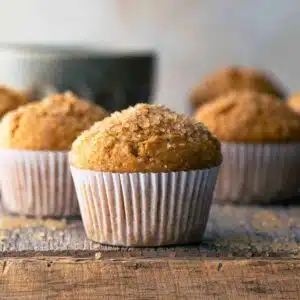
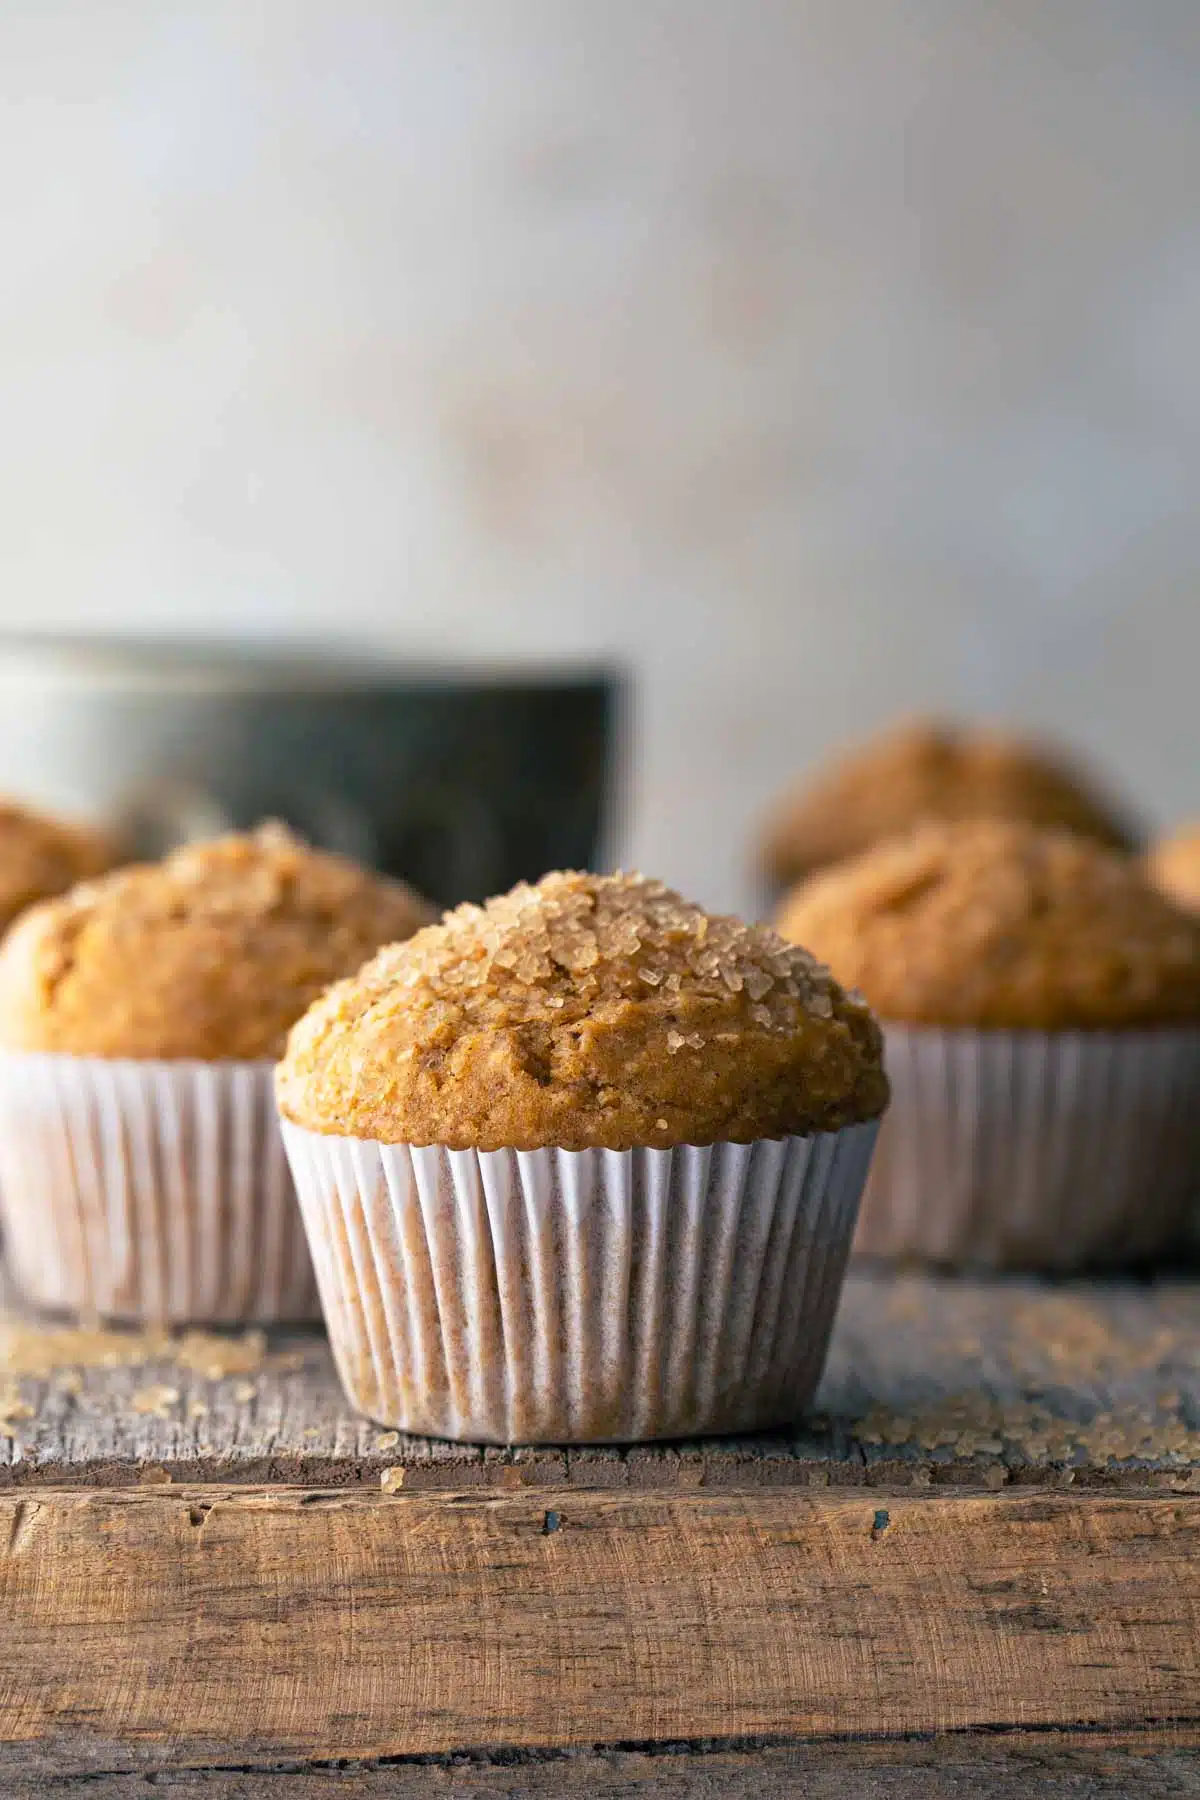
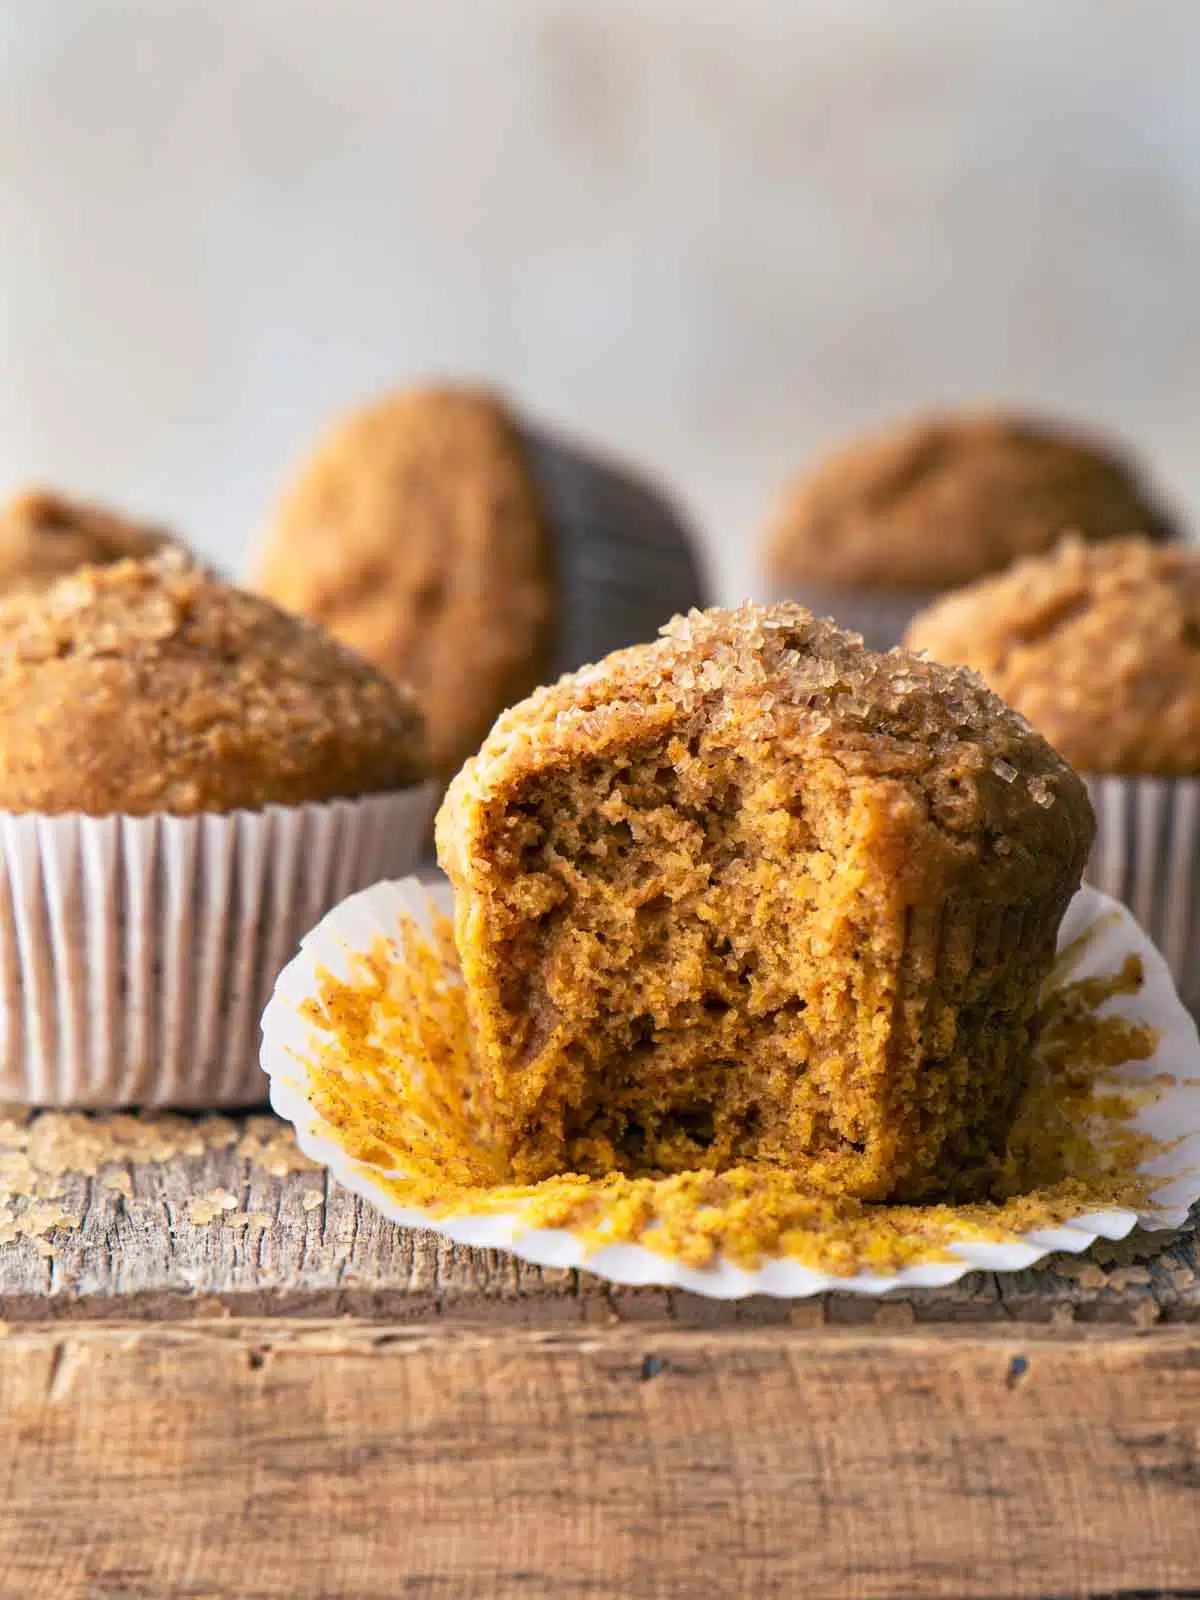
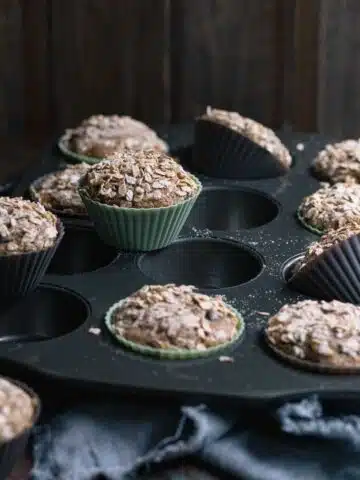
These easy vegan pumpkin muffins are tender, moist and warmly spiced. Made with whole wheat flour, fresh pumpkin and olive oil, they provide around 5g of protein and 4g of fibre per muffin. They are a nourishing take on a classic pumpkin muffin - without trying to pretend they're not muffins.
Jump to:
- Why You'll Love These Vegan Pumpkin Muffins
- Are Pumpkin Muffins Healthy?
- Why Use Wholewheat Flour in Pumpkin Muffins?
- What Type of Pumpkin Works Best for Baking?
- Ingredients & Substitutions
- How to Make Whole Wheat Pumpkin Muffins (Step-by-Step Guide)
- How To Store Pumpkin Muffins
- FAQs
- More Plant-based Baking
- Make This Recipe
- Leave a Comment
Why You'll Love These Vegan Pumpkin Muffins
If you love pumpkin like I do, check out some of my favourite pumpkin recipes.
Are Pumpkin Muffins Healthy?
As a nutritionist, I think muffins are best enjoyed as a snack or treat rather than something that needs to be labelled "healthy". These homemade pumpkin muffins do use some nourishing ingredients including whole wheat flour, fresh pumpkin and olive oil and each muffin provides 5g of protein and 4g of fibre.
But they are still muffins. And sometimes that's exactly what you want.
Why Use Wholewheat Flour in Pumpkin Muffins?
Whole wheat flour works nicely in warmly spiced baked goods like these pumpkin muffins. Unlike white flour, whole wheat flour retains the bran and germ, so it provides more fibre and a little more protein.
It also adds a subtle nutty flavour that works beautifully with pumpkin, cinnamon and the other warming spices.
Whole wheat flour absorbs more liquid than plain flour, which is why this recipe uses a generous amount of soy or oat milk. The result is a soft, bakery-style muffin with a little more substance.
What Type of Pumpkin Works Best for Baking?
The best pumpkins for baked goods are dense and sweet with a high starch content (less water). In Australia look for Kent (Jap), Queensland Blue or Butternut pumpkins. Sugar pie pumpkins and Japanese Kabocha pumpkins are a popular choice globally.
Ingredients & Substitutions
Fresh or canned pumpkin: You can use either cooked fresh pumpkin or plain canned pumpkin purée in this recipe. For canned pumpkin, use 1 cup (250g) of 100% pumpkin purée, not pumpkin pie filling. No other changes are needed.
I roast a big wedge of Kent pumpkin wrapped in foil (so it doesn't brown) at the start of each week (190℃ or 375℉) for an hour or so and use it for these muffins, pumpkin overnight oats and pumpkin smoothies.
Whole wheat flour. Known as wholemeal flour here in Australia, it is available in most grocery stores. Nothing fancy here.
Olive oil. I use olive oil instead but have used neutral flavoured oils too. It's up to your preference. Avocado oil does change the flavour of the recipe slightly leaving an aftertaste.
Raw sugar. I use raw granulated sugar and caster sugar in all of my cooking. Brown sugar is a popular choice in pumpkin-inspired recipes but I don't think this recipe needs it. Brown sugar is simply white sugar with molasses added so if I can get away with using raw sugar, I do.
Vanilla extract. Add another layer of warmth and depth.
Pumpkin spices. The recipe uses cinnamon, nutmeg and all-spice. If you have a pumpkin spice mix, you could use that too.
How to Make Whole Wheat Pumpkin Muffins (Step-by-Step Guide)
You'll find full instructions and measurements in the recipe card at the bottom of the post.
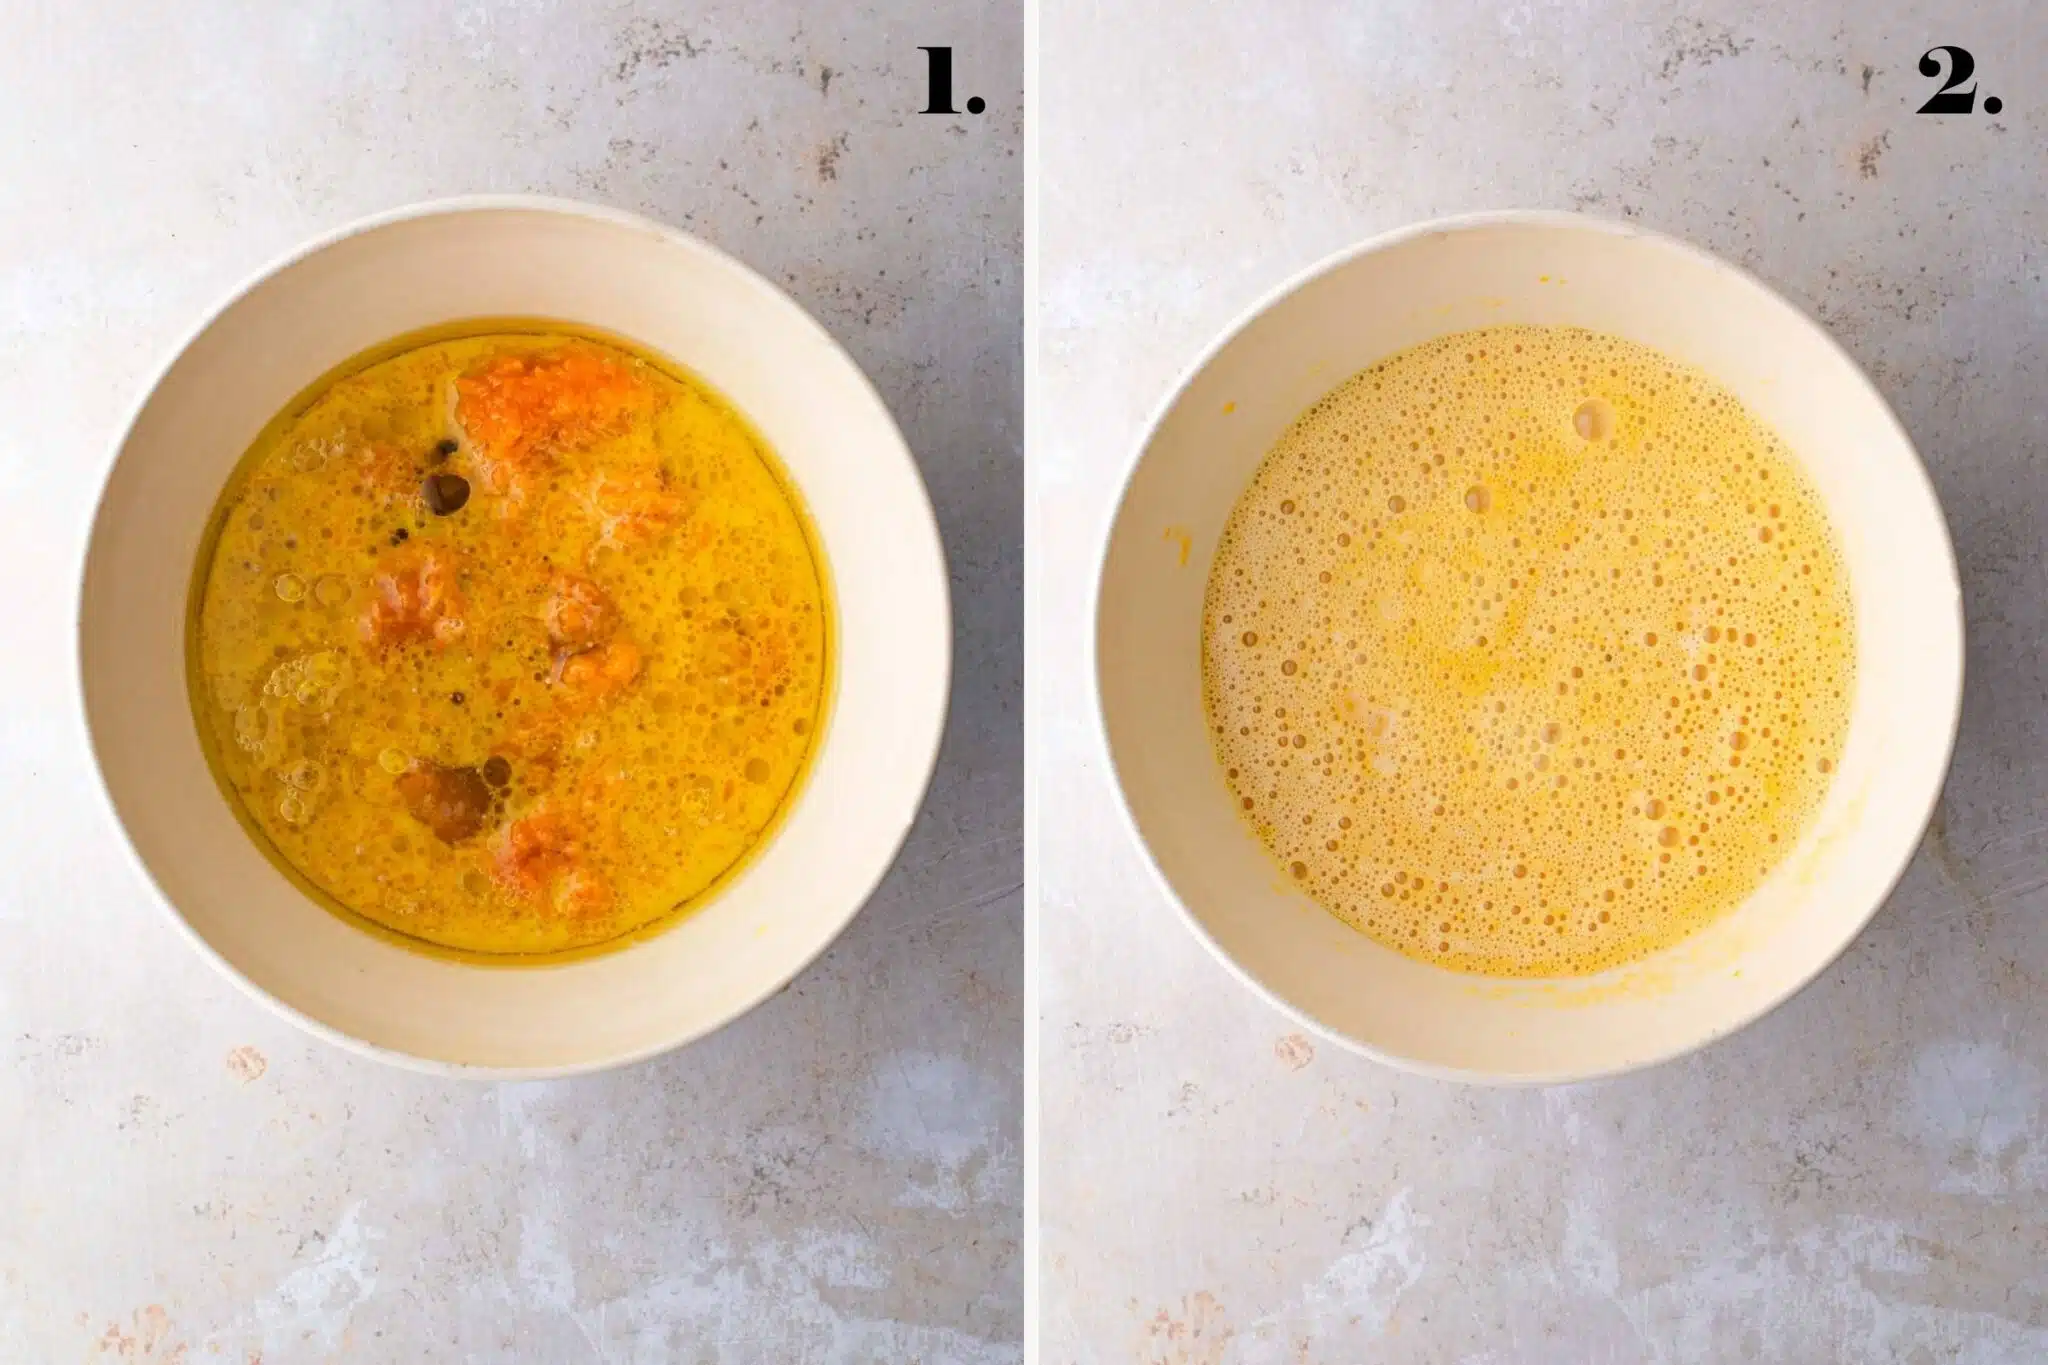
Steps 1 and 2.
Combine your wet ingredients in a bowl (or blender jug) and blend with an immersion blender until smooth.
Step 3.
Whisk together the dry ingredients in a large mixing bowl. Add the wet ingredients and stir to combine. Don't overwork the batter; just stir until all the flour is incorporated.
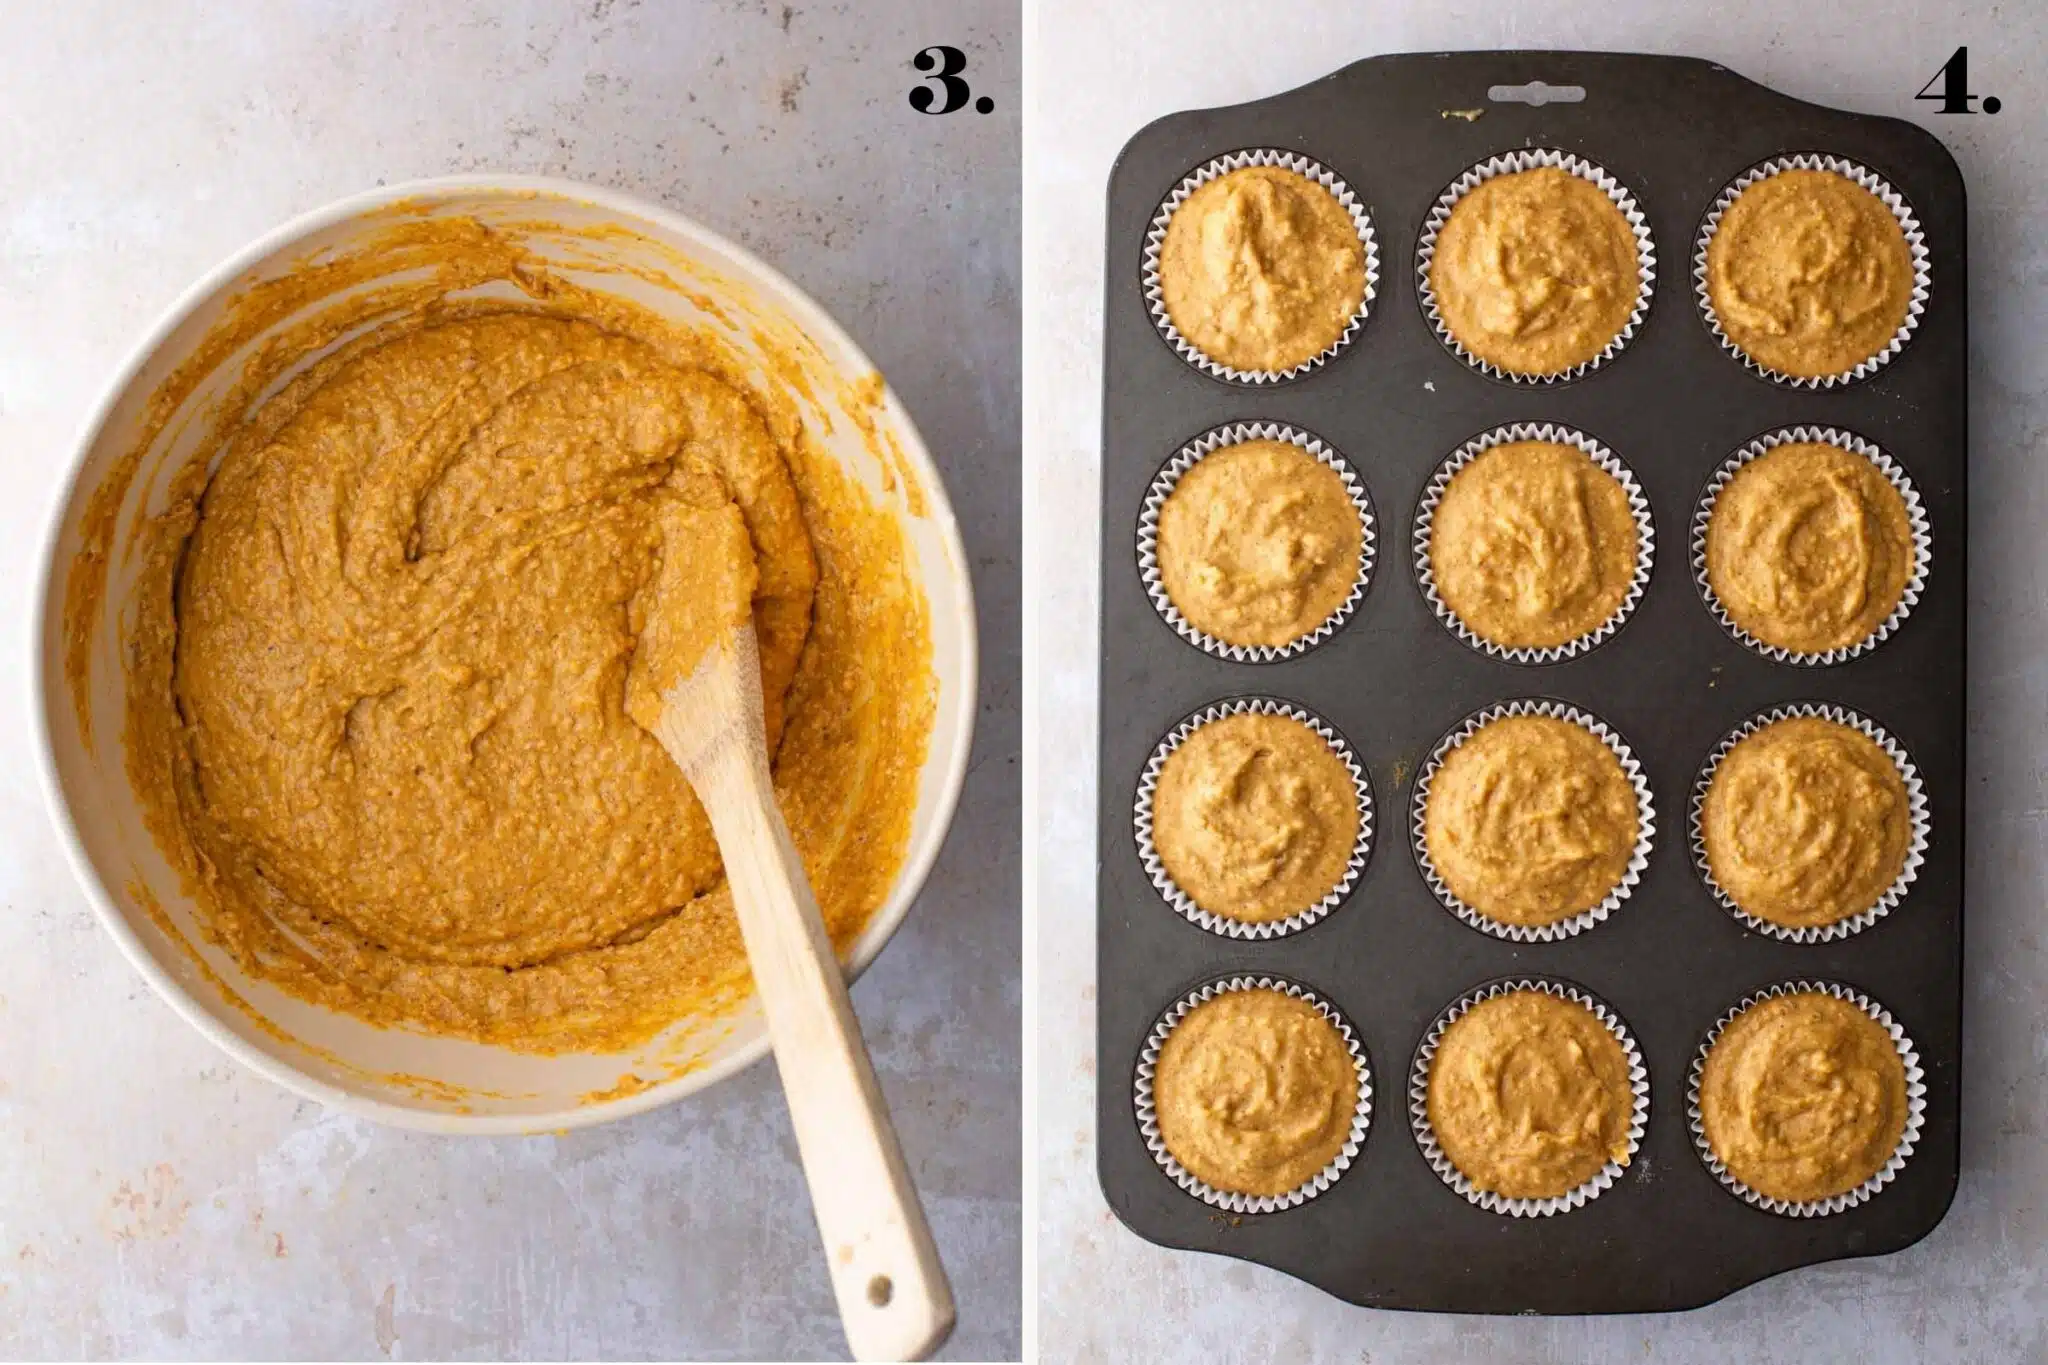
Step 4.
Spoon the batter evenly into the lined muffin tray, filling each mould almost to the top. and pop into a pre-heated oven (170℃, 340℉)
How To Store Pumpkin Muffins
On the counter: In cooler climates, you can wait for the muffins to cool and transfer them to the kitchen counter in an airtight container for up to 5 days.
In the fridge: In warmer weather, cool muffins before transferring them to a sealed container to store in the fridge for up to 5 days.
In the freezer: Allow the muffins to cool before popping them in an airtight container or freezer-safe bag and freeze for up to 3 months. Thaw at room temperature for 1-2 hours or warm in the microwave for 20-30 seconds before serving. Toppings may soften slightly after freezing.
FAQs
These pumpkin muffins are made with whole wheat flour, so they are not gluten-free. Texanerin Baking pumpkin muffins are a good option. Note the recipe contains eggs and isn't vegan.
You can use neutral flavoured oils in muffins and they will work the same way as olive oil.
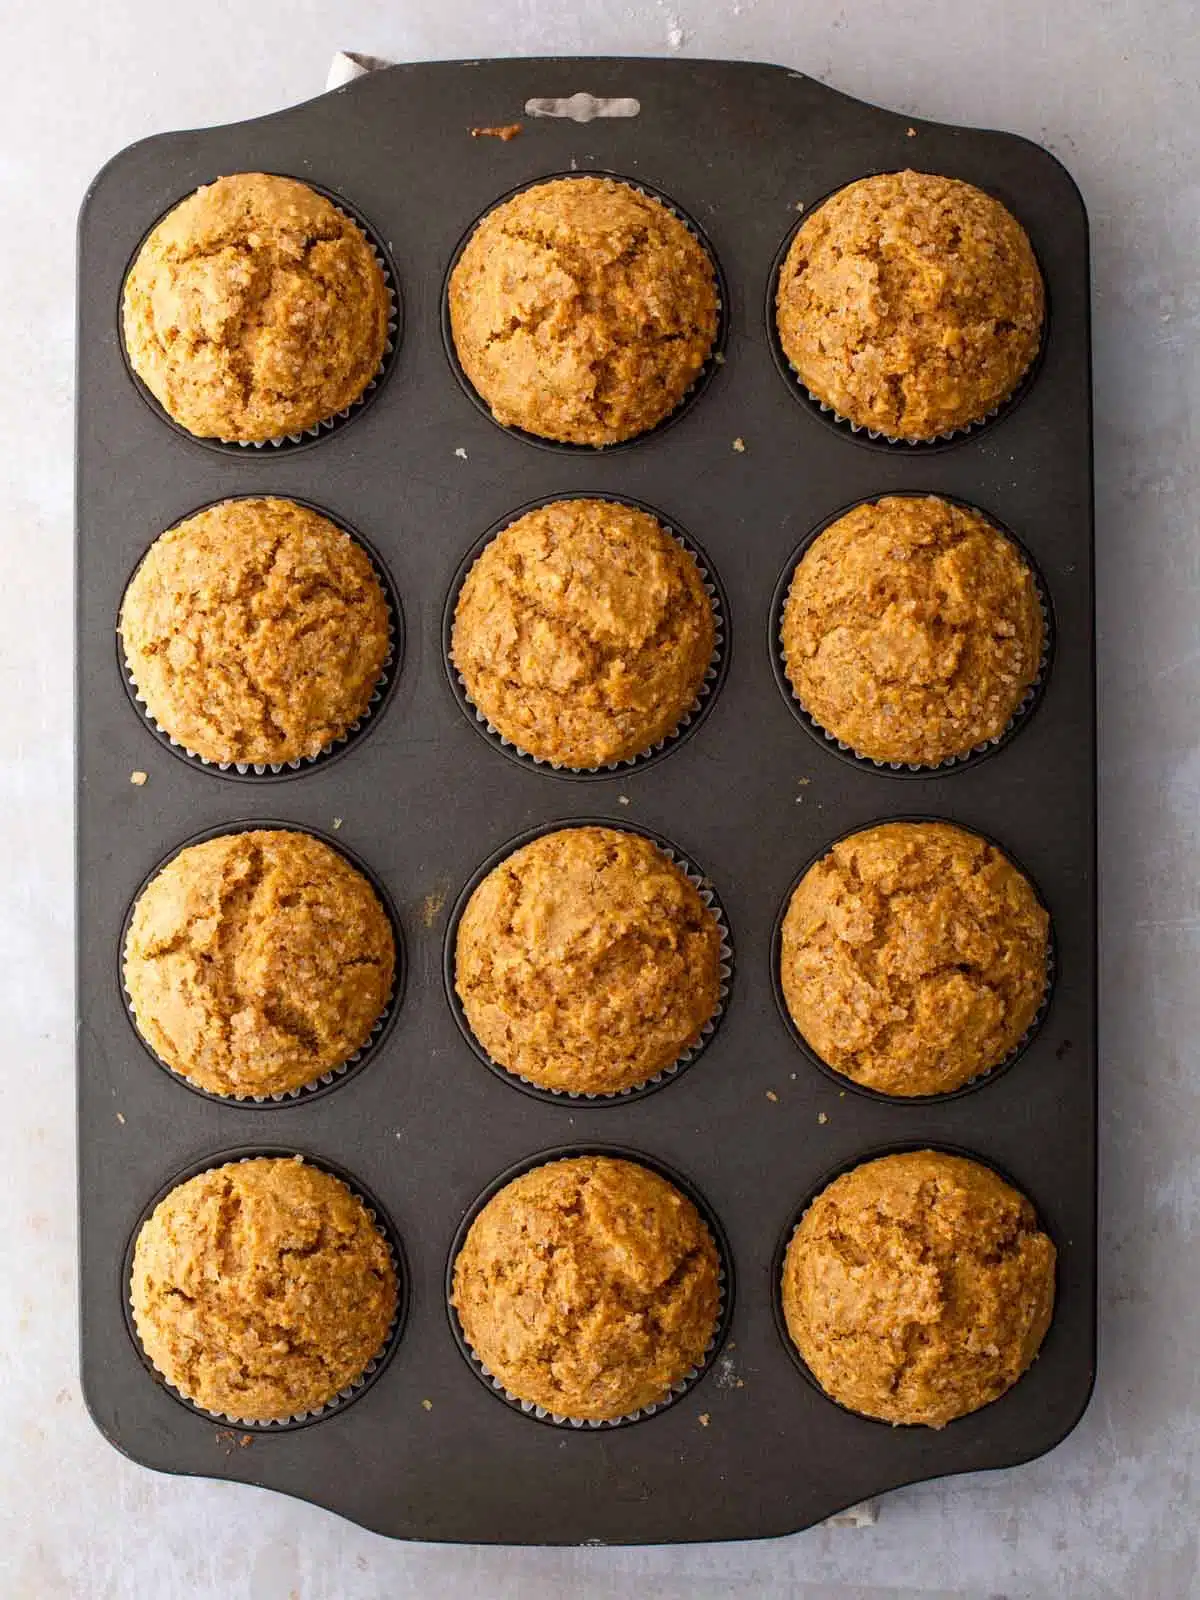
Your muffins are done when they have a lovely domed top and a skewer comes away mostly cleanly from the centre of the muffin.
Pumpkin muffins freeze beautifully. Allow the muffins to cool completely, then store them in an airtight container or freezer-safe bag and freeze for up to 3 months. Thaw at room temperature for 1-2 hours or warm in the microwave for 20-30 seconds before serving. Toppings such as seeds and nuts may soften slightly after freezing.
I have tested these pumpkin muffins with a ¼-cup less sugar and they worked out great. They were a little denser, but still had a great dome and were delicious.
Usually, muffins fail to rise due to out-of-date baking powder, wrong oven temperature or overworking the batter. Baking powder is best used within 6-months of purchasing, a thermometer will help set oven temps accurately and stir the batter just until all the flour is incorporated and then stop.
More Plant-based Baking


Sign up to my newsletter and follow along on Facebook, Pinterest and Insta for all the latest news. If you like this recipe, please check out my cookbook "Great Vegan Meals for the Carnivorous Family" It's full of simple, carnivore-approved family recipes.
Make This Recipe
Wholewheat Pumpkin Muffins (Vegan)
Equipment
- 1 immersion blender or stand blender
- 1 muffin tray twelve mould
- muffin liners
Ingredients
Wet ingredients
- 1 cup cooked or canned pumpkin pressed into cup (see Note 1)
- 1 cup raw sugar 205g - can be reduced to ¾ cup (see Note 2)
- ½ cup olive oil 125ml
- 1½ teaspoon vanilla extract
- 1¼ cup soy milk or oat milk
Dry ingredients
- 375 g whole wheat flour 375g (wholemeal flour)
- 2 teaspoon baking powder
- ½ teaspoon salt
- 2 teaspoon cinnamon
- ½ teaspoon nutmeg
- ½ teaspoon all-spice ground
- ¼ teaspoon cloves ground
Optional toppings
- coarse sugar for crunch
- pumpkin seeds
Instructions
- Preheat oven to 170℃ (338℉) and line a 12-mould muffin tray. (See Note 3)
- Add the wet ingredients to a medium bowl and blend until smooth with an immersion blender. You can do this step in a stand blender also.
- Whisk together the dry ingredients in a large mixing bowl.
- Add the blended wet ingredients and stir until the flour is incorporated. Don't over-mix. Tip: to make sure I don't over-mix my cakes and muffins, I use a silicone mixing spatula and mix from the bottom (where the flour likes to hide) in an upward motion. This grabs all the hiding flour without overworking the batter.
- Once combined, spoon the batter into the lined muffin tray, filling them almost to the top. Sprinkle with coarse sugar or pumpkin seeds (optional) and bake in the oven for 24-27 minutes, or until they are domed and a skewer comes out mostly clean.
- Remove from the oven and allow them to sit for 5 minutes before transferring to a cooling tray. Depending on the climate where you live, store in a sealed container on the kitchen counter or in the fridge for 5 days.
Notes
Nutritional Disclaimer
The nutritional information is an estimate only and is automatically calculated using online tools. For accurate results, we recommend calculating the nutritional information based on the ingredients and brands you use.

Comments
No Comments