
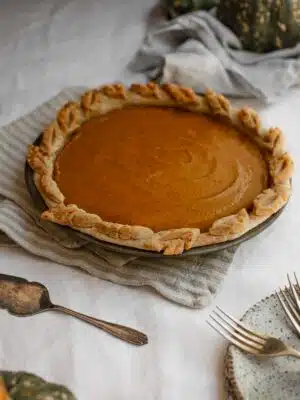
This vegan pumpkin pie is rich, creamy, deliciously spiced and perfect for the holidays. And if that wasn't enough, it's a holiday dessert that comes together quickly in a blender before baking. Nice.

This recipe was originally posted on November 2020 and updated with new pie images and FAQs in July 2024.
Jump to:
Pumpkin pie is such a quintessentially American dessert. They say "American as apple pie" but to me pumpkin pie is about as American as it gets. It reminds me of Fall in New England where I tried every pumpkin spice dish that wasn't nailed down. Those flavours!
We don't serve pumpkin pie here in Australia but I think we might have to change that. This vegan pumpkin pie is rich, smooth and just plain wonderful. Who wouldn't want a piece of this?!
Because I am in Australia - where we don't have canned pumpkin - I've made this pie from scratch so anyone can do it. Are you ready for a little taste of Americana?
Things to Love About this Pie
I think you're going to love this pie.
Ingredients Notes
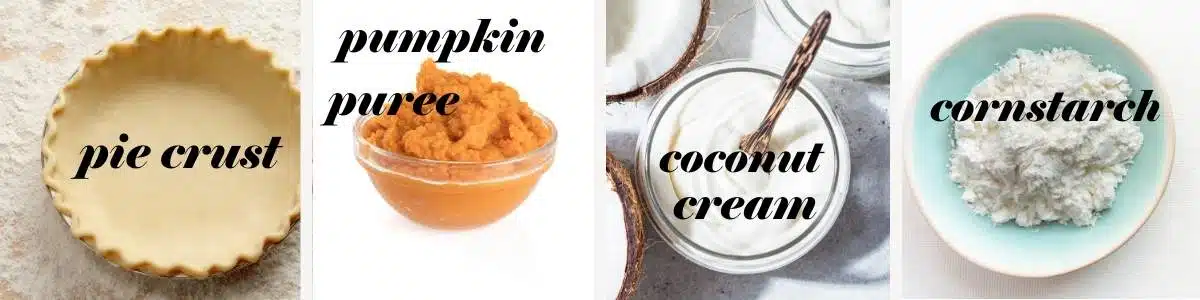
Pumpkin puree. So, like I said, we don't have canned pumpkin here so I made my own puree for this pie. If you live in the States or somewhere you can get canned pumpkin, this vegan pumpkin pie is made with puree not pie filling. One 15oz can of pumpkin puree is what you'll need here.
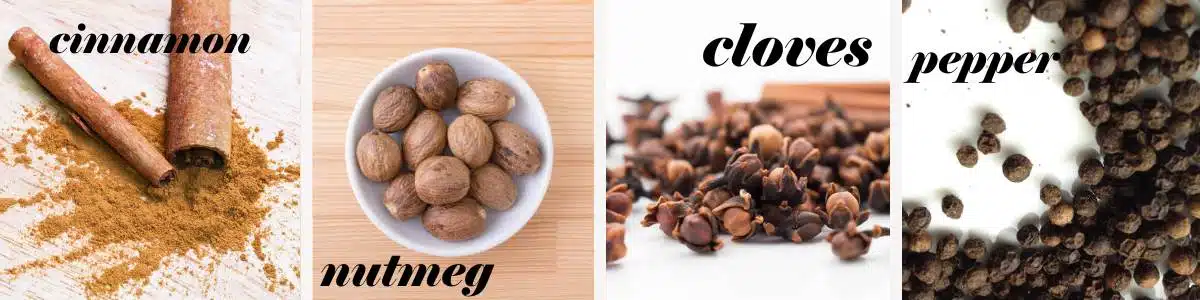
Autum spices. I love these traditional spices but you could also add the tiniest pinch of ginger too. Adding pepper adds just a touch of heat but you can skip it.
Pie crust. I posted my vegan pie crust recipe a few days ago but if you have your own tried and true recipe, use it! Or just buy a store bought pie crust - no judgment here. Make things easy for yourself. The beauty of this vegan pumpkin pie is that it's so simple.
Now, I don't blind bake my crust when I bake this pie. I haven't found I needed to. If you feel more comfortable blind baking your crust, go for it.
Cornflour. This is the glue that holds this vegan pumpkin pie together. It simply won't set without it. You can also use arrowroot starch with the same effect.
Full-fat coconut cream. You can use other dairy-free milks in this pie but full-fat coconut milk results in the creamiest, doesn't-taste-vegan result. You can't taste the coconut in the finished pie.
Okey-doke, now you're ready to throw together your pie.
Step-by-Step Guide
You'll find full instructions and measurements in the recipe card at the bottom of the post.
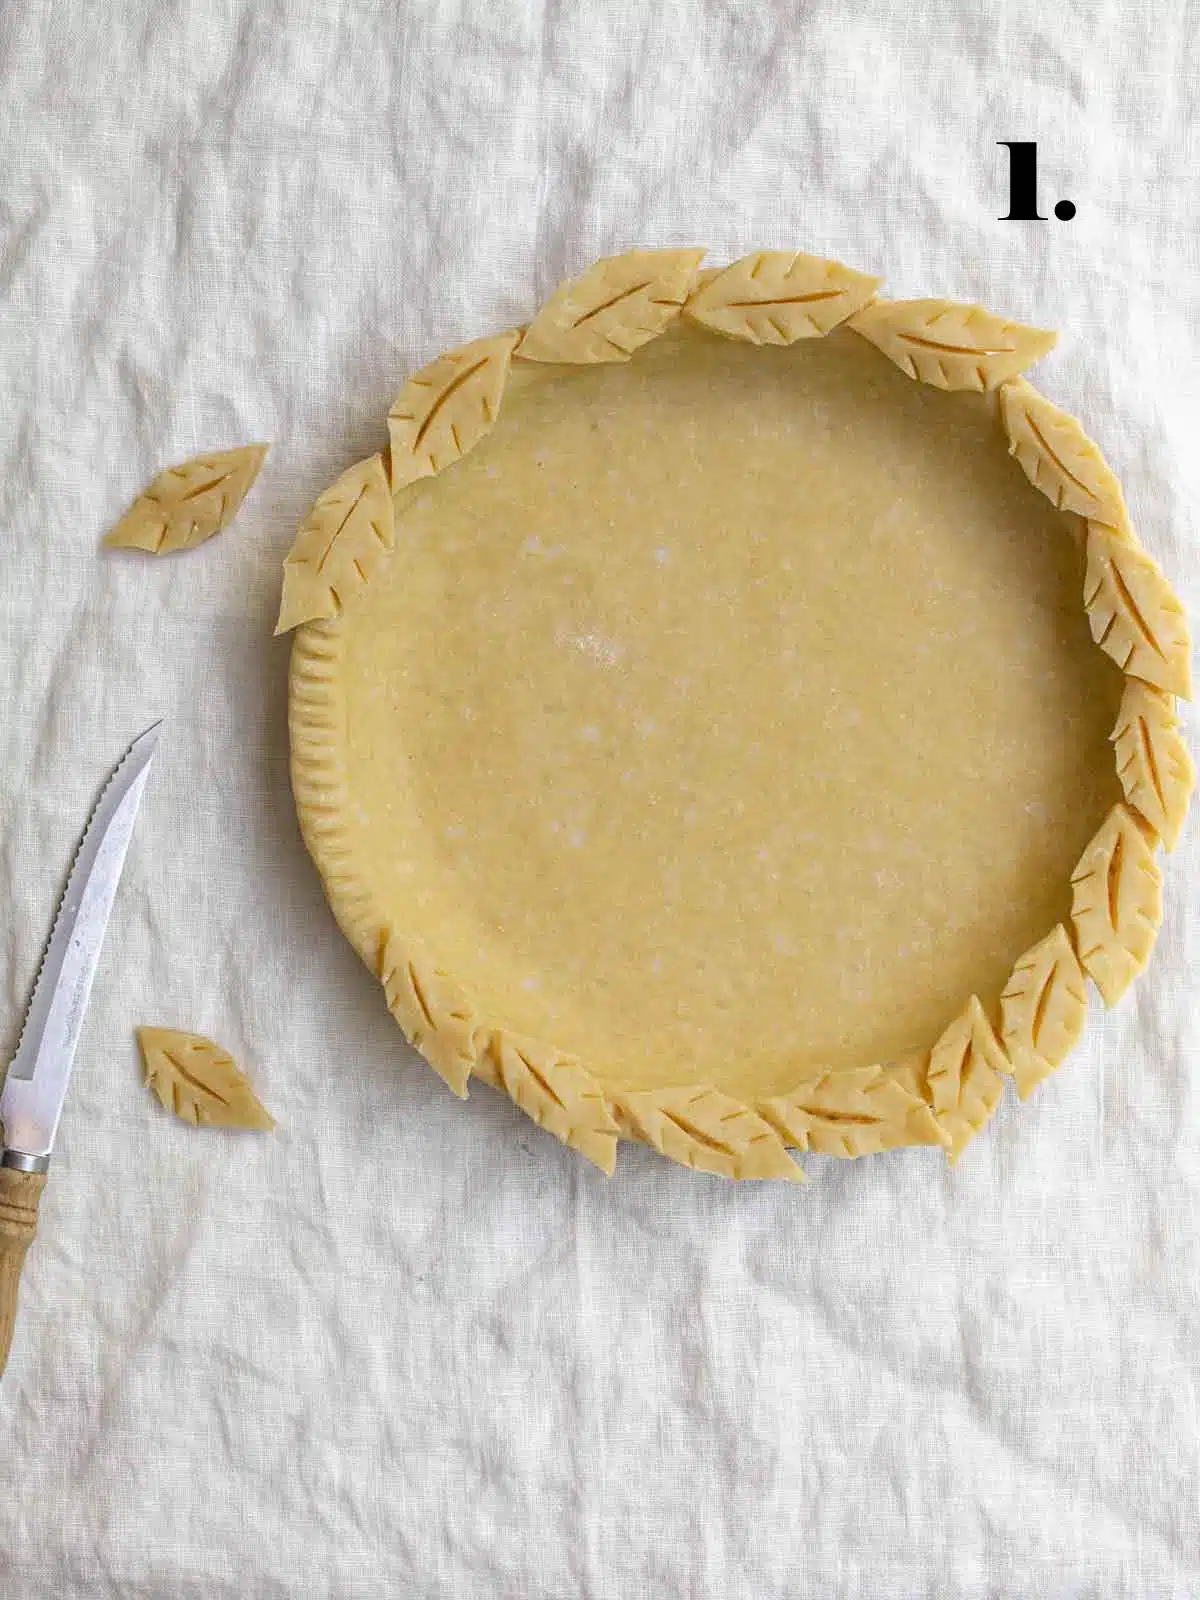
Step 1.
Line your 9-inch pie pan with your pastry and trim to fit. My vegan pie crust post has detailed instructions on how to line your pan. Add any pastry decorations to your edges now. Pop the pie crust in the refrigerator to chill while you prepare your pumpkin pie filling, 15-minutes will do it. At this stage pre-heat the oven to 175 degrees C (347 degrees F).
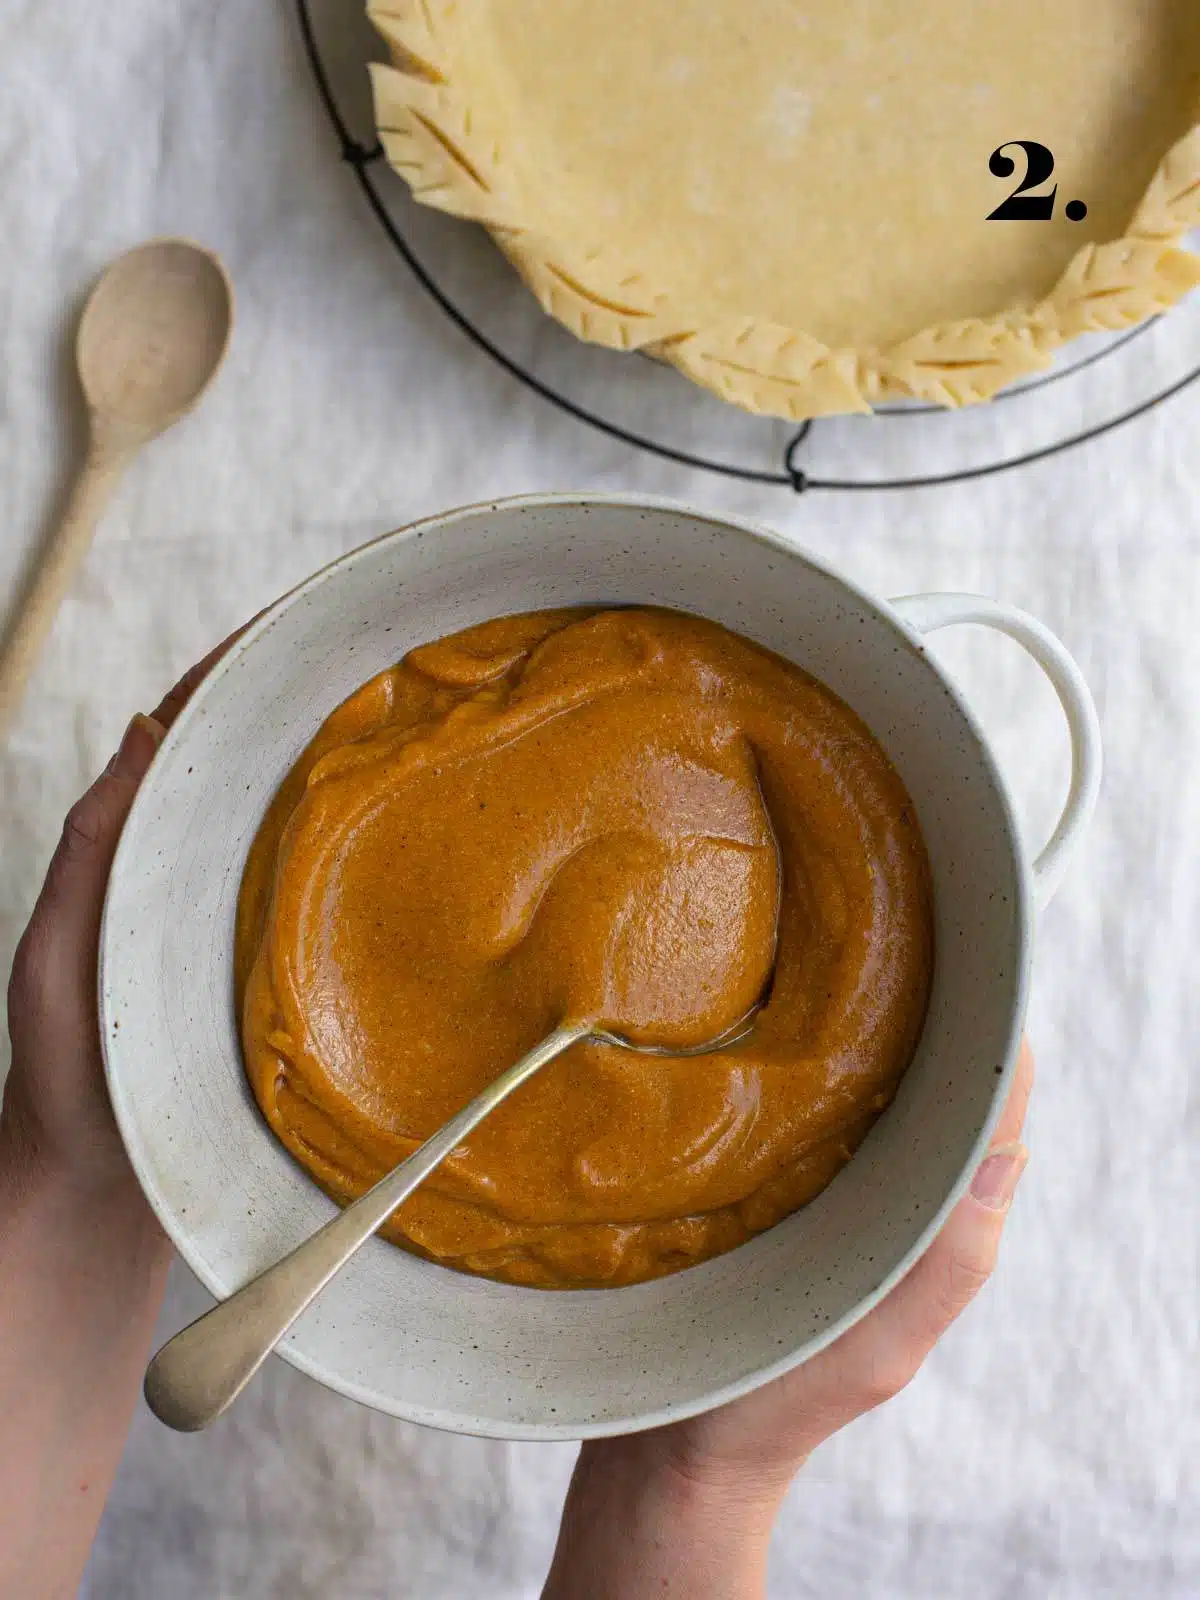
Step 2.
Blend the pie filling ingredients in a blender until smooth and fill your pie case.
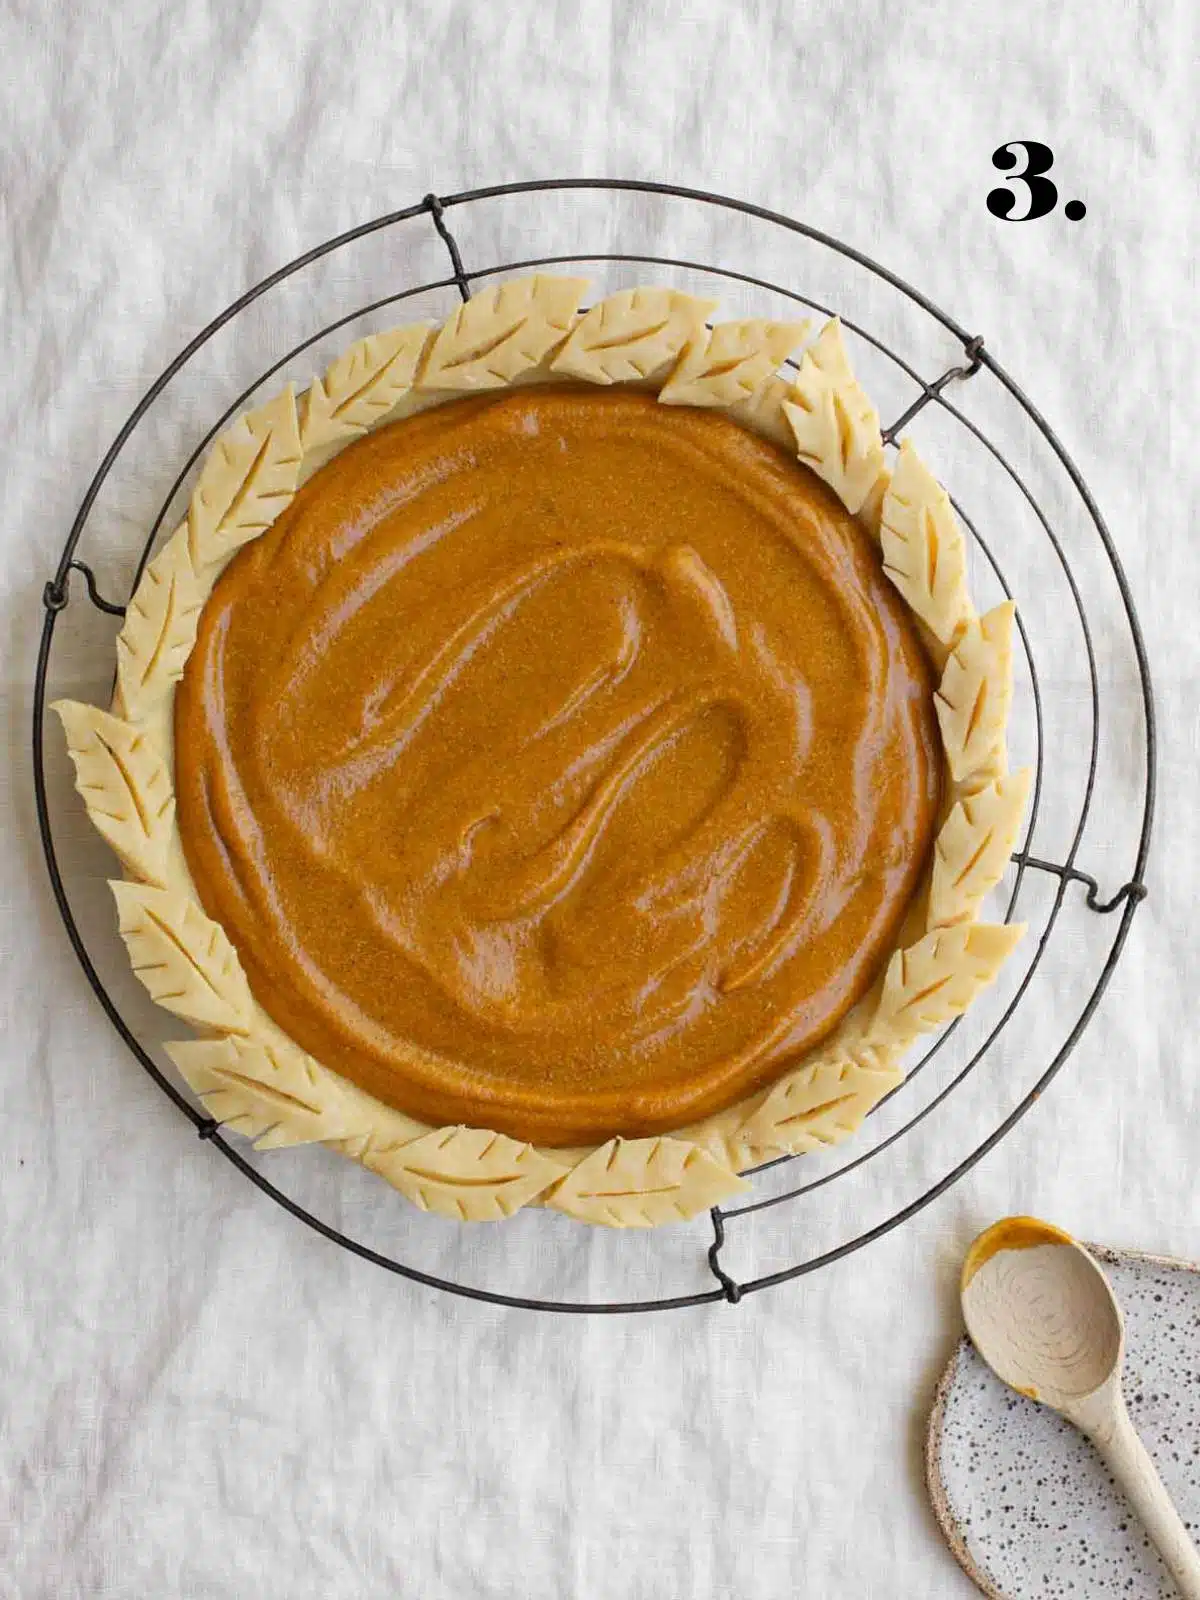
Step 3.
Level the pie filling as best you can and bake it in your pre-heated oven for 50-60 minutes.
Step 4.
You're done! When you remove the pie from the oven, it will still be wobbly in the centre, this is totally fine. It will firm up when cooling and in the fridge. Your pie filling may also be quite dark in colour when you first take it out of the oven, it lightens up as it cools.
Remove the pie from the oven, allow it to cool completely before popping it in the fridge for 4 hours or overnight.
Recipe Must-Knows
Chilling Your Pie
Put away that spoon, this pie needs to chill. Once your pumpkin pie has cooled completely it needs to go in to the refrigerator to finish setting for at least 4 hours. Overnight is best.
You don't have to serve it cold, just pull it from the fridge and let it come to room temperature for an hour before serving.
Decorating Your Pie
Stick drawings are about as creative as I get - I can also draw a pretty good ladybug - but the leaf design shown in the step-by-step pictures was really easy. Even I could do it. I just followed along with Todd and Diane at White on Rice Couple. Their leaf design video is both beautiful and simple.
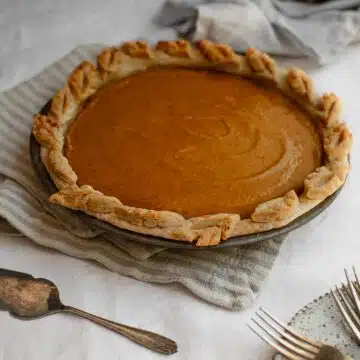
Even simpler is grabbing a maple leaf cookie cutter and decorating your pie. For my new finished pie image (top of the post), I baked the maple leaf pastry decorations separately and added them to the pie after it was baked. Simples and full-proof.
Storage
This pie freezes. Bake the pie and allow it to cool completely. Carefully wrap it in a few layers of cling wrap before wrapping it again in foil. Place the pie level on a freezer shelf for up to 3 months. To thaw, remove the pie from the freezer and allow it to thaw gently at room temperature. It will take at least a full afternoon to fully thaw, so plan ahead.
This pumpkin pie doesn't long in our house but it will keep, covered, for up to 5 days in the fridge.
And yes, you can make this pie ahead. It is made even better with a night in the fridge so you can easily make it the day before serving it and leave it in the refrigerator.
FAQs
Great! That's what you want. Bake until most of the pie is cooked but there is still a slight wobble in the centre - it will set as the pie cools and we pop it in the refrigerator to chill anyways.
If you are worried about your pie crust burning, gently - and watch your fingers - wrap the crust with foil to stop it from browning.
To make the 2 cups of puree, cube 5 cups of pumpkin (I used Kent) with the skin removed and pop it on a lined roasting tray. Cover the tray with foil and bake the pumpkin in the oven at 190 degrees C (374 degrees F) for around 40 minutes or until soft. Remove from the oven to cool before blitzing the cooked cubes in a food processor until smooth.
Measure out 2 cups of the puree to make the pie. I had a touch left over and just added it to the flatbread dough we make each week.
You can. The filling is already gluten-free so you're just going to need a gluten-free pie crust. You can buy one or simply make your own using a gluten-free baking flour substitute. Bob Red Mill's Baking 1-to-1 is great.
Baking at too high a temperature can cause cracks. To avoid them, bake the pie at a lower temperature - around 160ºC (320ºF) Fan - for 70-90 minutes.
Also, subbing coconut cream for lower fat milks can cause cracks. We need the fat here.
So that's it, friends. A really simple, really delicious vegan pumpkin pie. Smooth, warming and full of Autumn flavours, this pie is perfect for the holidays but simple enough to make any time. Enjoy, x.
More Holiday Recipes


Sign up to my newsletter and follow along on Facebook, Pinterest and Insta for all the latest news. If you like this recipe, please check out my cookbook "Great Vegan Meals for the Carnivorous Family" It's full of simple, carnivore-approved family recipes.
Make This Recipe
Vegan Pumpkin Pie Recipe
Equipment
- food processor (if you're making pumpkin puree from scratch)
- Blender
Ingredients
- 1 Vegan Pie Crust
- 2 cups (500ml) pumpkin puree canned or made from scratch
- ½ cup brown sugar
- ¼ cup granulated sugar
- 1 and ½ tsp ground cinnamon
- ½ teaspoon ginger
- ¼ teaspoon nutmeg
- ¼ teaspoon cloves
- ⅛ teaspoon pepper
- ½ teaspoon fine salt
- 3 tablespoon corn starch or arrowroot starch
- 1 cup / 250ml full-fat coconut cream
Instructions
For the Pie Crust
- Remove your pie dough from the refrigerator and allow it to sit for around 10 minutes until it is soft enough to roll out.
- On a lightly floured work surface, roll the dough out into a circle that is around an inch and a half larger than your 9-inch pie dish. Carefully lay the dough into the pie dish making sure the dough fills each "corner".
- With a small, sharp knife or a pair of kitchen scissors, trim the overhang of crust leaving a half-inch over. Set the surplus dough aside to make the leaf decoration if you like.
- Tuck under the edges of the dough and press down with a fork to make a crinkled edge. Pop the unfilled pie crust in the refrigerator while we make the filling.
For the Pie Filling
- Pre-heat oven to 175°C (347°F) conventional or 155°C (311°F) fan-forced
- Add the pumpkin puree, sugars, spices, salt, corn starch and coconut cream to a blender and blend until smooth.
- Remove the pie crust from the refrigerator and carefully fill it with the pie filling, levelling it as best you can.
- Pop the pie in the oven and bake for 50 - 60 minutes or until firm around the edges but there is still a slight wobble in the centre - it will set as the pie cools and we pop it in the refrigerator to chill anyways.
- Remove from the oven and allow your pie to cool completely. Cover the pie and pop it in the fridge to finish setting for around 4 hours. Don't skip this step - it will make sure your pie is perfectly set and ready to serve. Chilling over night is even better!
- Serve slightly chilled or at room temperature as is or with a little whipped coconut cream.
Notes
Nutritional Disclaimer
The nutritional information is an estimate only and is automatically calculated using online tools. For accurate results, we recommend calculating the nutritional information based on the ingredients and brands you use.
Comments
No Comments